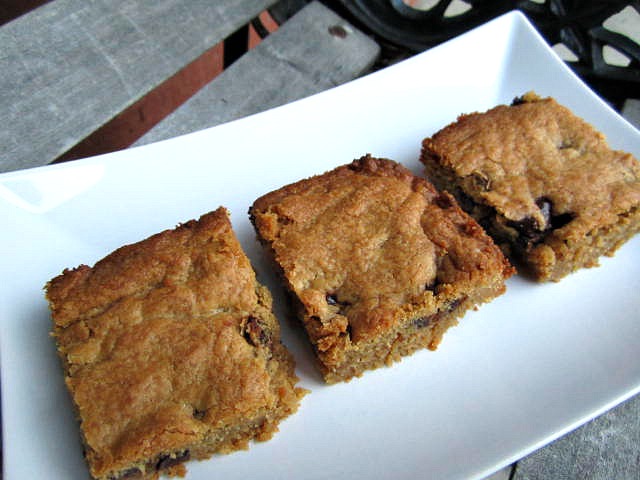
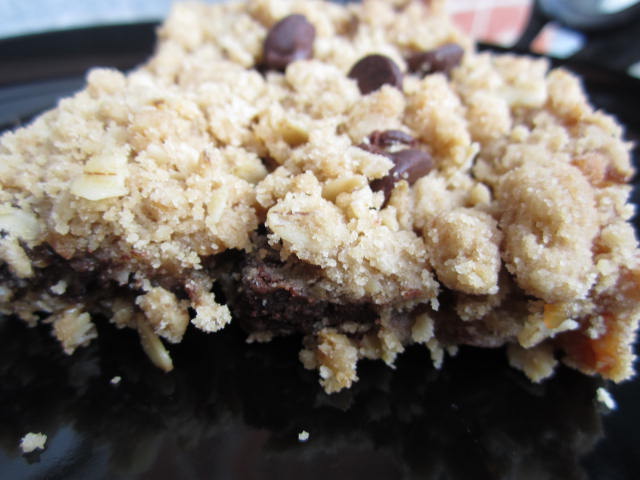
Carmelitas

Oh my, simply heavenly. This is heaven in a bar, well as close to heaven in a bar as one could possibly imagine. I mean this with utmost respect to our Heavenly Father as well. :) I love these precious little puppies more than you know. This will FOREVER remind me of high school volleyball team dinners. Our entire team LOVED my mom’s cooking and always requested Chicken Alfredo with my moms homemade sauce and these delicious dessert cups.
The memories are fond but the bars are even better than that. I turned my non-loving oatmeal man into a oatmeal lover with this simple dessert. Michael hates oatmeal in any cookie as it “ruins” the cookie entirely. Well, to his great surprise, he became a oat-lover within one single bite of this heaven in a bar.
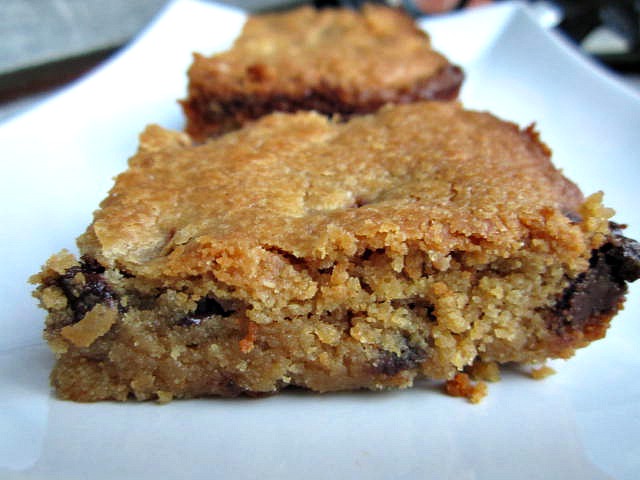
See for yourself.
Ingredients:
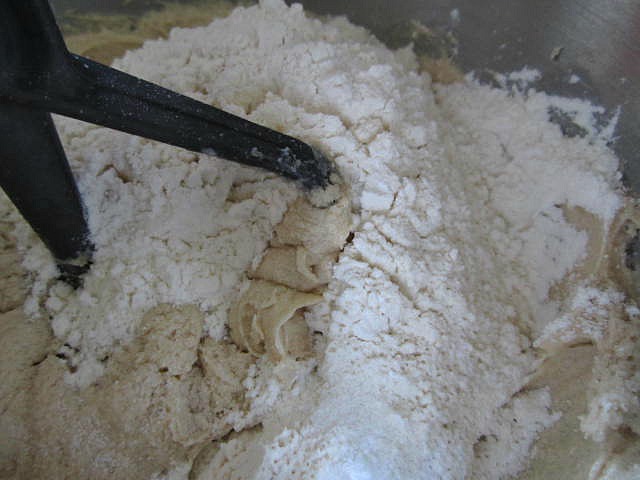
- 1 1/2 cups flour
- 1 1/2 cups old-fashioned oats
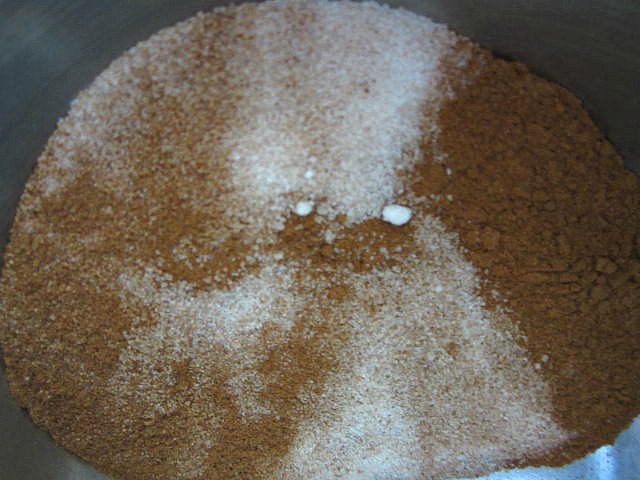
- 1/4 teaspoon salt
- 1/2 teaspoon baking soda
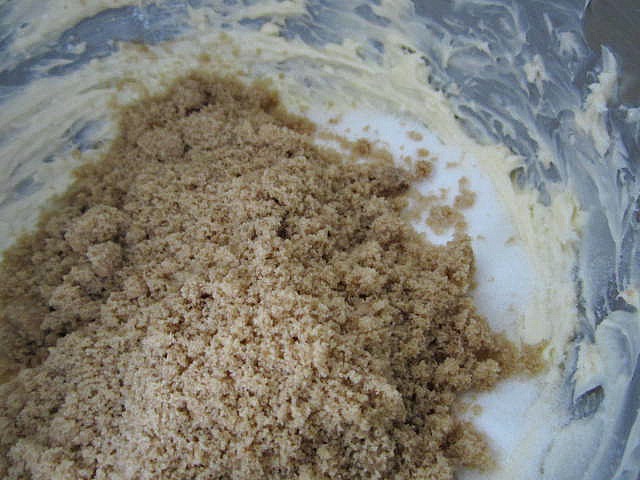
- 1 1/2 cups brown sugar, packed
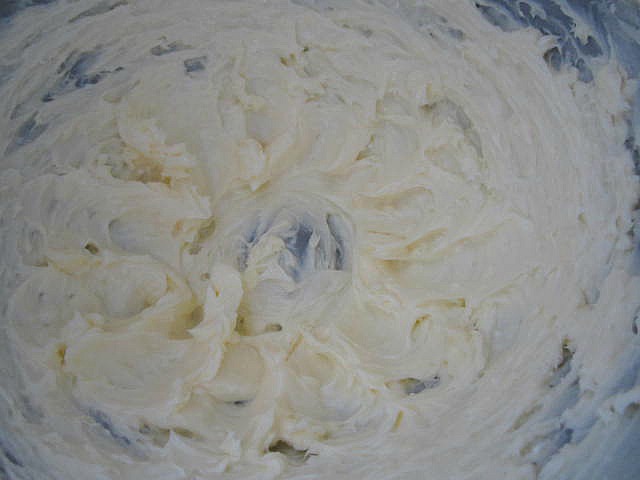
- 1 cup butter or margarine, melted
- 1 jar caramel sauce
- 2 cups milk chocolate chips
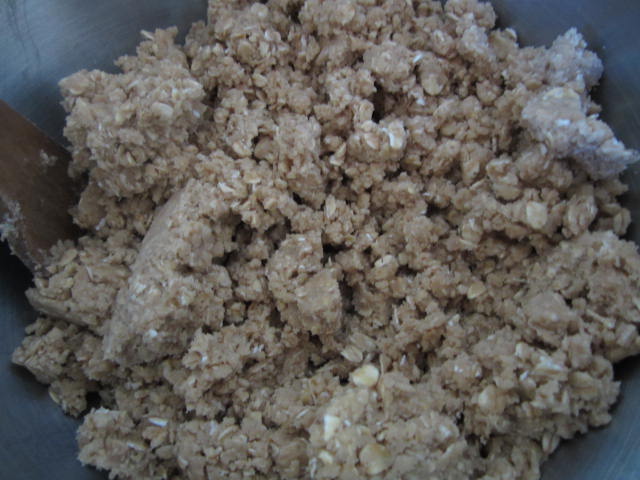
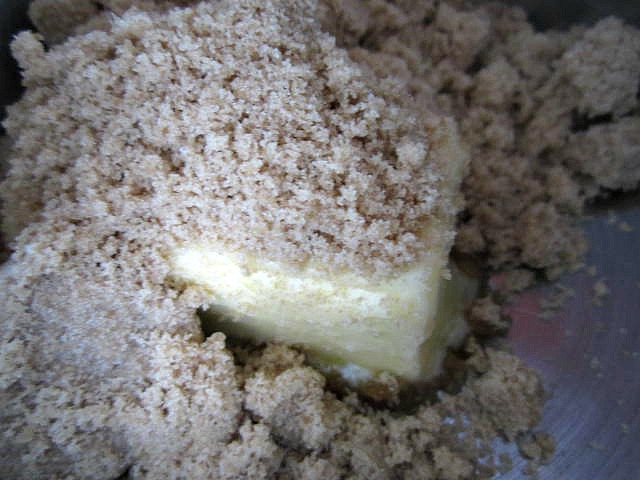
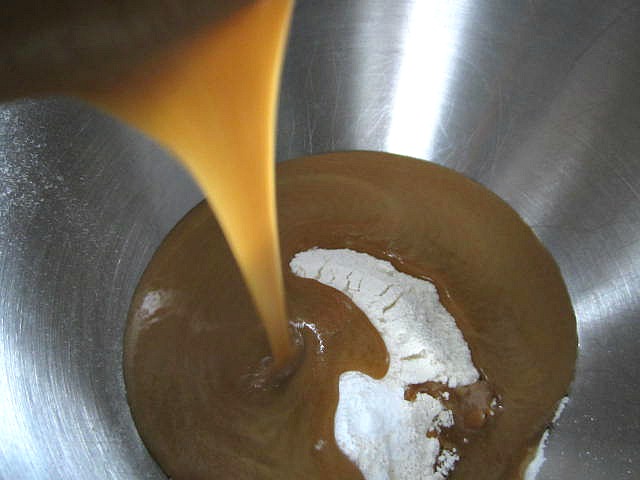
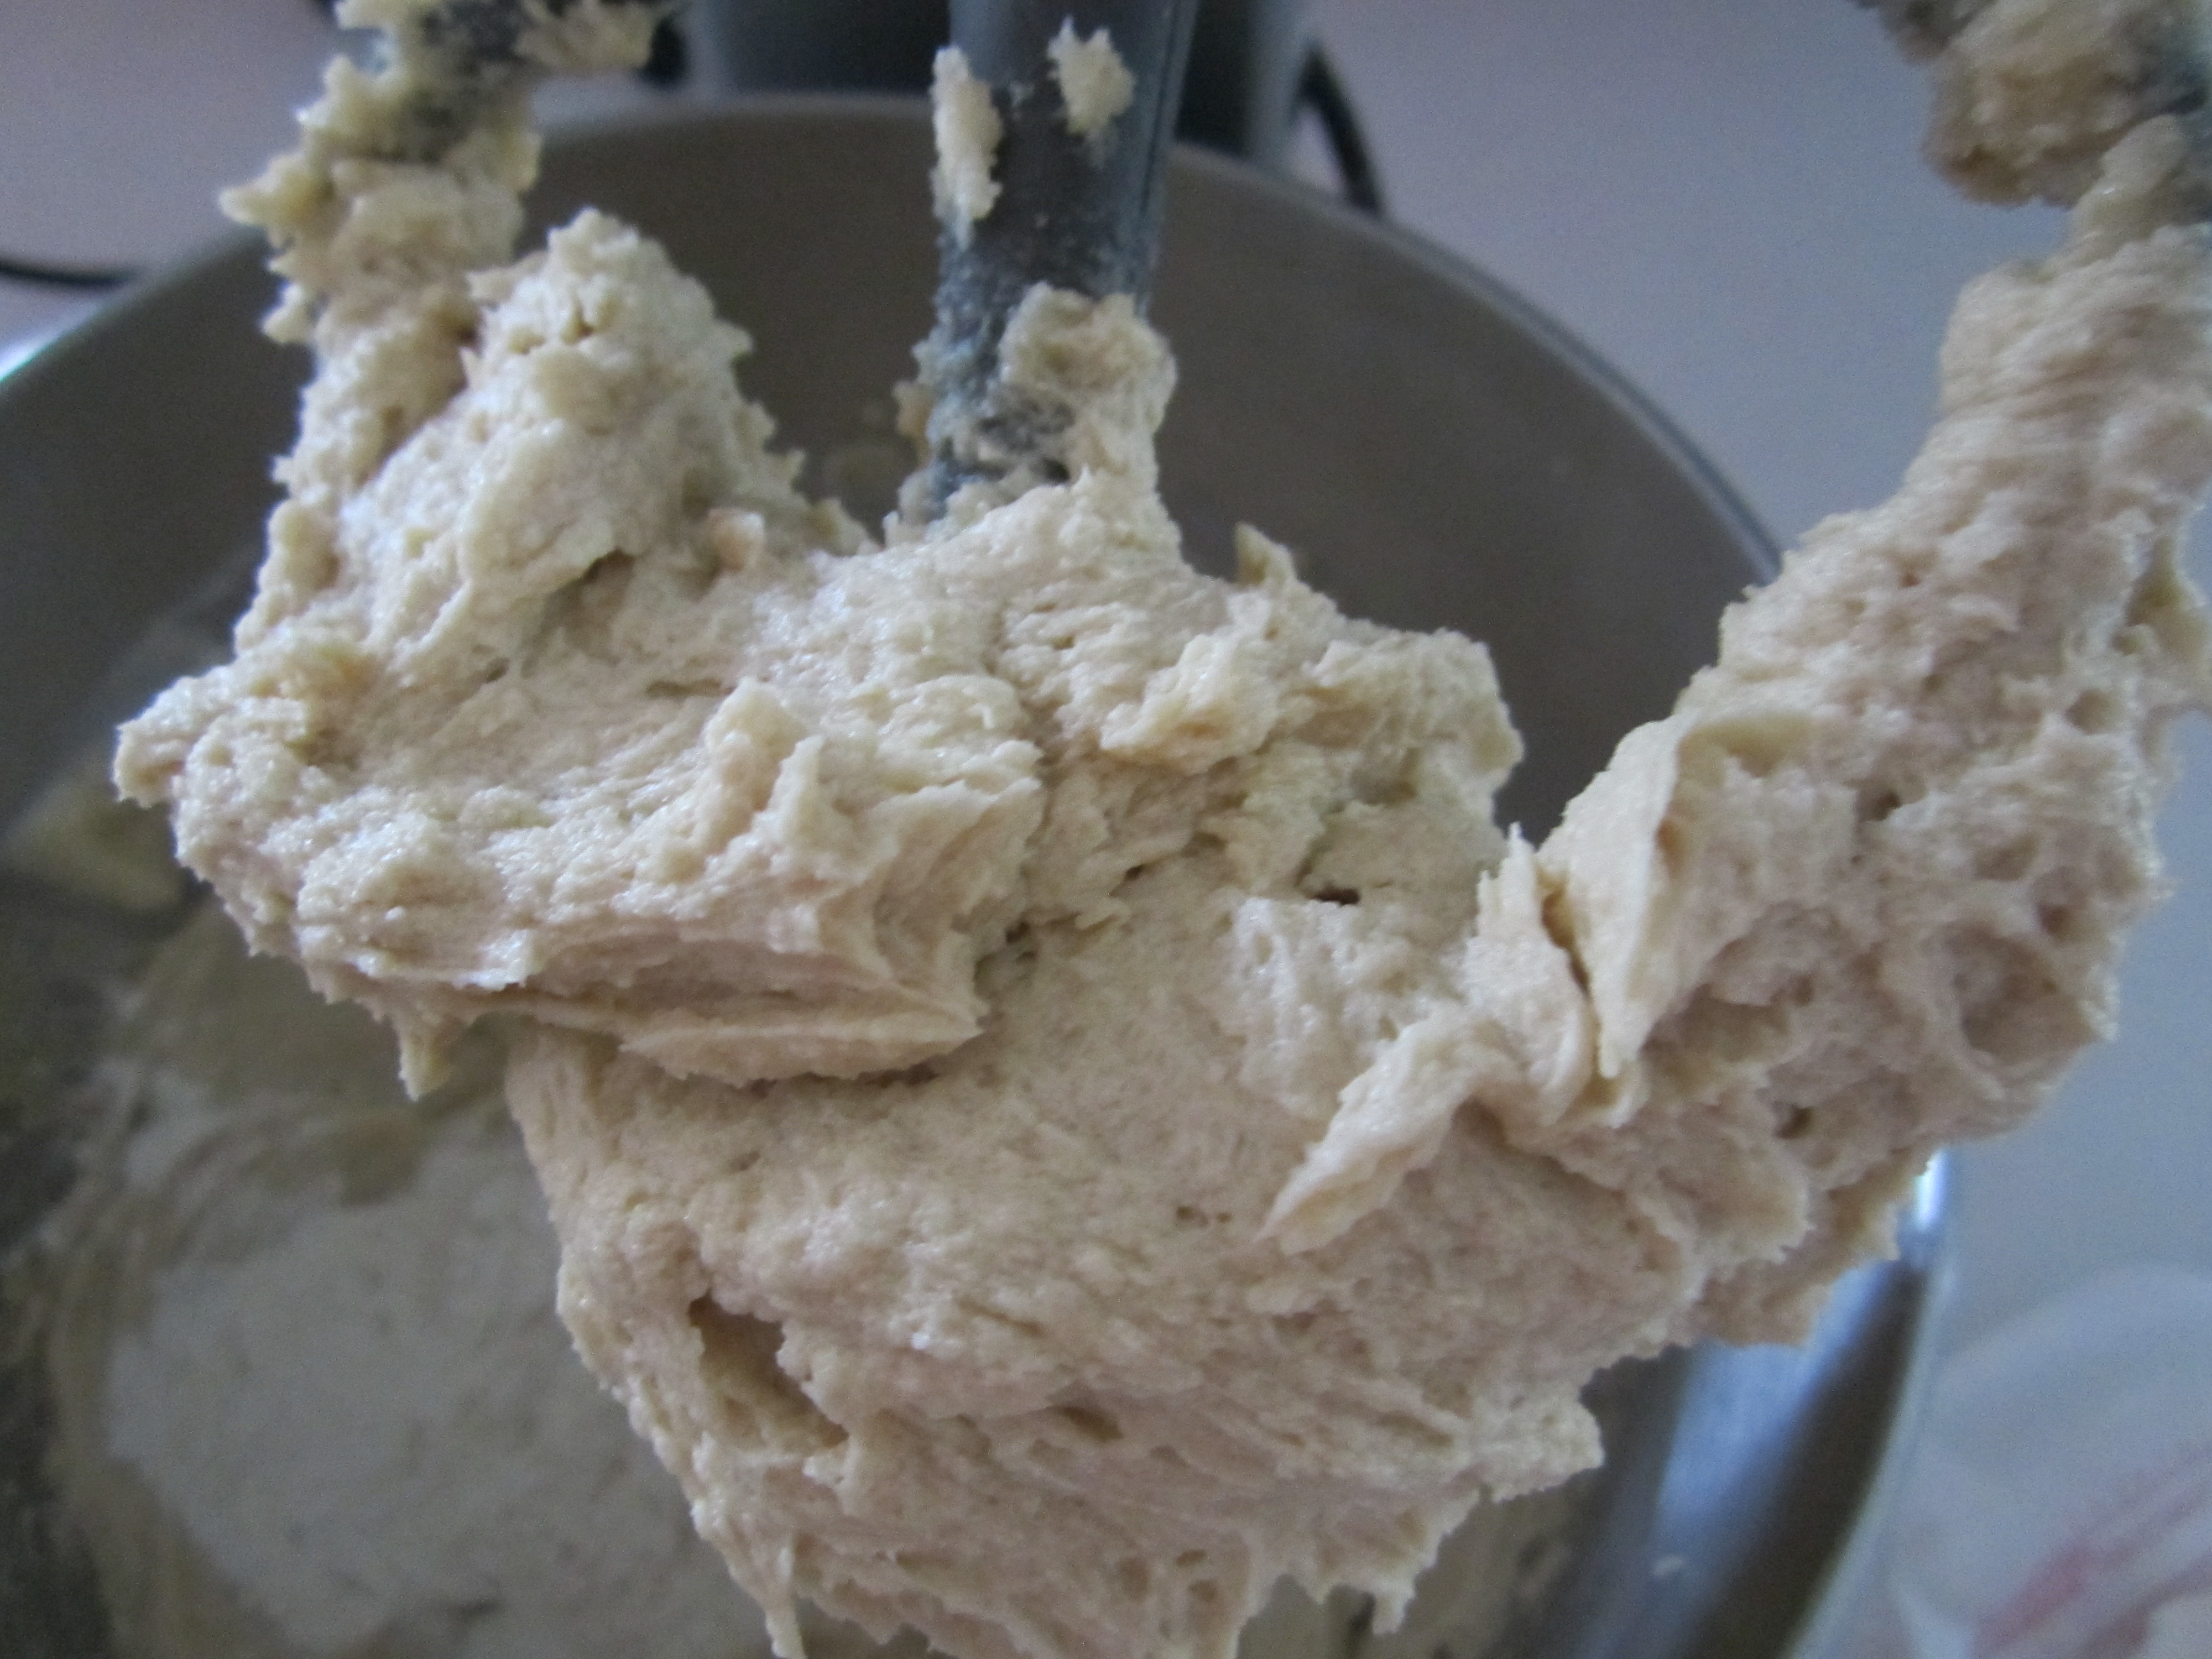
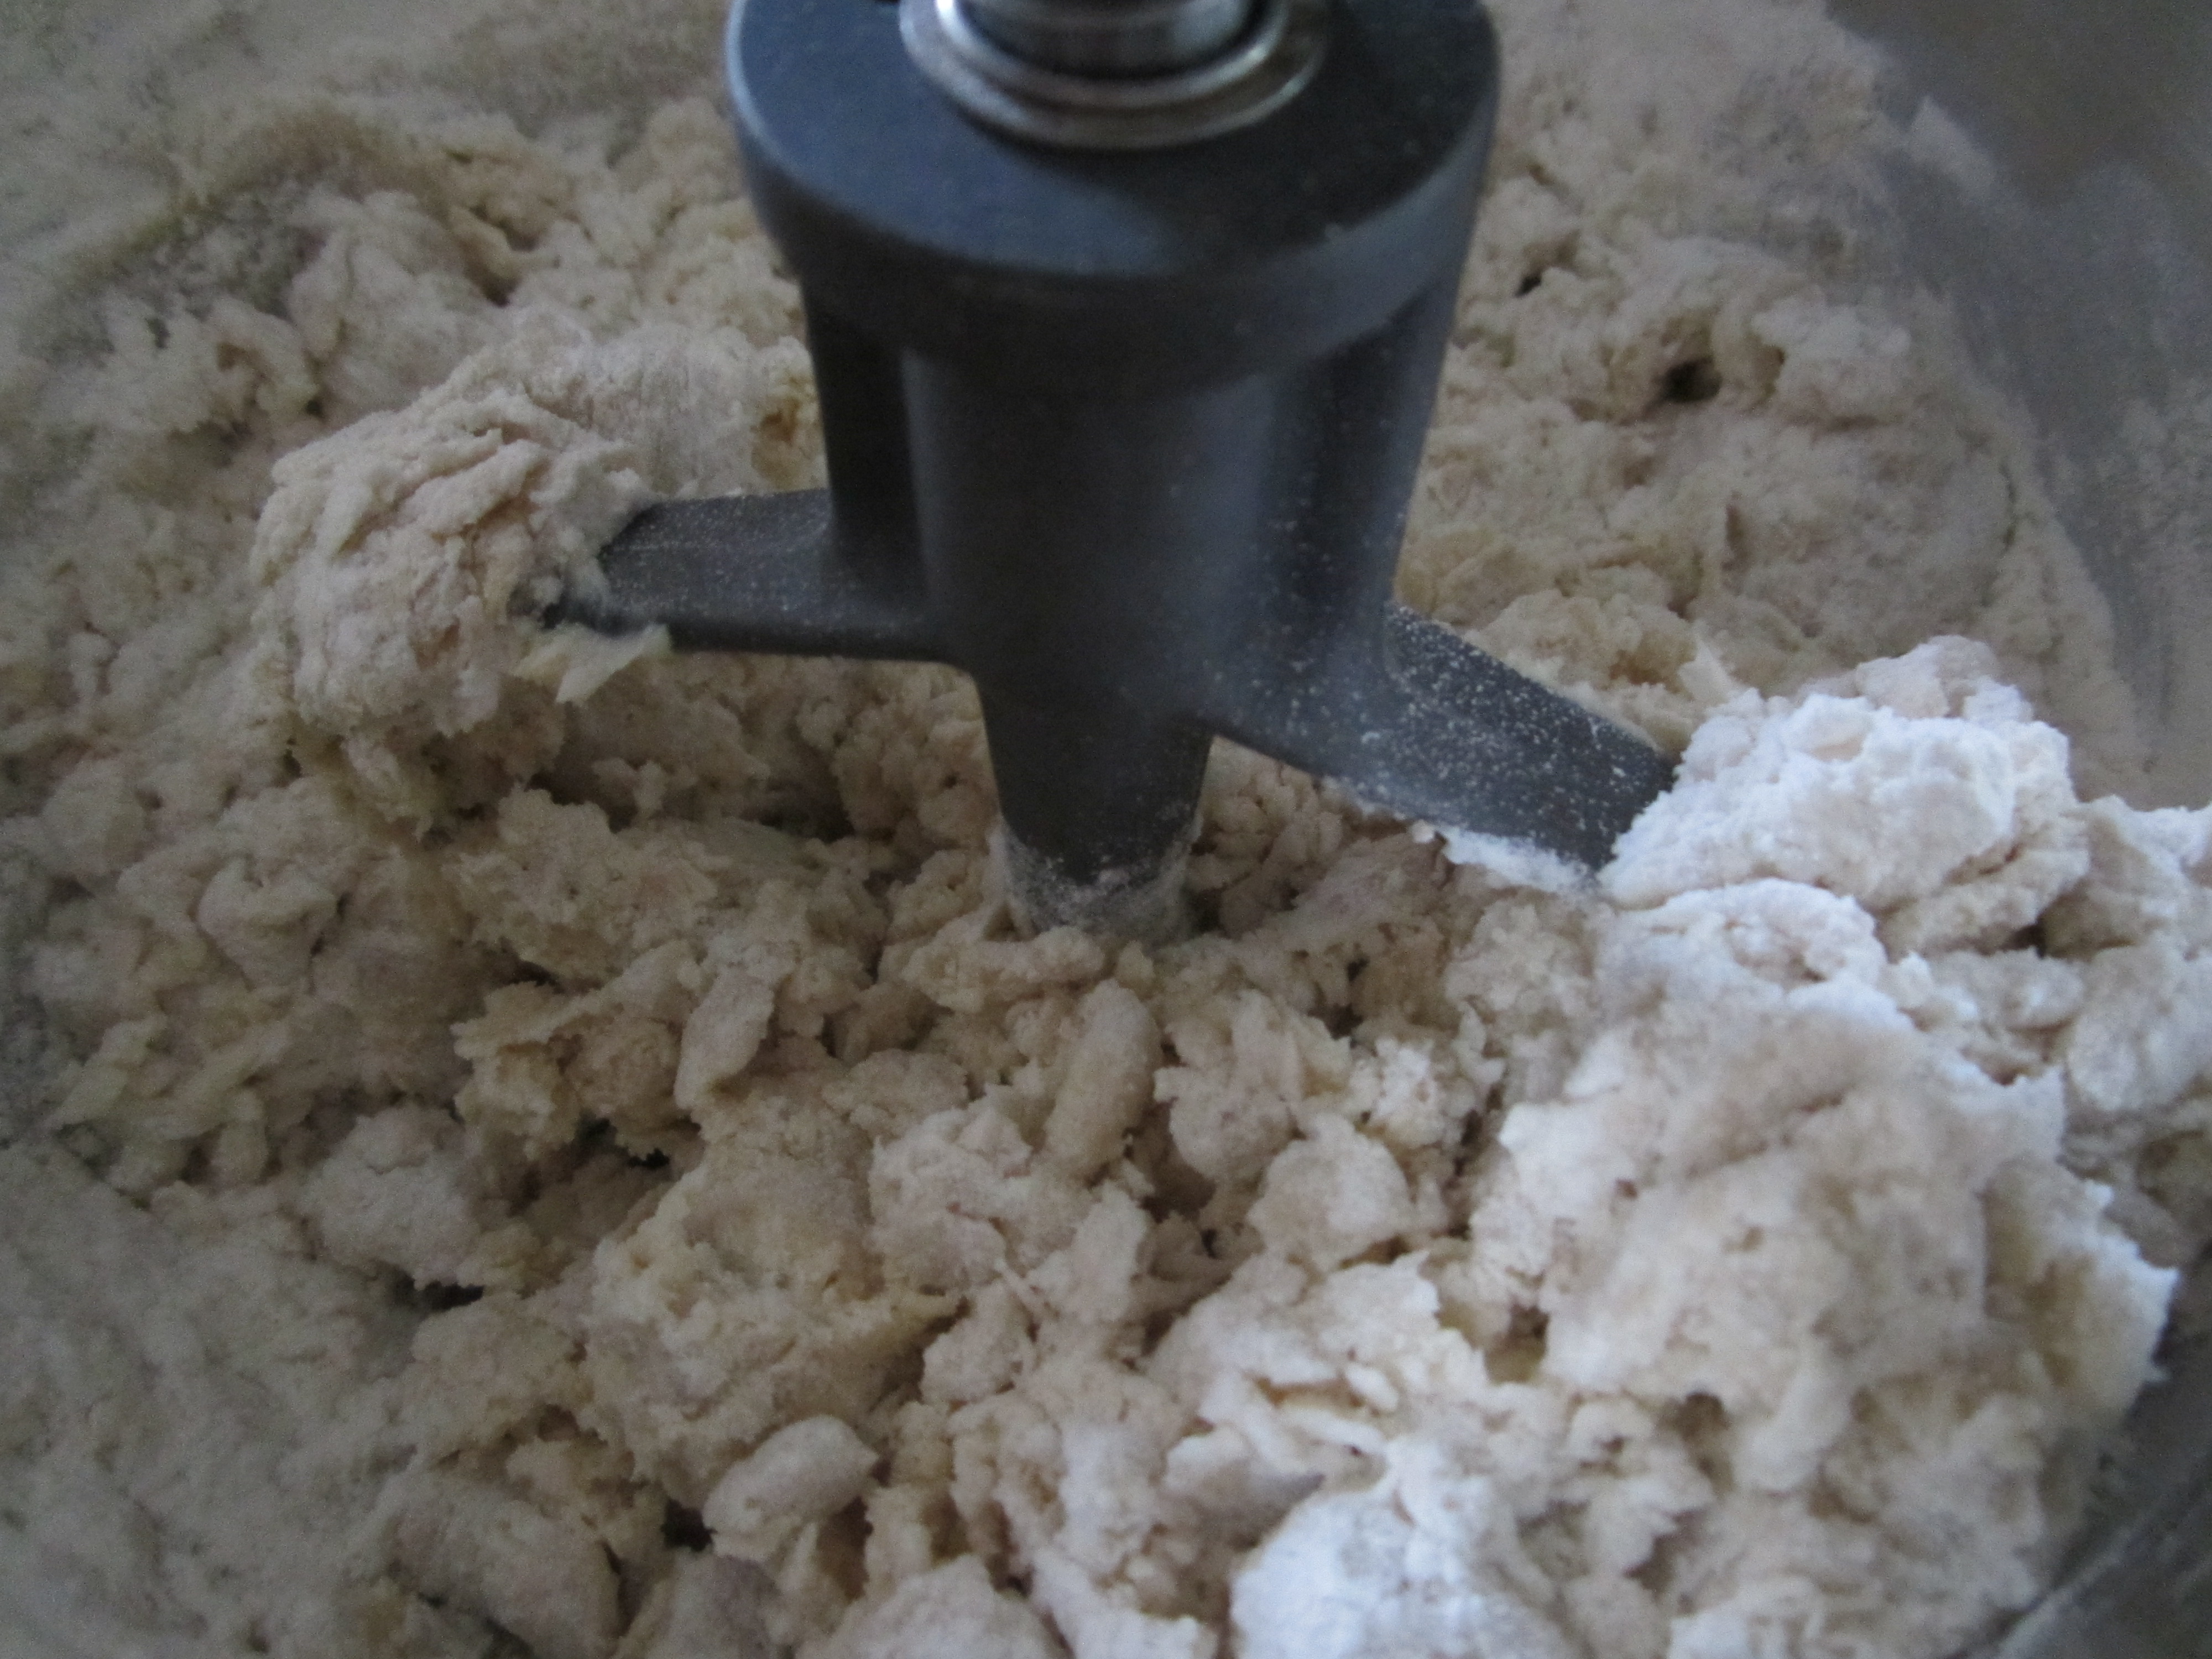
Grease a 9×13 bake dish and set aside. Meanwhile, mix together flour, oats, salt, baking soda and brown sugar together in a stand mixer.
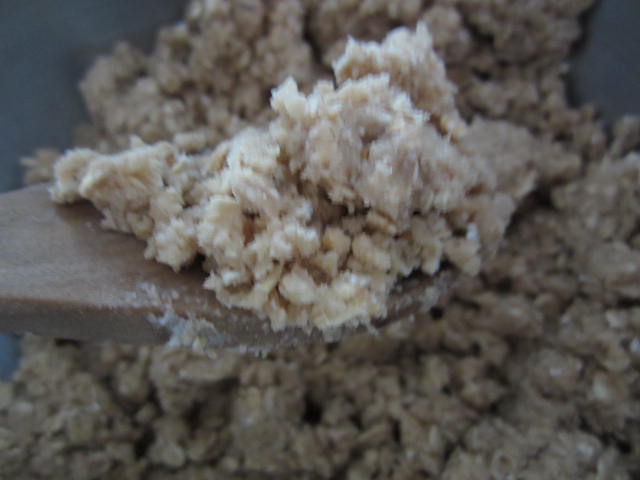
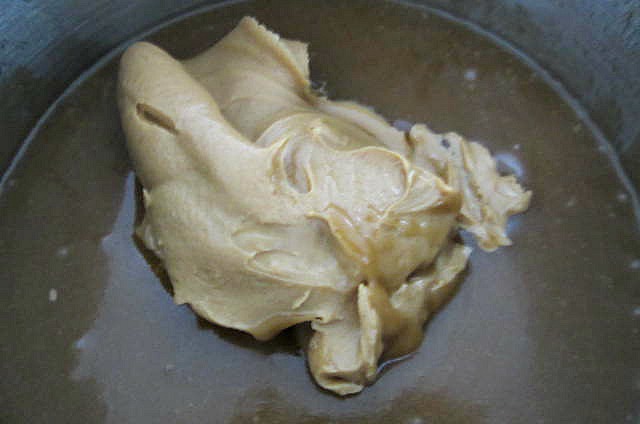
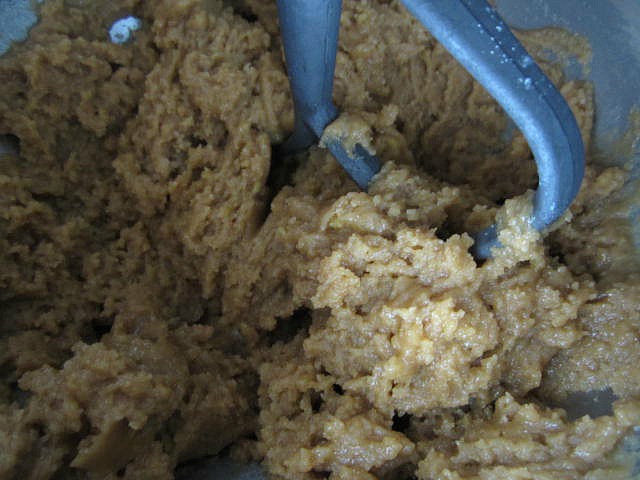
Add in melted butter and mix until combined.
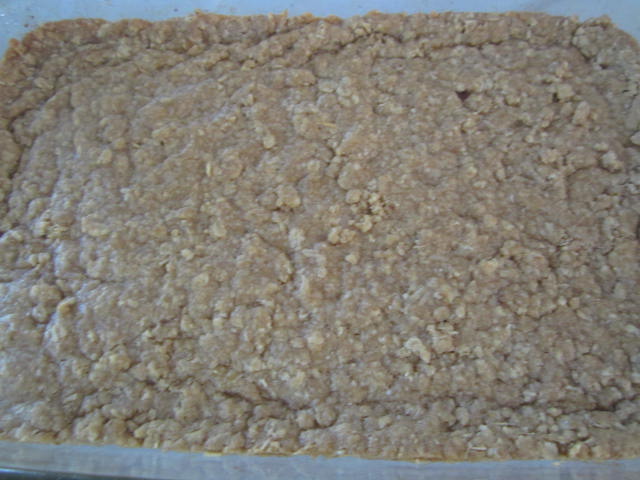
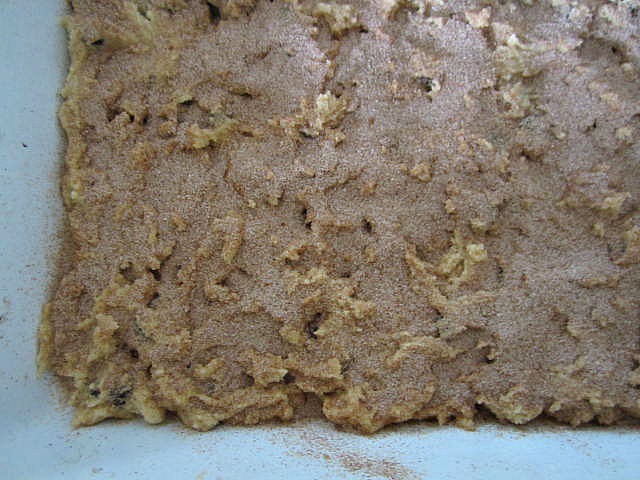
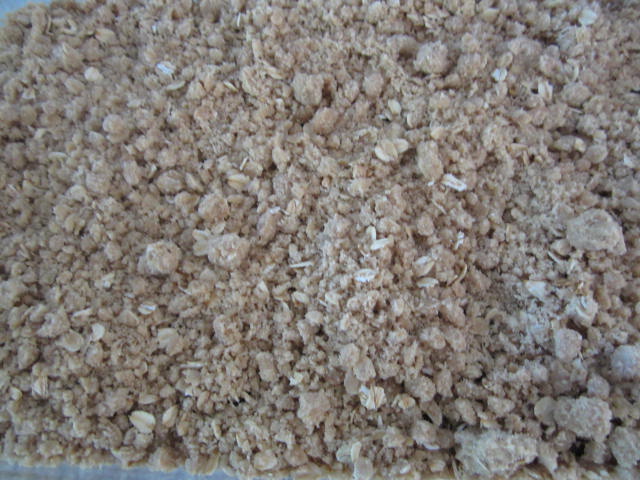
Take half the mixture and press into the baking dish reserving the other half.
Bake at 350 degrees for 15 minutes or until golden brown.
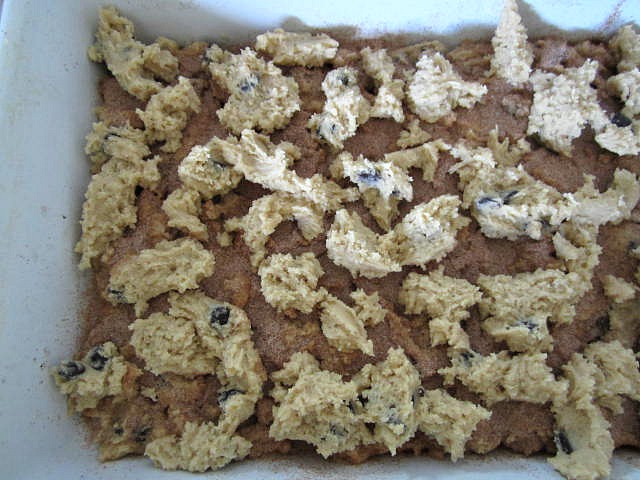
Remove from oven and top with chocolate chips
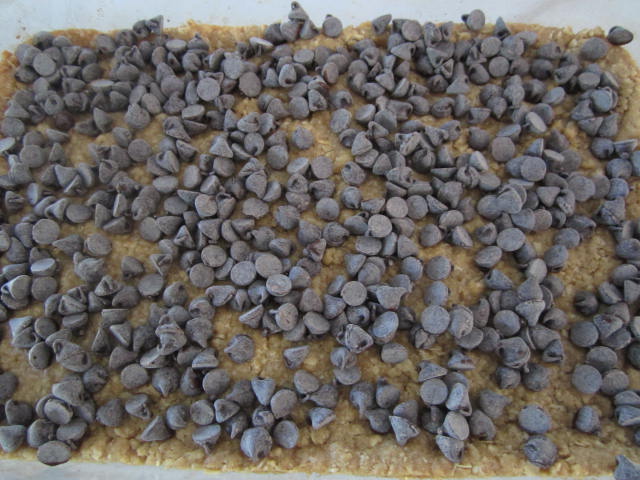
And drizzle the caramel sauce one top of the chocolate chips.
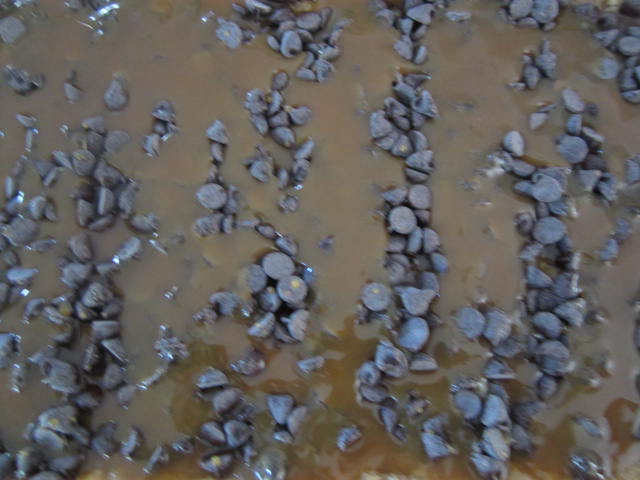
Drop the remaining mixture onto the top of the chips and caramel sauce.
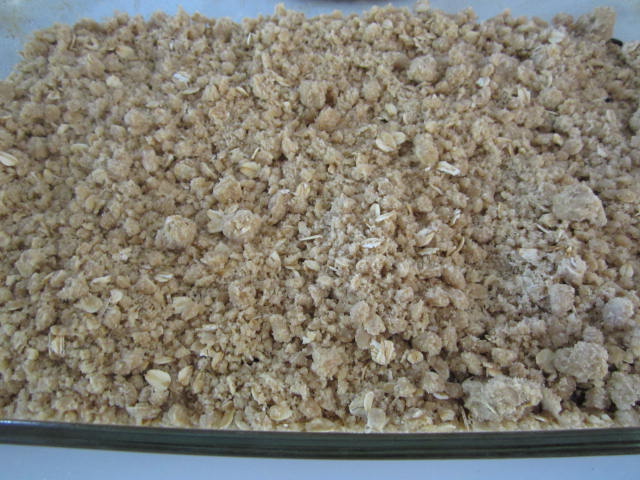
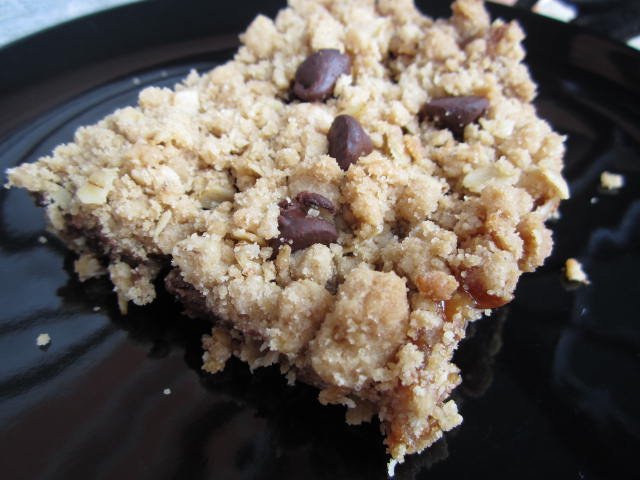
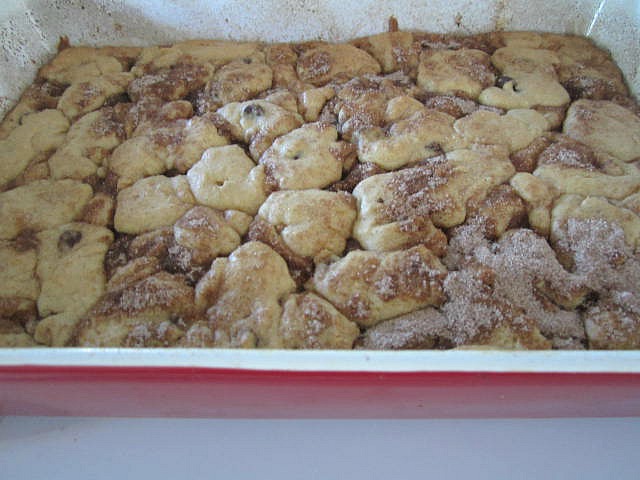
Return to the oven and bake an additional 15-18 minutes until golden brown. Allow to cool before cutting.
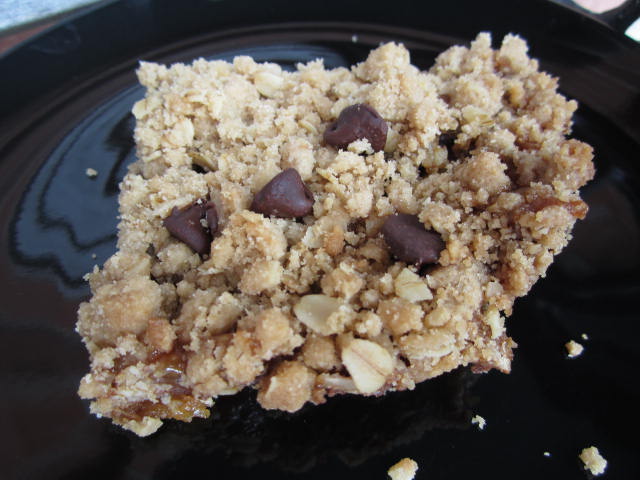
Enjoy with a delicious glass of milk or cup of water for those who are like me and despise milk. :)


Recent Comments