Blackberry Lemonade

I’ve been addicted to this drink lately and it’s so refreshing. Part of my problem is I can drink coffee all day long, but too much caffeine will give me a headache. As summer has officially begun I started making this delicious blackberry lemonade and it’s been a great afternoon replacement to my usual coffee.

I love to make homemade Iced Tea come summer. When using a fresh tea and a little lemonade for sweetener, your hot day just got better.

You can use any tea for iced tea but to be completely honest, any form of black tea is the best.

Ingredients:

  • 8-10 Blackberry Black tea bags
  • 1 gallon of water
  • Lemonade

In a large pot bring water to a boil. Once boiling, turn heat off and add tea bags to the pot. Set aside and let sit for 2 hours. If it’s a beautiful day out, place your pot in the sun for 1-2 hours.

Squeeze any remaining water from tea bags and remove. Pour tea into a large pitcher and refrigerate.

When you are ready for your Blackberry Tea Lemonade, fill a mason jar full of ice, pour iced tea over and leave about 1-2 inches to splash with lemonade. Mix and enjoy!

IMG_4569


Homemade iced tea is really simple. There are many different forms to iced tea as well. You can sweeten your tea while the water is still hot, or leave it as is and sweeten with each drink.

Backyard BBQ Mahi

This backyard BBQ Mahi adds a little taste of sweet and spicy. We love Mahi in our household especially because we buy it from Costco with individually wrapped fillets.

I’m all about healthy, quick and easy clean up. :)

Ingredients:

  • 4 Mahi Fillets
  • 4 tbsp butter
  • 1 tbsp Backyard BBQ seasoning
  • 1 tsp paprika
  • Dash of garlic salt

On a foil lined broiler pan, place fillets with seasoning sprinkled evenly amongst the four fillets. Place 1 tbsp butter on each fillet.

IMG_4600

Bake at 375 degrees and cook for 8-10 minutes or until flaky.

Serve with rice and vegetables.

Homemade “Pam” Nonstick Spray

Homemade “Pam” Nonstick Spray. This is an important facet to your cooking that must be addressed. How often do you use nonstick spray? Almost everyday in our household. Do you know what chemicals lay within this simple spray? Do you know what you are blindly putting into your body as well as your families?

I will give you a simple transition to kick the nonstick spray to the trash and make your own. Don’t resort to butter or coconut oil as you will be adding hundreds of calories without even realizing it; directly into your prepared dish.

Instead of using butter or coconut oil you will save time and money by making your own nonstick spray. Don’t buy Pam Spray as you will be purchasing preservatives and chemicals when you can easily make your own at home!

Speaking of chemicals, after reading a couple different articles on the ingredients in Pam cooking spray, come to find out they use an ingredient called Propellant which also resembles propane and nitrous oxide. Neither of these are chemicals I prefer to eat with my eggs and bacon in the morning. Yikes. This actually defeats the purpose of homemade meals when you still have the chemicals floating around in forms such as this.

I reluctantly admit that I used to purchase the store bought product without thinking twice. When I ran out, I started to think about it and if it really was worth purchasing. To be honest nonstick spray works really well. I never had problems with anything sticking so I was a little doubtful about transitioning over. I thought I would start by using butter or coconut oil and wiping down the pan, but when I realized how much I bake and cook, I was using a lot of butter (and calories) just to create a nonstick surface. I began making my own nonstick spray and love it and am happy to see my butter stay put in the fridge rather than adding hundreds of calories to simply keep the food from sticking. :)

Please, any of you out there who have any form of Pam Nonstick Spray, toss that sucker in your trash and make your own today! All you do is take equal parts lemon juice and olive oil (or vegetable oil), whichever you prefer and combine in a mini spray bottle. Label and place in refrigerator. Lemon juice needs to be refrigerated once opened otherwise it will spoil almost immediately.

When you go to use it, shake well. This works like a gem and you can rest easy knowing you are avoiding any propellant in your homemade meals.

IMG_4844

Those 30 seconds it takes to create this product is something worth doing!

Moment of Truth: When preparing homemade meals, stick as close to it’s original form to help avoid preservatives. These days it takes a lot more work to avoid added ingredients but your body and family will thank you!

M&M Cookies

Yummy yum! As I prepare for this coming week extravaganza I decided to make some cookies to take with us. We will be taking my dad to the beach for his 60th birthday and Coopers 2nd birthday. We wanted to do something fun and memorable. We will be taking off for 5 days and enjoying lots of good food and entertainment with the family.

I am trying to make as much food for us as possible without over doing it. My sweet mom will be helping out as well and it’s greatly appreciated. :) Thanks mom!

My father-in-law gave us three large bags of M&M’s as he was overly stocked for his wife before she passed away. She loved M&M’s and they were easy for her to eat. He shared in the abundance of M&M’s with us this past weekend which sparked my desire for M&M Cookies.

Ingredients:

  • 2 sticks (1 cup) softened butter
  • 3/4 cup packed light brown sugar
  • 1 cup granulated sugar
  • 2 large eggs
  • 1 tablespoon pure vanilla
  • 3 1/2 cups flour
  • 1 teaspoon salt
  • 1 teaspoon baking soda
  • 1 1/2 cups M&M’s

Preheat oven to 375. In a stand mixer, mix together butter, sugars, eggs and vanilla. Beat well.

IMG_4592

Add in flour, salt and soda. Mix well.

IMG_4596

Fold in M&M’s.

IMG_4598

Place on a baking sheet and bake for 8-10 minutes or until golden brown.

Cool on a wire wrack.

IMG_4599

These cookies freeze nicely as well.

Man or Wo-Man

Ever question why your son enjoys your perfume or why he wants to wear your necklace? Or maybe your little girl wants to dig in dirt or play with tools like daddy. Is it really something to question or are your kids simply being a kid and exploring all life has to hold?

screen-capture

The other night Cooper decided it would be fun to wear my shoes around the house. My husband watched the final game of the series for basketball and Cooper tromped around beyond gracefully. I thought it was so funny to watch him focus and concentrate so hard to walk around with them on his little tootsies. My husband began to laugh pretty hard while Cooper tried to step on him with the shoes on getting frustrated that they kept falling off. But, on the other hand, he thought Cooper shouldn’t be wearing girl shoes. :) I explained that the concept to Cooper was simply succeeding at the task that laid ahead. Cooper has no idea girl vs boy other than his ungraceful beating of the hammer, throwing things and digging in dirt. A true boy at heart while on the contrary my little niece does not partake in the loud chaos of Coopers activities but sits quietly with her dolls and princess.

The process begins.

IMG_4628

They kept falling off and we had to get re-situated.

IMG_4629

Finally, walking like a champ.

IMG_4630

Successful concentration.

IMG_4631

“Don’t interrupt me mommy!”

IMG_4632

“I did it, I walked the whole room without them slipping off. Success!”

IMG_4633

Michael and I got a good laugh out of our son enjoying the concept of walking in overly large shoes.

My son loves playing in my makeup bag twisting the caps off one by one, wearing my necklace and spraying perfume. Does this make him less of a man, absolutely not. It is pretty simple actually. He is home with me all day long and sees the things I partake in and wants to dabble as well. He also mimics everything daddy does in the evenings; digging in dirt, playing with tools, messing with the lawn mower and simply getting dirty. This is part of learning as a child how to do things and wanting to be like mommy and daddy. There is no need to worry in their little adventures.

Moment of Truth: I truly believe it is innately ingrained in all of our children that a boy will be a boy and a girl will be a girl.

Coffee Crumb Cake Muffins- NY Style

Coffee Cake Muffins, New York style. OH MY GOODNESS! These are almost too perfect! They are entirely unhealthy but how can you have healthy coffee cake and actually enjoy it? I don’t believe in wasting calories and fat on muffins that simply are a knock off. :)

We LOVE these muffins and decided to take them to the beach this weekend to enjoy with family and allow them to partake in our indulgence as well. They are a great hit and everyone enjoys a good coffee cake muffin with some fruit and coffee.

Ingredients:

For the muffin:

  • 1¼ cup unbleached flour (Cake flour works great too)
  • ½ cup granulated sugar
  • ¼ tsp baking soda
  • ¼ tsp salt
  • 6 tbsp butter softened but still cool
  • 1 egg
  • 1 egg yolk
  • 1 tsp vanilla extract
  • ⅓ cup buttermilk

For the crumb topping:

  • ⅓ cup granulated sugar
  • ⅓ cup dark brown sugar
  • ¾ tsp ground cinnamon
  • Dash of salt
  • 1 cup butter, melted
  • 1 ¼ cups cake flour

In a stand mixer, mix together flour, sugar, soda and salt.

IMG_4634

Add in butter and eggs.

IMG_4637

Stir in vanilla and buttermilk (for homemade quick buttermilk click here)

IMG_4639 - Copy

Beat until incorporated but do not over mix.

IMG_4640

Fill muffin cups 1/3 full leaving plenty of room for the crumb topping and for the muffin to rise.

IMG_4642

Make the crumb topping: In a medium bowl, combine all ingredients except flour together and mix thoroughly. Add in flour and stir really well. Spoon on top of batter.

IMG_4644

Bake at 350 degrees for 15-20 minutes or until crumb topping is golden brown and batter comes out clean with a toothpick inserted.

IMG_4645

Cool on wire rack and enjoy! They also freeze well in an airtight container.

IMG_4646 - Copy

Recipe adapted from Table for two blog

Little Dirty Secrets

There are many little hidden traps throughout your house that easily get neglected. As I chase three kids around the house and see a dust bunny here, crumbs there, laundry over yonder, I begin to realize some things simply need to be cleaned that are forgotten about for quite some time. Trying to keep the basics cleaned, you realize the deep cleaning is always sitting on the back burner.

dirty little secrets

Thanks to: 4littlefergusons.wordpress.com

Here is a list of those little traps that we overlook on a too regular basis:

  • Dishwasher
  • Washing Machine
  • Bathtub
  • Humidifier
  • Coffee Pot
  • Door handles/light switches
  • TV remotes
  • Computer mouse and keyboard

These all get used on a regular basis but how often do we take the time to clean them. Just as a dishwasher and washing machine clean our clothes or dishes, they need to be cleaned themselves. A load here and there doesn’t do the trick. Make sure you wipe around the edges of the dishwasher to remove any mold or mildew that builds up. On the inside place an Affresh cleaner to make your dishwasher sparkling clean again. Same goes for your washing machine, you need to clean it once a month as well to keep clothes smelling clean and not that sweaty, mildew smell as if you left your laundry sitting wet for too long. It can often be from lack of cleaning your washing machine.

Affresh-300x300

Many of us have little kiddos running around needing a bath on a daily basis. Do you ever see the pink residue begin to form in your tub? That’s disgusting mildew that needs to be removed. Soap and water tend to reside in the bottom of the tub once you drain your bath. It sits there and builds up leaving a film all across the bottom, side and waistline of your tub.

bath tub

Humidifiers are often overlooked on a too frequent basis. I try and clean my humidifier once a month and still find mold. I will be purchasing a new humidifier as our current one isn’t easily accessible leaving certain spots with a mold residue that cannot be reached with a scrub brush. Making sure you clean them regularly and use a mold-be-gone for them as well. They have these in the isle where you by Vicks Vapor Steam.

Humidifier

Coffee pots- Though you may clean the actual pot where your coffee sits, don’t forget the back of the pot when you first fill it with water to brew your delicious coffee. Some coffee pots are clear in the back where you fill it up with water and others are not. I have had both and the clear ones help you spot mildew as it first starts to grow. Dark backs keep you blind to what is growing back there. Almost all coffee pots have a self clean button that alerts you when your pot needs to be cleaned, but my experience with the clear back is the self clean alert isn’t soon enough. Every couple of weeks you should run a pot of water and vinegar (equal parts) through your pot to help give a deep natural clean. Than simply wipe it down.

coffee pot

How often do you touch a door handle or light switch? Probably a hundred times a day give or take. How often do you clean your light switch or door handles? In our household I try and keep up on it, but it’s something that gets over looked too often. Germs get spread, dirty paws from my little man, sticky food, so on and so forth always get touched. Take a wash cloth with vinegar and water and wipe down really well. Or, if some of you don’t prefer the natural way, take Lysol or a preferred cleaner and walk around and clean every door handle and light switch.

door handle

Most of us probably have a TV remote, keyboard or mouse from the computer that gets touched on an ever so frequent basis. I know we do! This is a trap that gets no attention and breeds germs and dust. Take a moment to clean your household hidden treasures and wipe them clean.

tv remoteTake a minute to not only clean these hidden germs, but to take pride in your own and keep it clean!


My Growing Garden

My garden IS growing. I’m so happy. Watching piles of dirt being hauled away, to the roots and weeds over taking a large space. Clearing the space to only bury some seeds below ground in hopes something will occur.

Finally, not only are blossoms on my tomatoes and my seeds sprouted and growing wildly, but we got garden mulch to finish the look and bring everything together so beautifully.

I can’t explain the immense joy I take from watching my garden grow. From seeds to branches, it’s so fun to see that this is something I started from the ground up (literally)!

My green beans are the only seeds I soaked for 24 hours before planting. By doing so, I noticed an incredible difference in growth. They grew quickly and abundantly.

Green Beans

Green Beans

My cilantro is doing way better in the ground than the potted cilantro.

Cilantro

Cilantro

My squash not only has grown but is forming it’s leaves for production. :)

Squash

Squash

I planted watermelon a little bit later than the rest, it popped through within 3 days.

IMG_4541

Watermelon

Kale was one of the first ones I planted. It’s growing quite well. I can’t wait for it to begin producing and feeding our bellies.

Kale

Kale

I also planted radishes, carrots, green bell peppers, tomatoes and cucumbers. Cucumbers are the only ones that did not survive. I will be attempting again this week as nothing tastes as good as a fresh cucumber. I bought the pre-started plant rather then starting from seeds as I was skeptical of whether I would receive an wealth from my garden. I will buy all produce in seeds next year.

IMG_4653 - Copy

I’ve become addicted to my garden. :)

How to Hard Boil Eggs

How to hard boil eggs.

I didn’t realize that it can be a struggle to peel the shell and not have the yoke fully cooked. After talking with a friend, I decided to share my little secret for the perfect hard boiled egg. No problems peeling and no under cooked egg.

I didn’t realize you could actually buy pre-boiled eggs from Costco. I was actually shocked when I heard this and figured it was time to share these simple directions as I boil eggs weekly for snacks throughout the week.

As I was talking with her, she explained that she can never get the eggs just right; a little too soft or too difficult to peel.

So… here ya go. The no fail hard boiled eggs. If you follow these directions you shouldn’t have any problem peeling the shell. I haven’t and would be surprised if you did.

In a large pot place cold eggs. Use COLD water, enough to cover the eggs. (This will keep them from cracking)

IMG_4542Bring to a roaring boil. 

IMG_4545
Once boiling, turn off heat, cover and set the time for 13 minutes. (Leave the pot on the hot burner) 
IMG_4548

When timer goes off, rinse with cold water and place in the refrigerator. 
IMG_4550

Enjoy your delicious eggs that will cook without fail. 
IMG_4552Simple as that!

English Muffin Bread

***UPDATED***

This is my ‘go to’ recipe. No fail, no harm, simply easy and simply delicious.

This recipe makes 4 loaves and it freezes spectacularly. I usually freeze two at a time although currently my freezer is stuffed to the brim. Literally packed full. I am beginning to wonder how to gain more space. The talk of purchasing a small freezer has been the topic of discussion lately. I freeze quite a bit of items including: turkey broth, pumpkin puree, leftover soups and lentils, meat, leftover chicken potpie, bread and much more. It allows for great meal ideas, healthier options by making your own broths and purees and good news is… they are on hand at all times.

I believe keeping the freezer and pantry stocked allows for meal plans to spread out for up to two weeks. I grocery shop one big trip every two weeks. I will return to the store for produce and perishables. Other than that my I am able to stay on budget very well. It’s taken some time for me to figure out the best way to avoid the store on a frequent basis as well as spending the least amount of money while still cooking and baking without purchasing premade foods. I’ve found it works very successfully.

First I write out my meal plans, than go back through and write down ingredients that I don’t have on hand or am low on. Second, I constantly monitor what is on hand and close to running out as I like to keep stocks in the pantry of salad dressings, beans, pasta, flour, sugar, etc. This allows for moderations to be made throughout the week on those nights when particular meals don’t hit the spot.

Bread is definitely a must have item. Those sandwiches, toast, and dishes where you need bread as a side do frequent in our house. Also, having bread on hand is great because you don’t have to make it as often, although it’s extremely easy and quick, it allows for more time out of the kitchen by nailing it down in one afternoon. :)

20140206_135714

Ingredients:

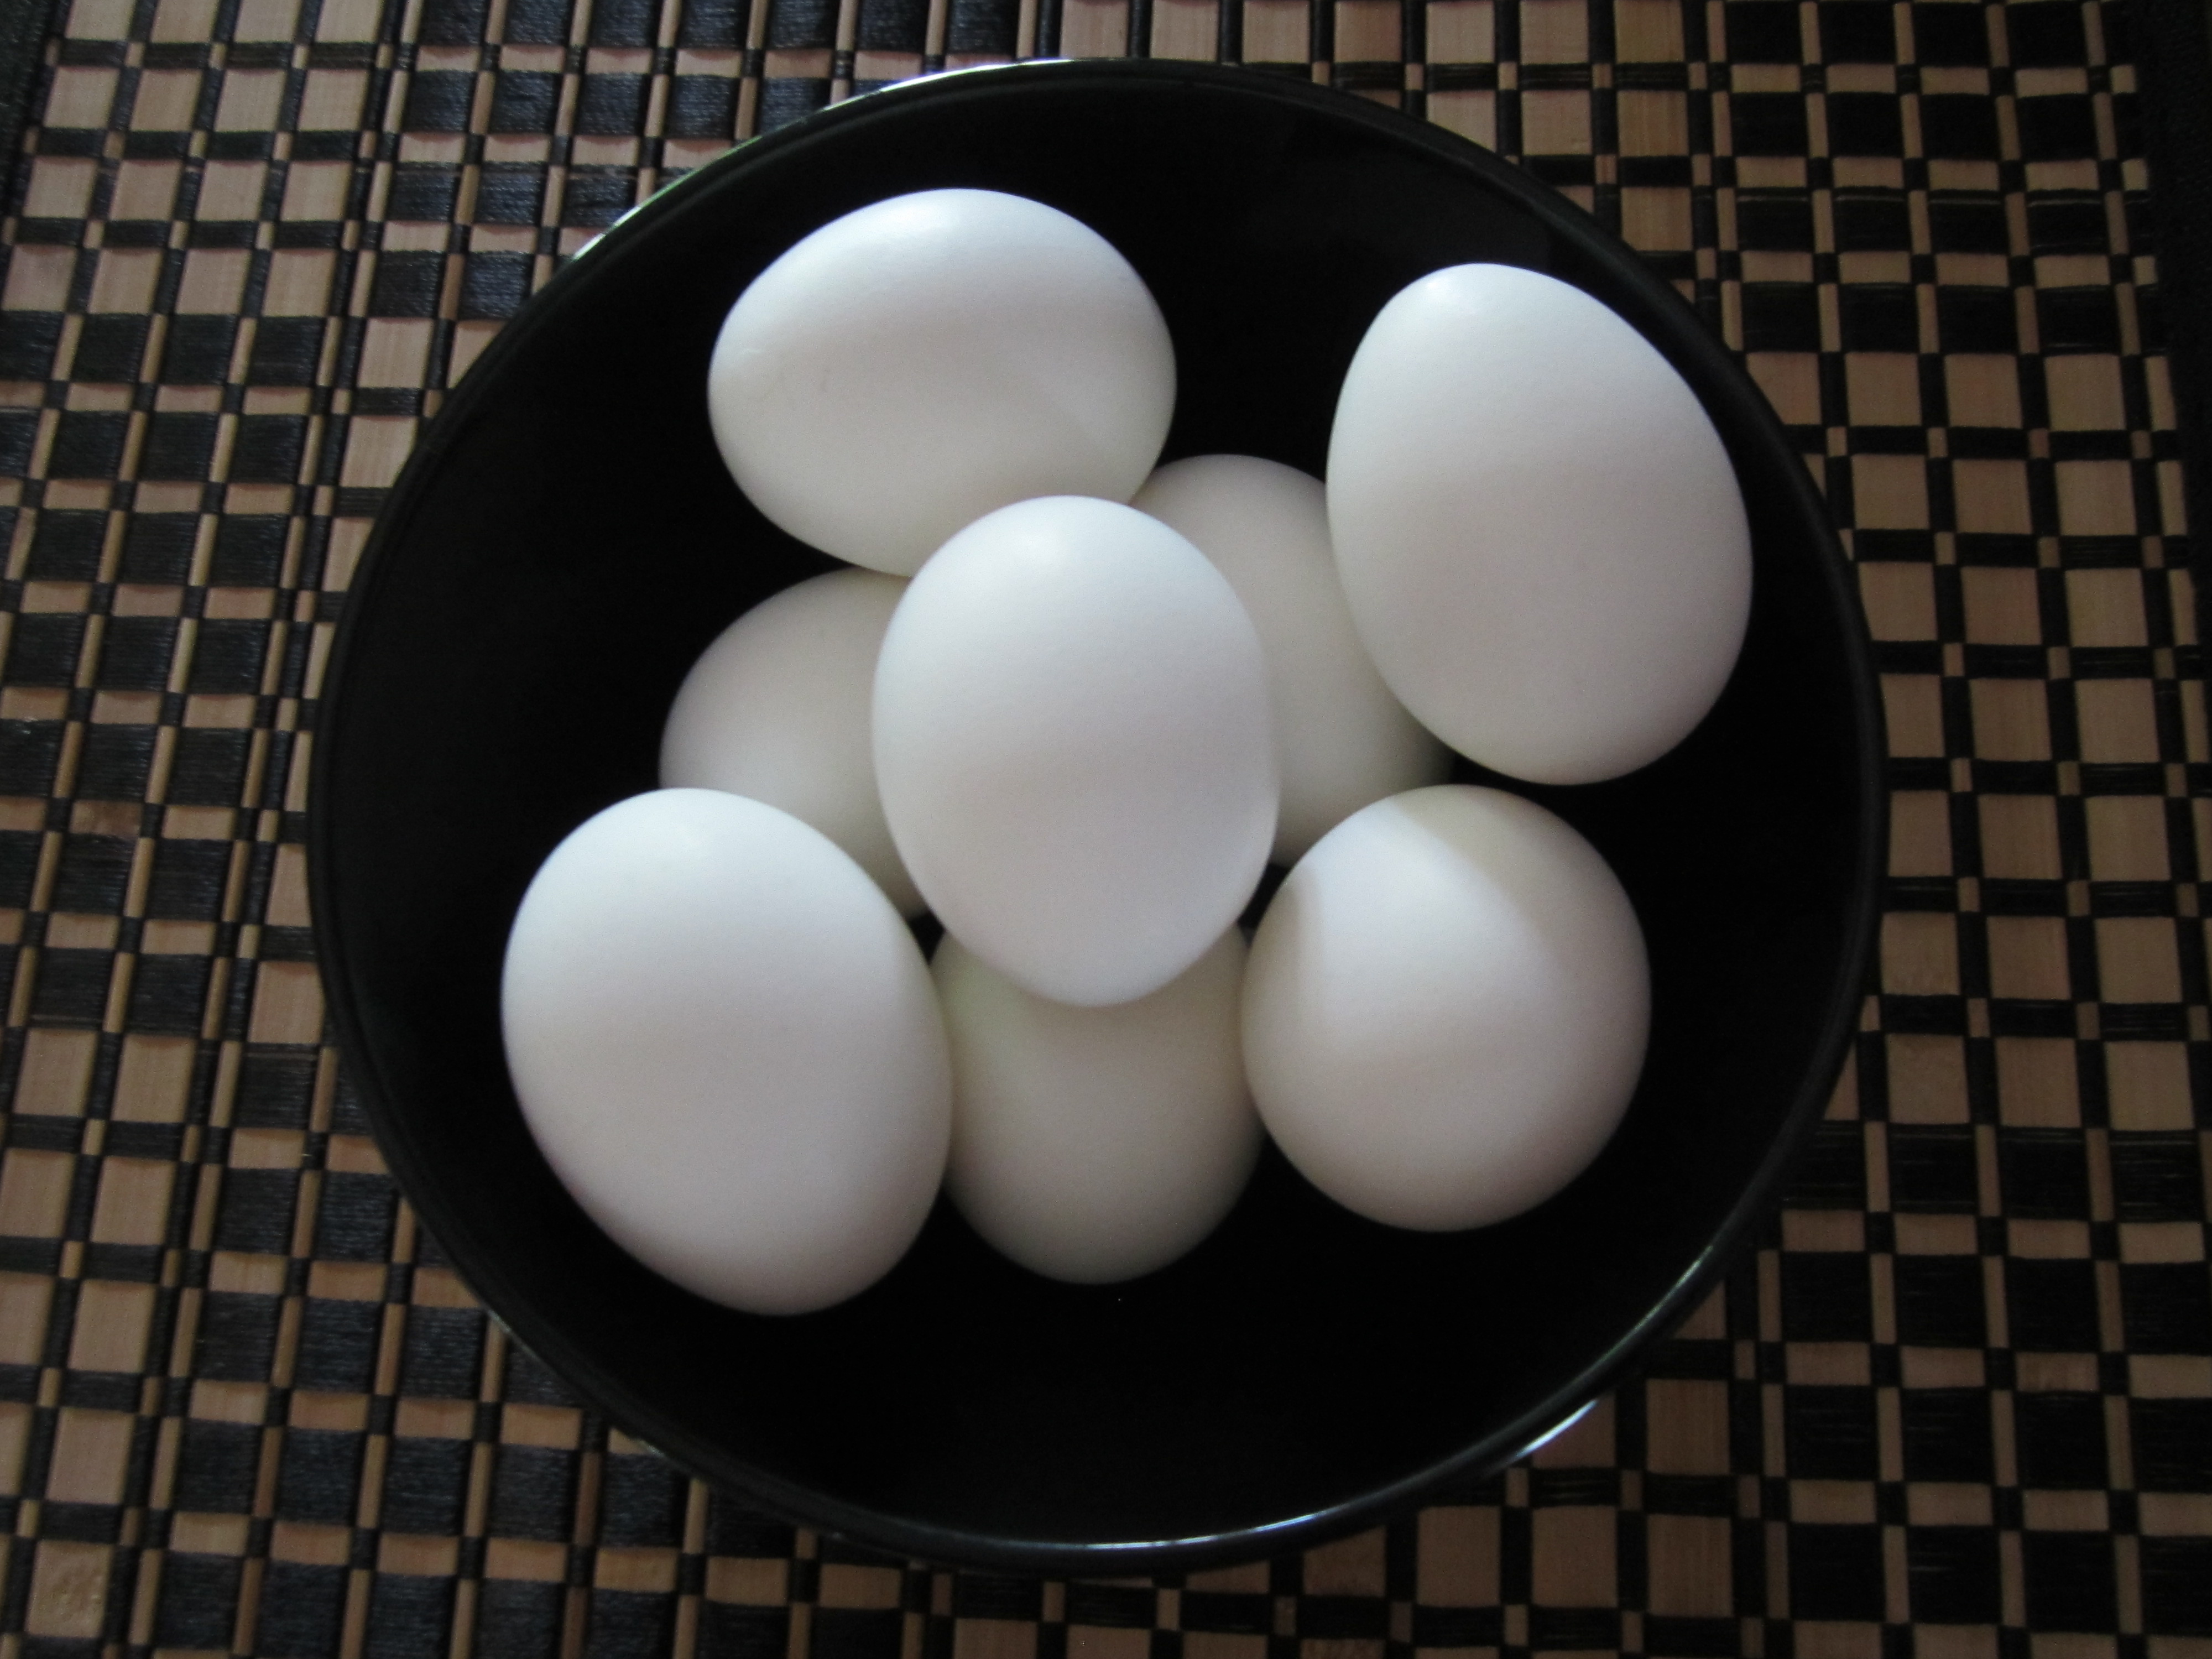
  • 5 1/2 cups warm water
  • 6 3/4 tsps yeast (3 packets of yeast)
  • 1 tbsp sugar
  • 1 tbsp salt
  • 11 cups unbleached flour

In a small glass container add yeast and 2 cups water together. Let sit until yeast begins to bubble. (Do not worry about mixing thoroughly)

IMG_4376

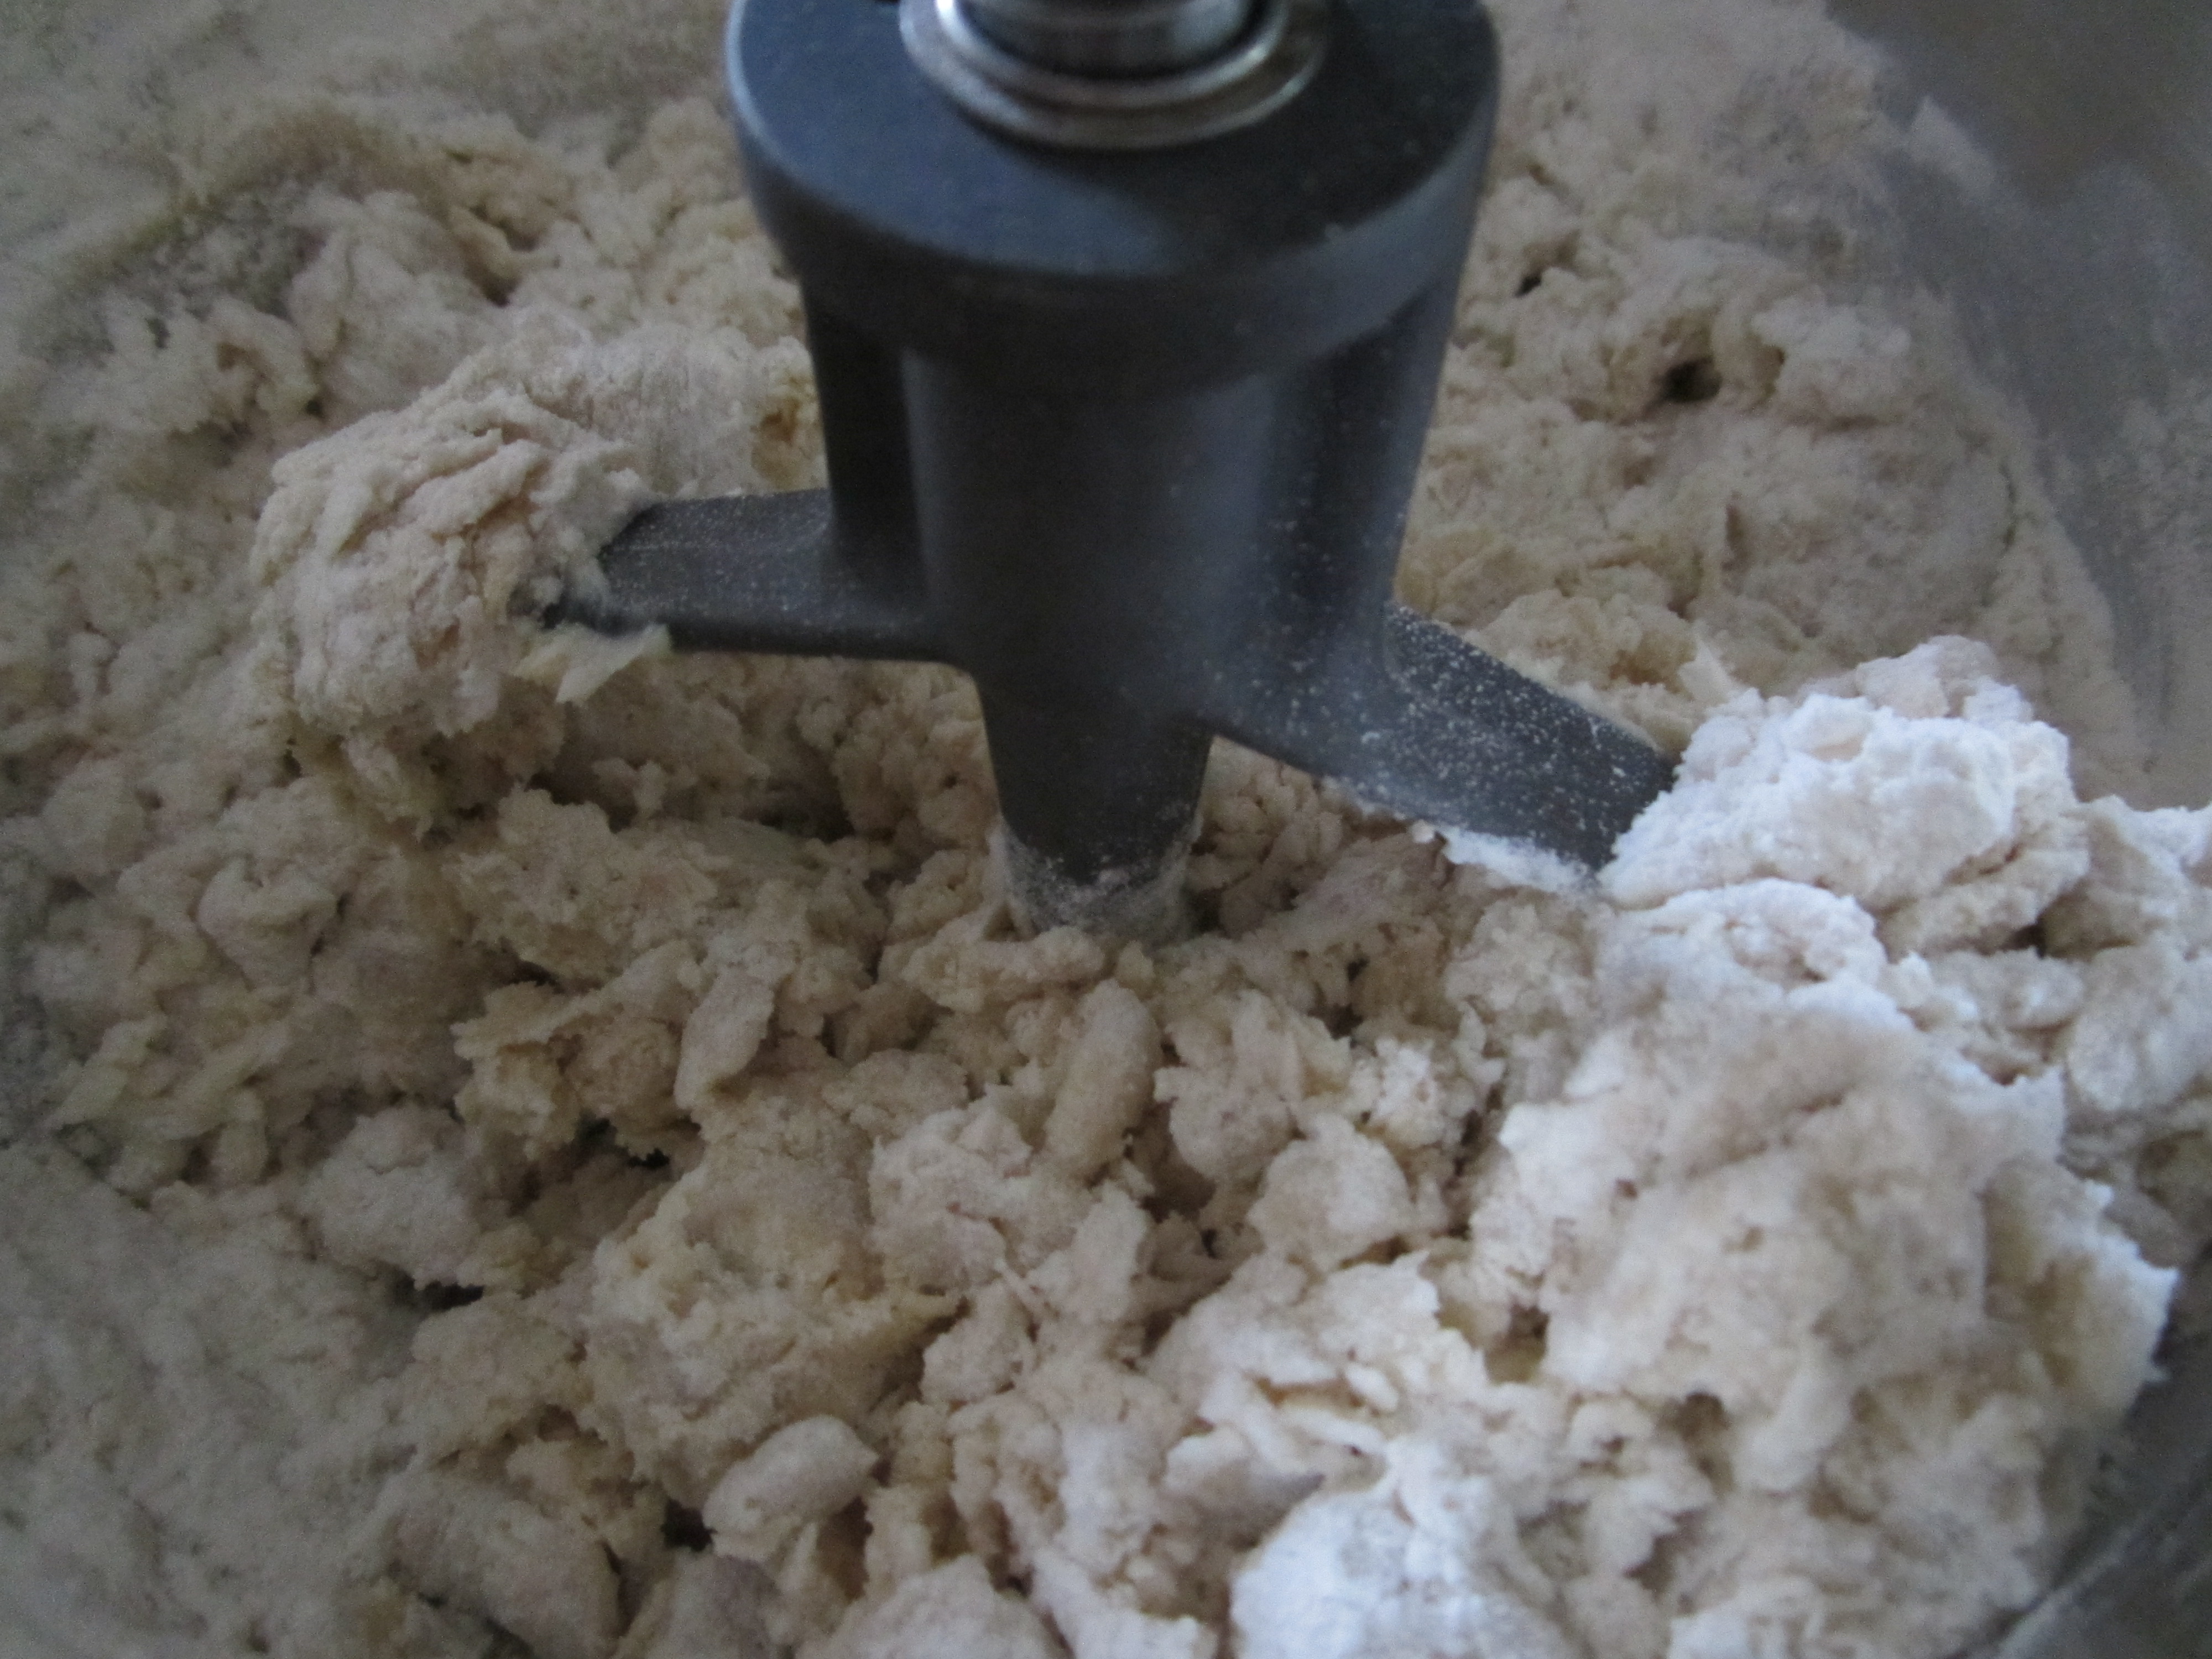
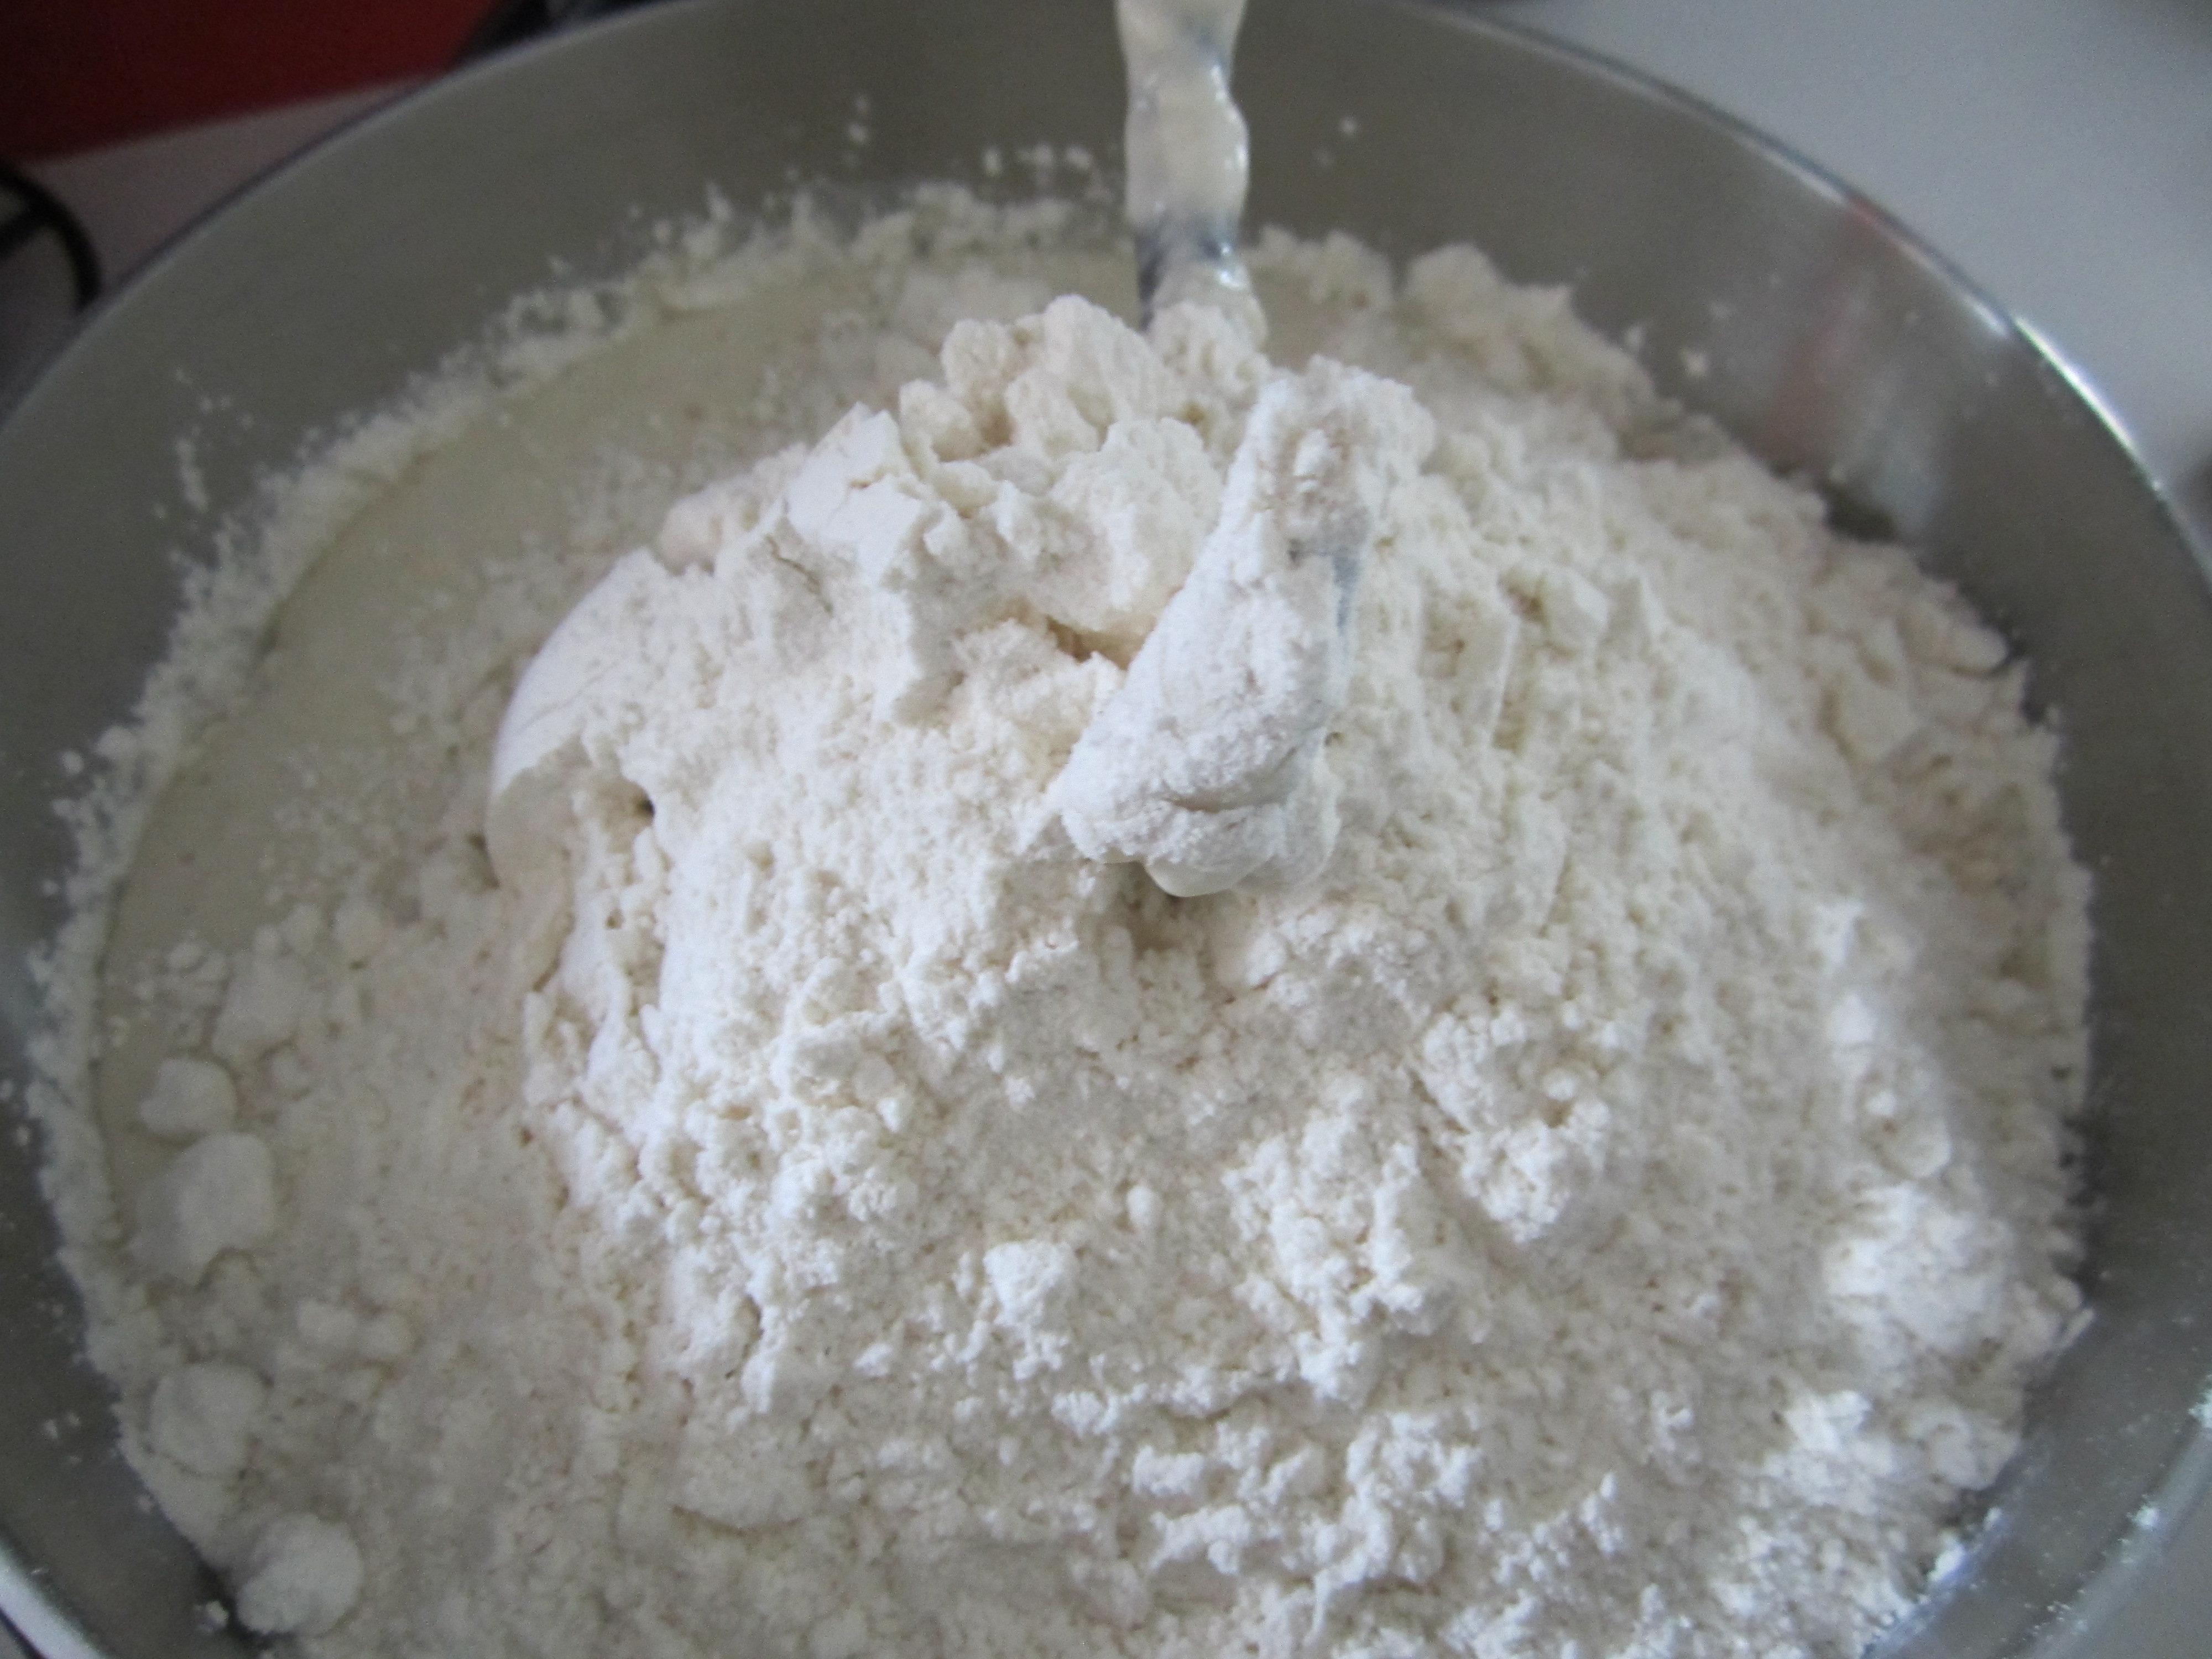
Meanwhile, add 6 cups flour, salt and sugar together in a stand mixer using a dough hook. IMG_4383

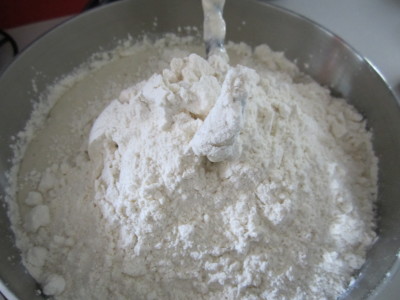
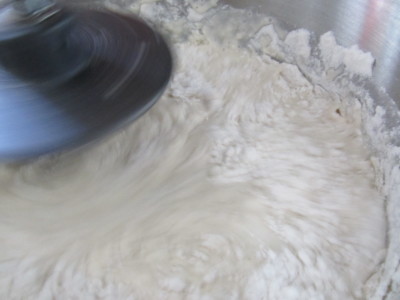
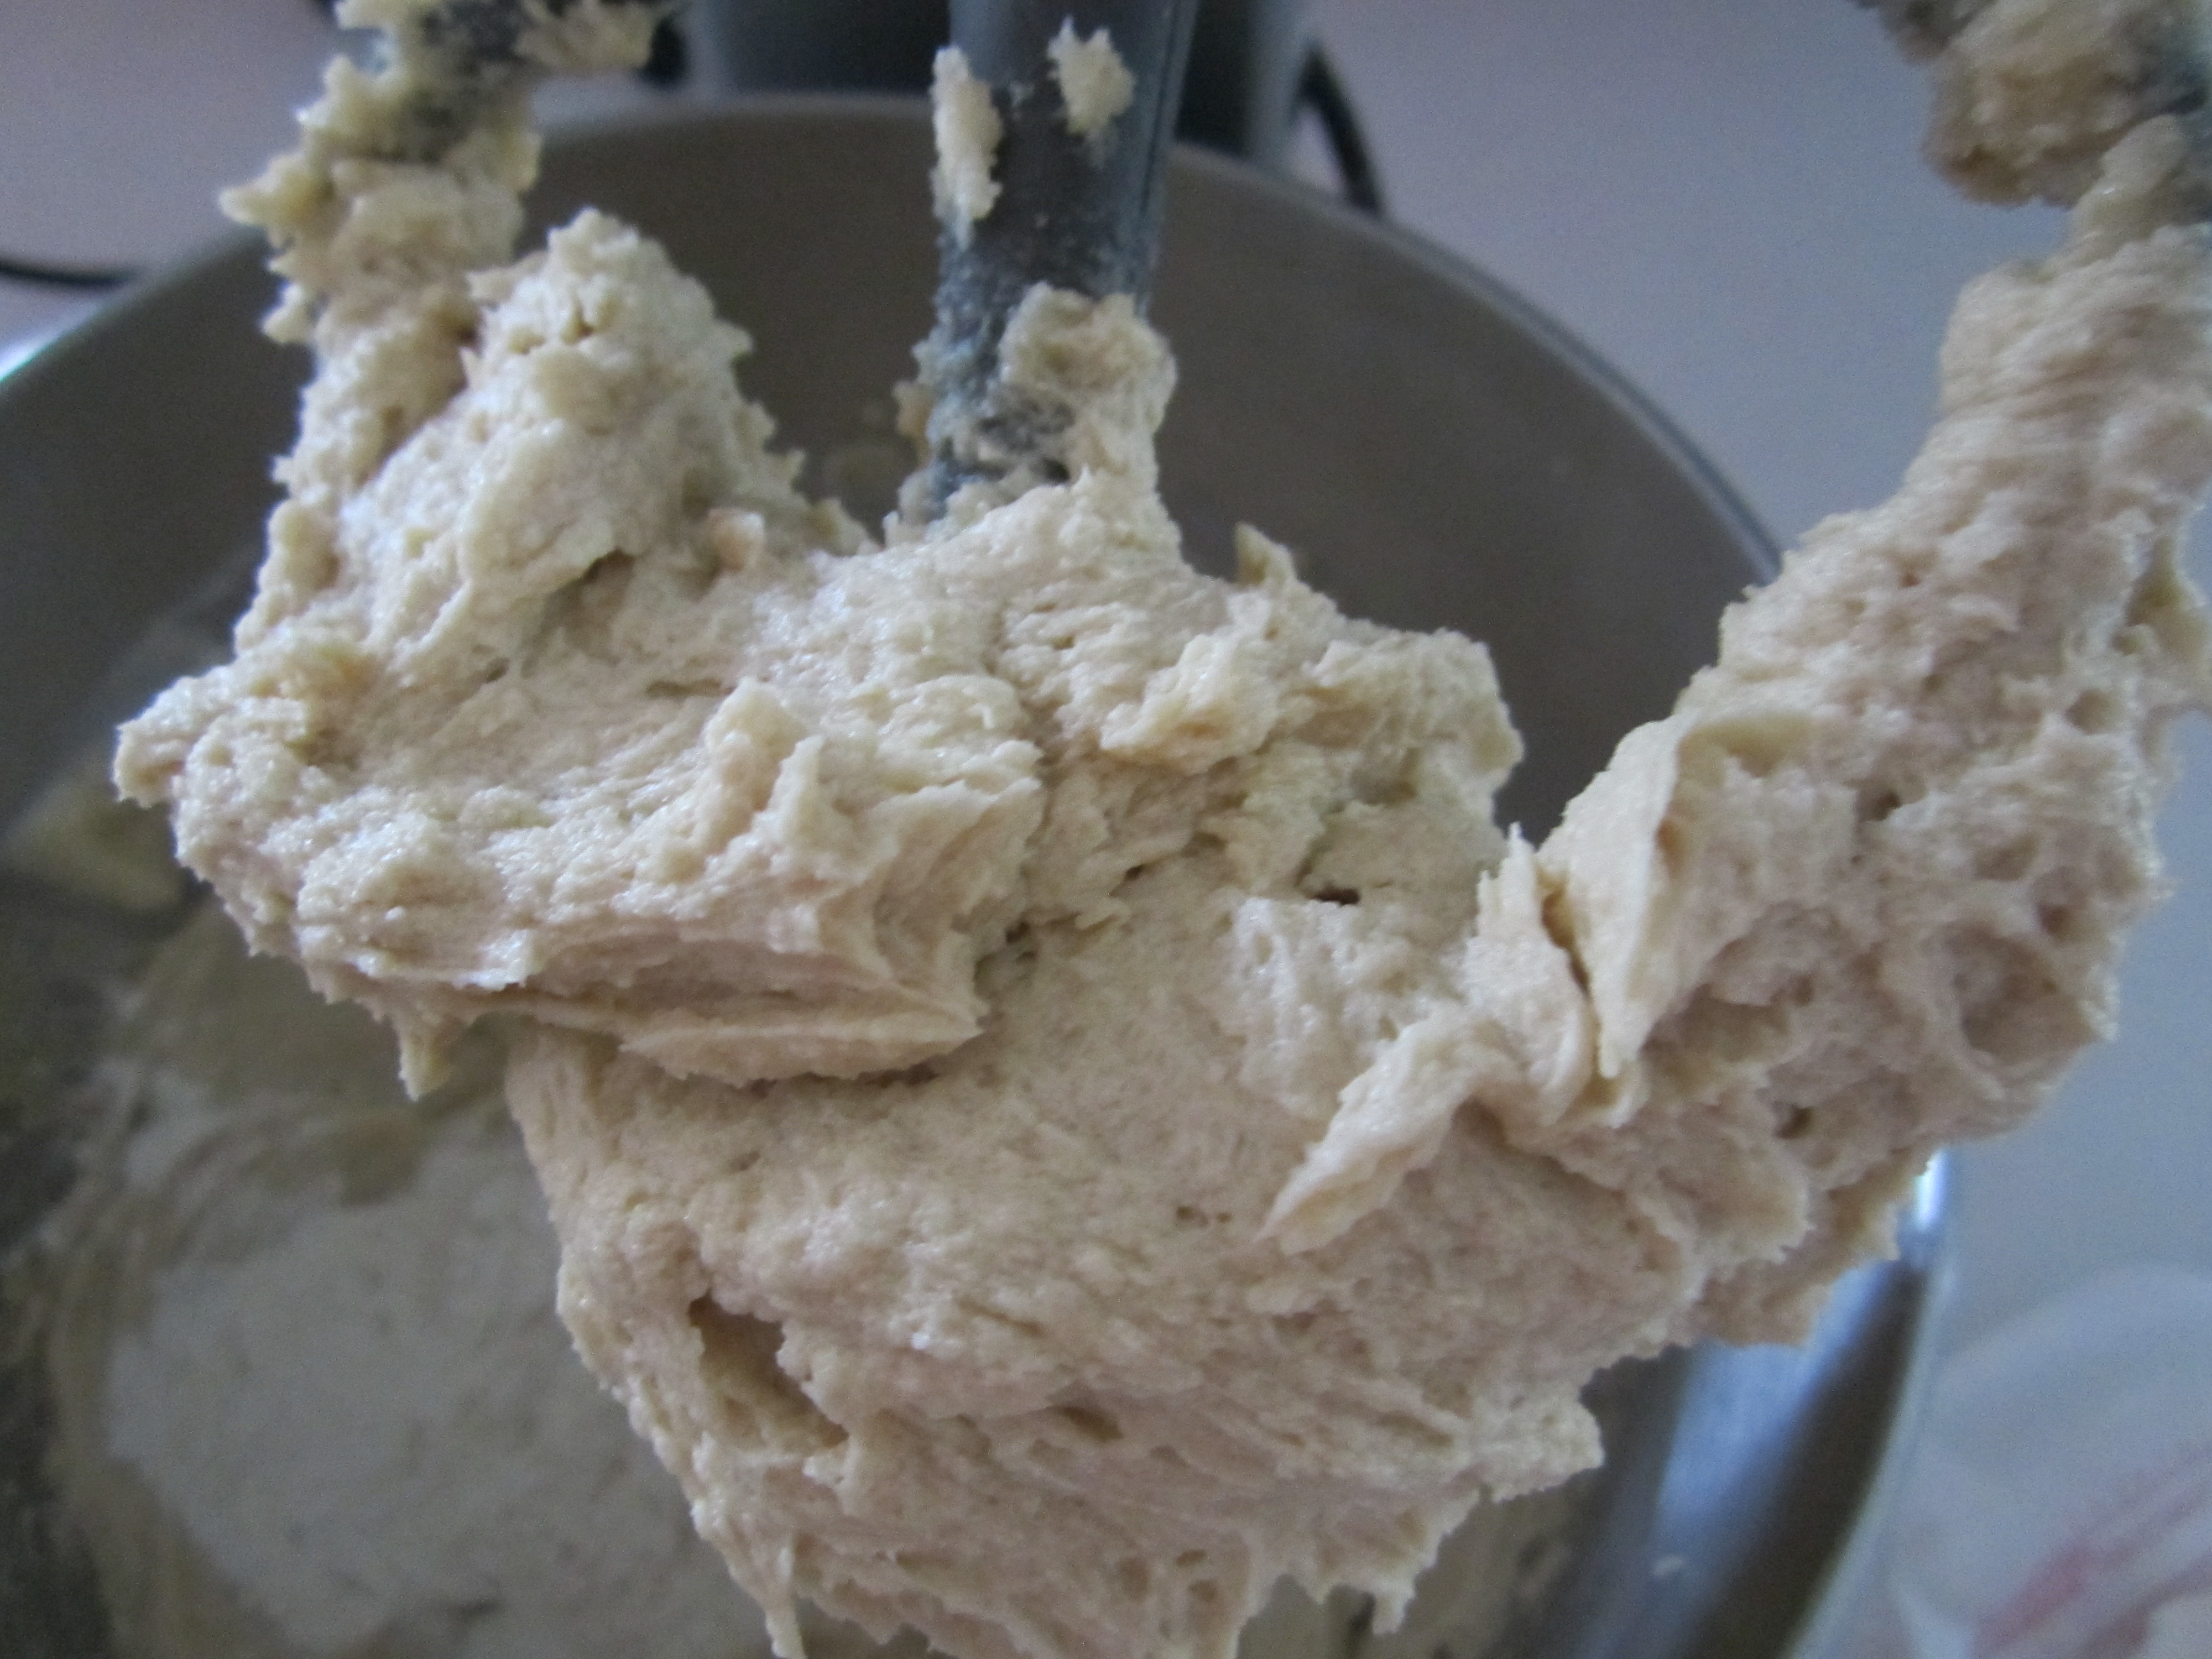
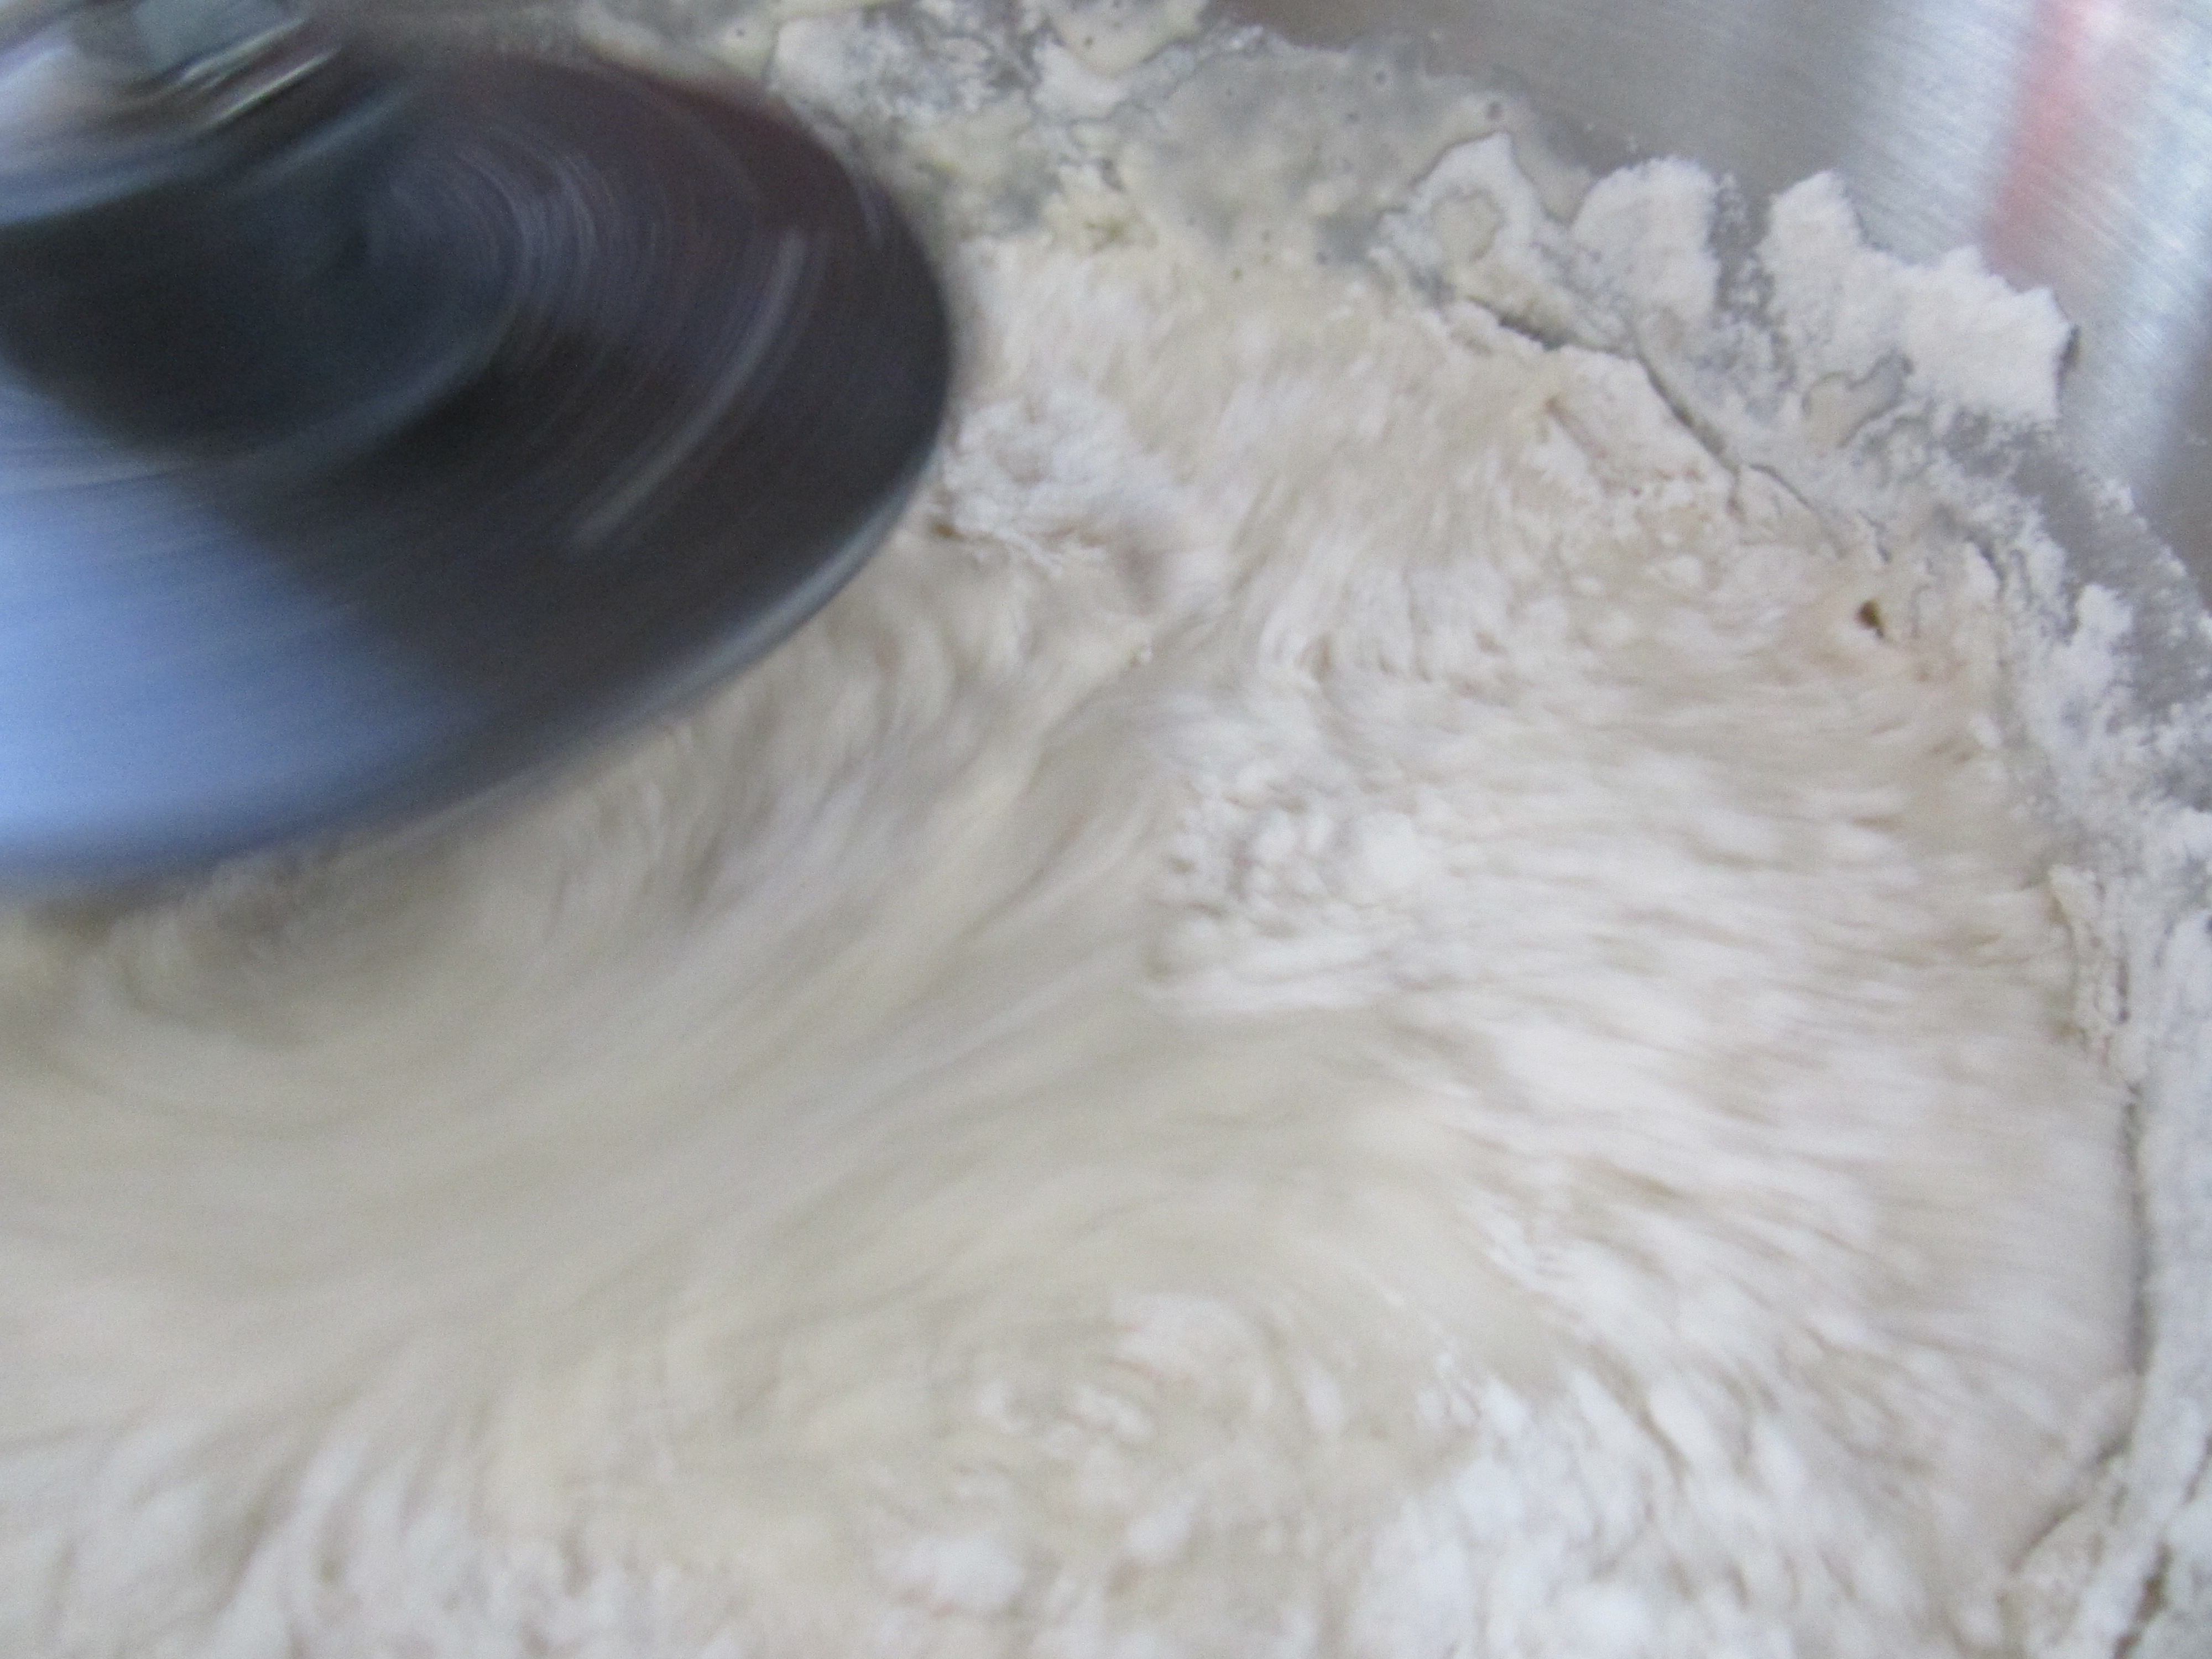
Add in water and yeast as well as remaining 2 1/2 cups water, begin to mix. Once mixture is beginning to incorporate well, slowly add remaining 5 cups of flour a little at a time. Make sure all flour is intermixed and no lumps are found.

IMG_4380

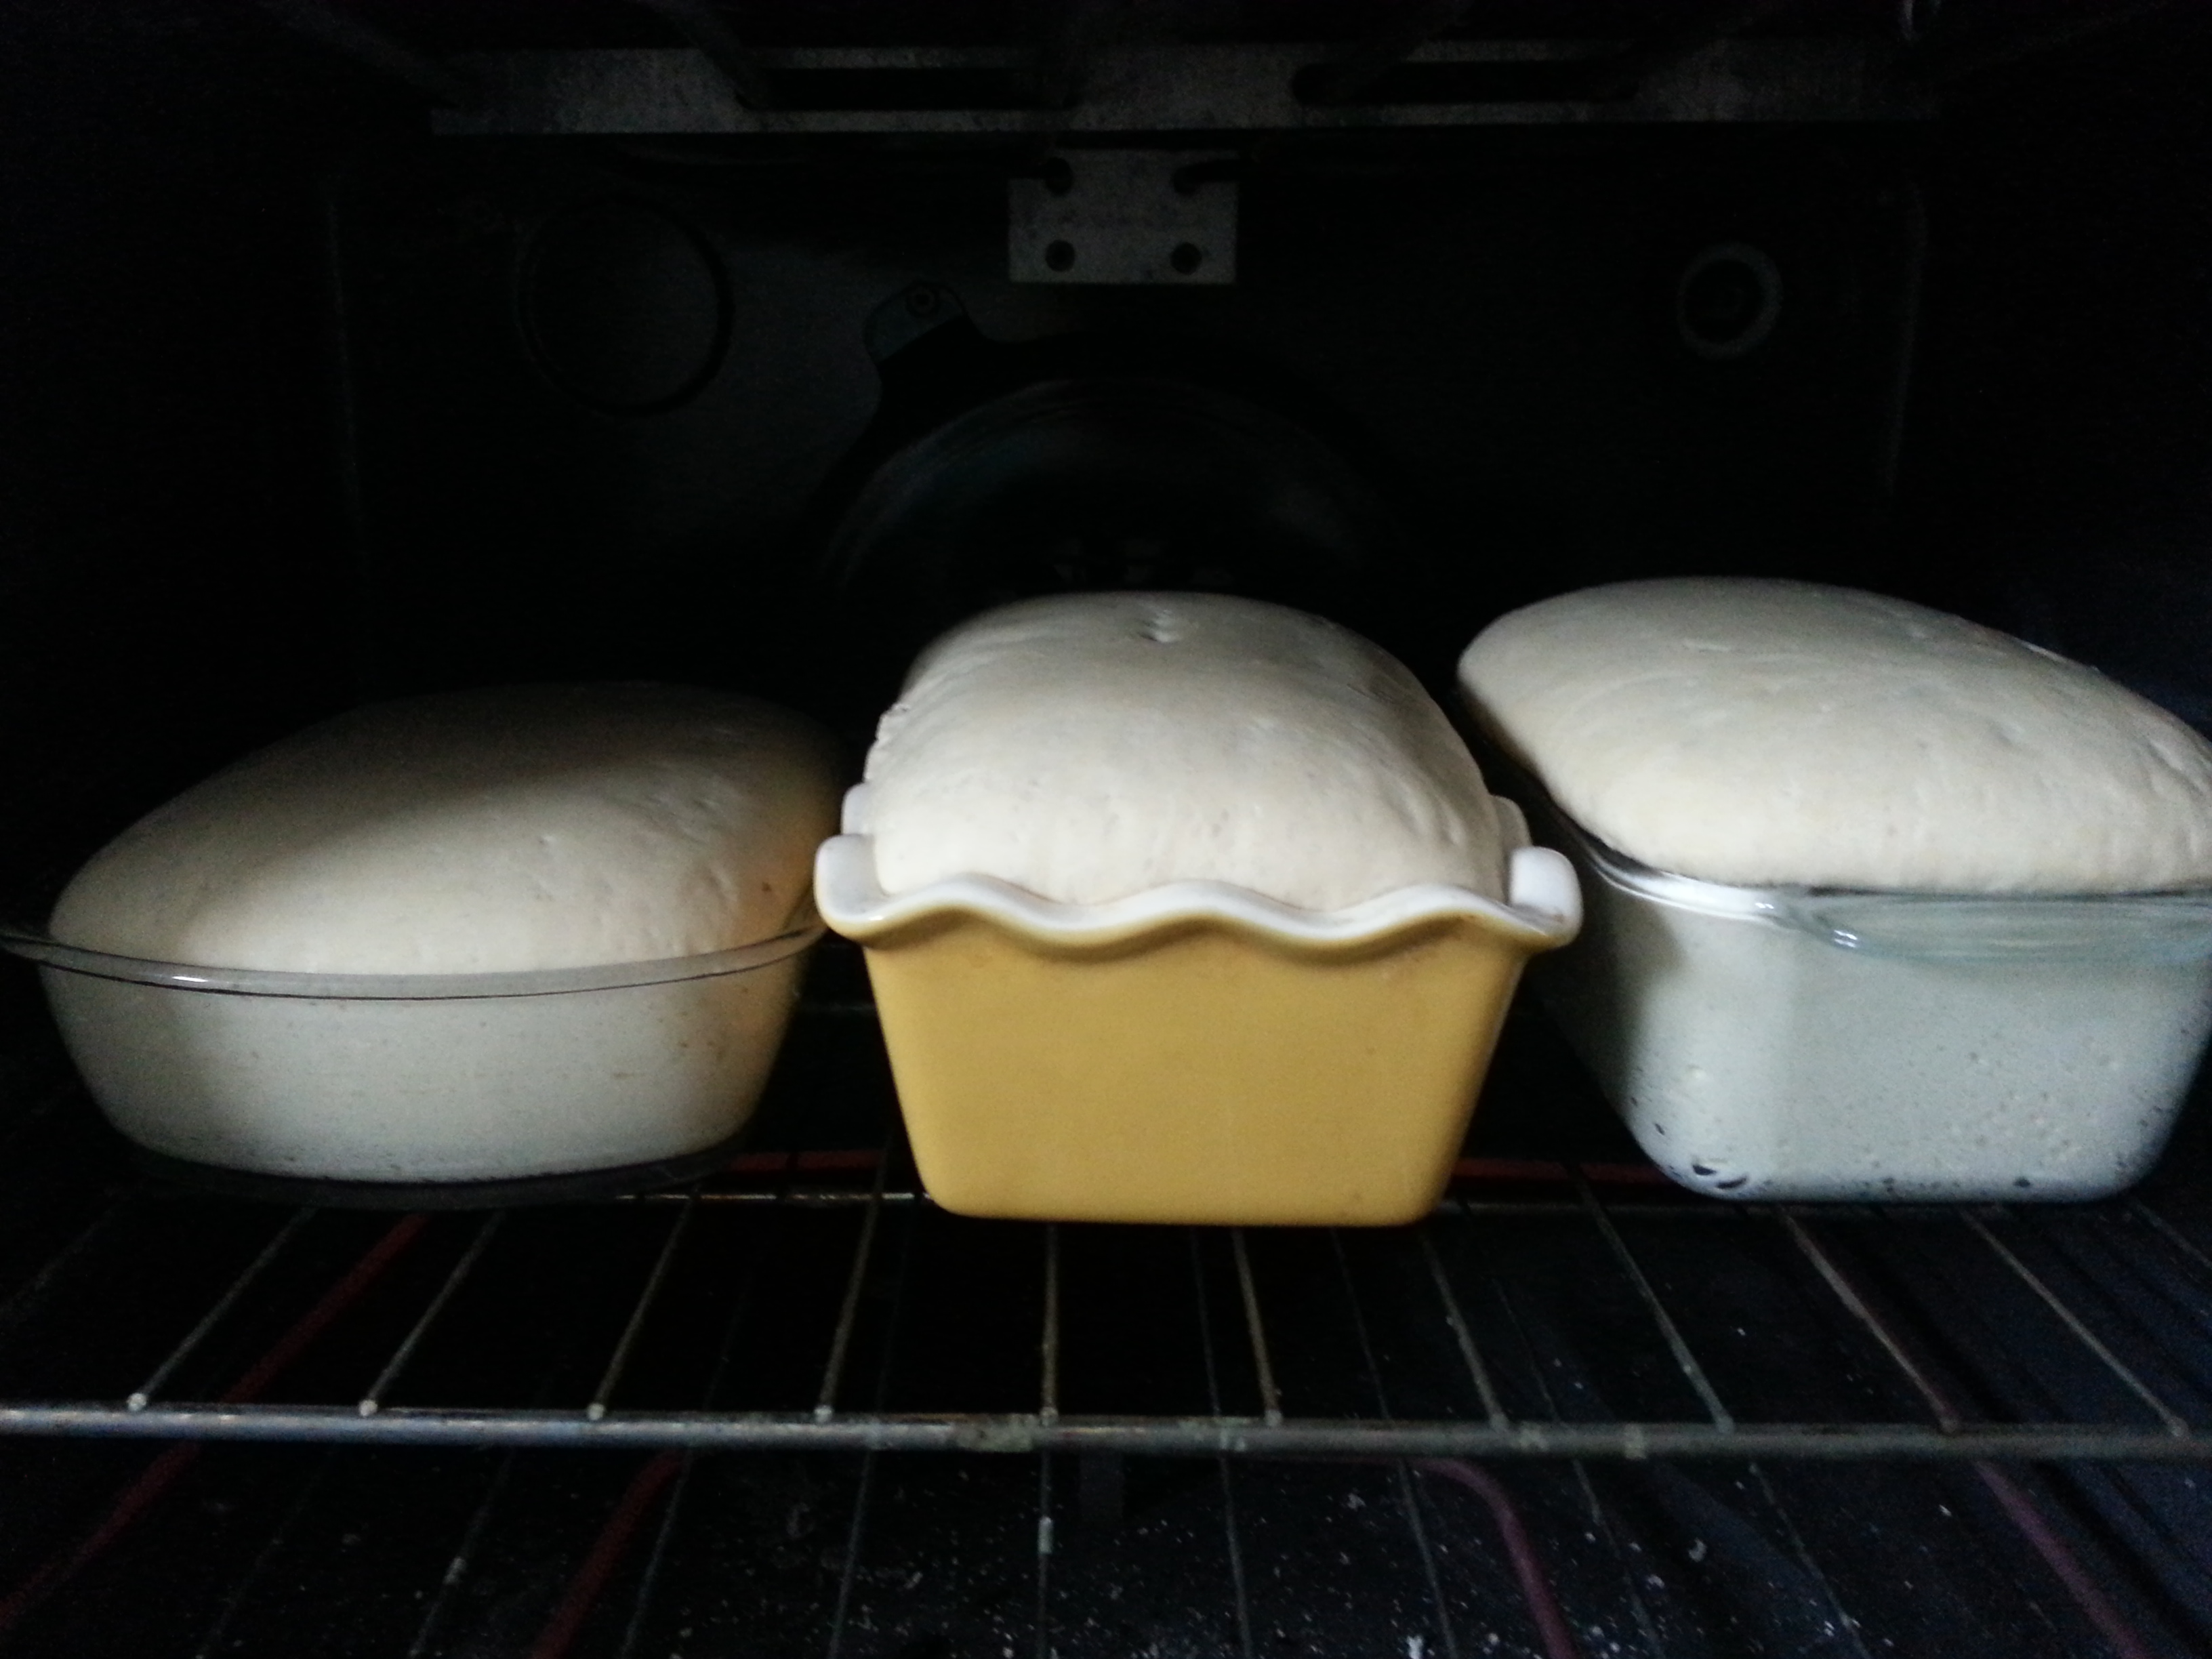
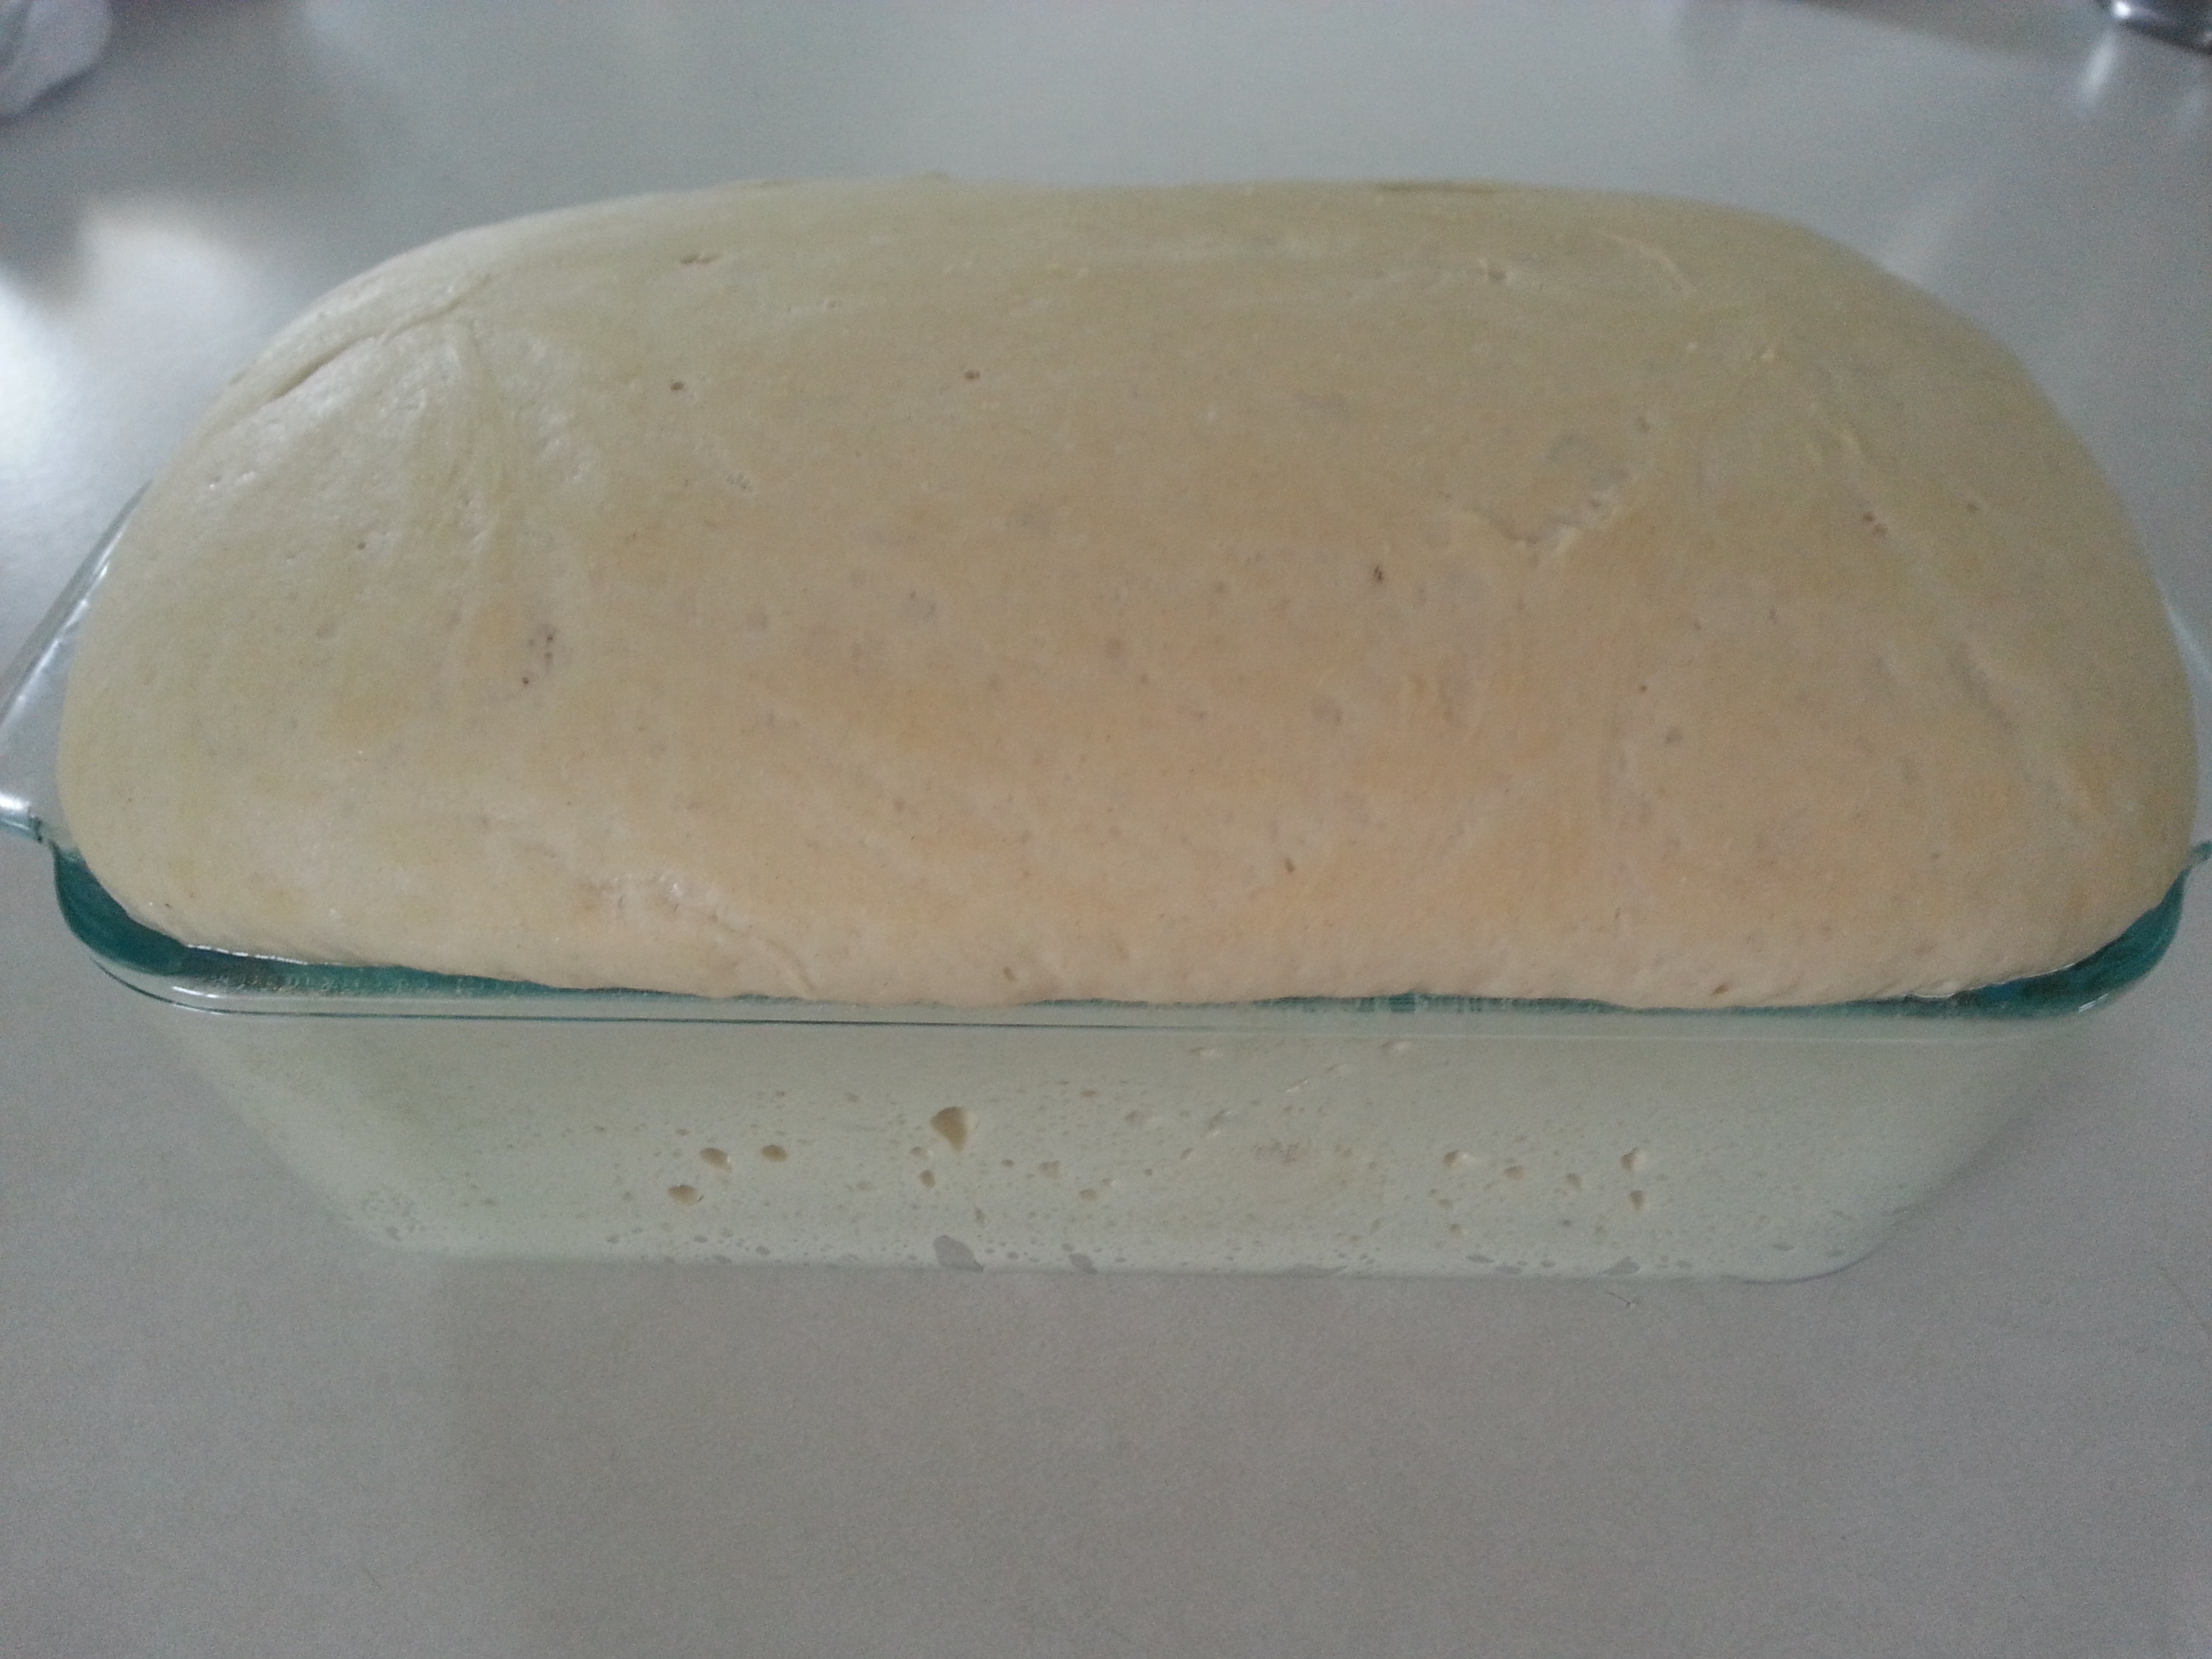
Once dough is thoroughly mixed, grease 3-4 bread pans any shape or size; grease well! Divide dough equally into pans.

IMG_4387

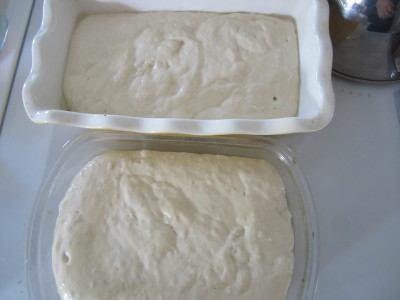
Cover with a tea towel and let dough rise until dough reaches the top of the pan.

20140206_135701

Bake at 400 for 30 minutes. Bush top of bread with melted butter (optional). Then continue baking an additional 10-15 minutes or until toothpick comes out clean.

20140206_145237

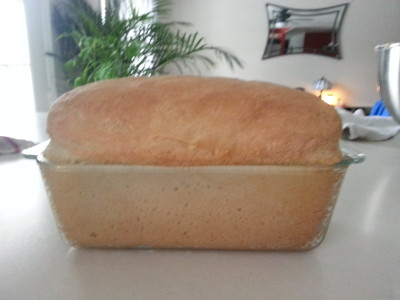
Let bread rest 10 minutes. Remove from pans and let cool on wire rack.

IMG_4426

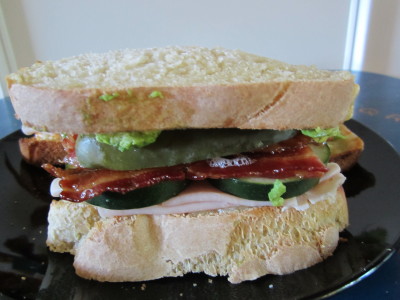
This bread makes the most delicious sandwiches and simple toast with butter or jam!