I am one of those people who tend to get migraines. My mom gets them as well but even worse than I. Unfortunately, I inherited these terrible things. I can’t even begin to explain the intensity of a migraine if you have never had one previously. All you need to know is you never want to experience it. They cause sensitivity to light, to the point I need to lay in bed or I could throw up from the pain. If it doesn’t subside, I would head to ER and get a shot to help alleviate the pain.
On the other hand, I have been migraine free since I became pregnant almost three years ago. I was so ecstatic that my headaches had dissipated with the pregnancy hormones. Well….three years later, I wake up at 4 am from the pain. Writhing in bed, I finally took some medicine which at that point, was already too late. Finally, after falling back asleep for a little bit, I woke up and had to immediately put my sunglasses on to help mask even the dim lighting first thing in the morning. My head was ragging with a splitting headache directly between my eyes. Unfortunately this was typical for me three years ago.
This day in particular, was the day we celebrated our Father’s Day dinner. My husband was very specific on his request for dinner; a Fondido Burrito wet style. We have a favorite burrito place we frequent for massively cheap burritos that you cannot pass up. My husband was very specific on how he wanted this meal to look. Having my father-in-law over for dinner, was just another reason I had to make this meal succeed regardless of my migraine.
I headed for the store to purchase the items I needed for dinner, hoping and praying that my migraine would subside. As the day progressed, it wobbled back and forth but never really depleted in intensity. As the evening approached, I felt a little bit better but still not so hot. Luckily dinner was a success but definitely took time to prepare as I was lollygagging around trying to keep my thoughts focused on the task at hand.
Ingredients:
Burrito Assembly:
- 1 medium onion, diced
- Spanish Rice
- 1 ½ cups black beans (16oz can works as well)
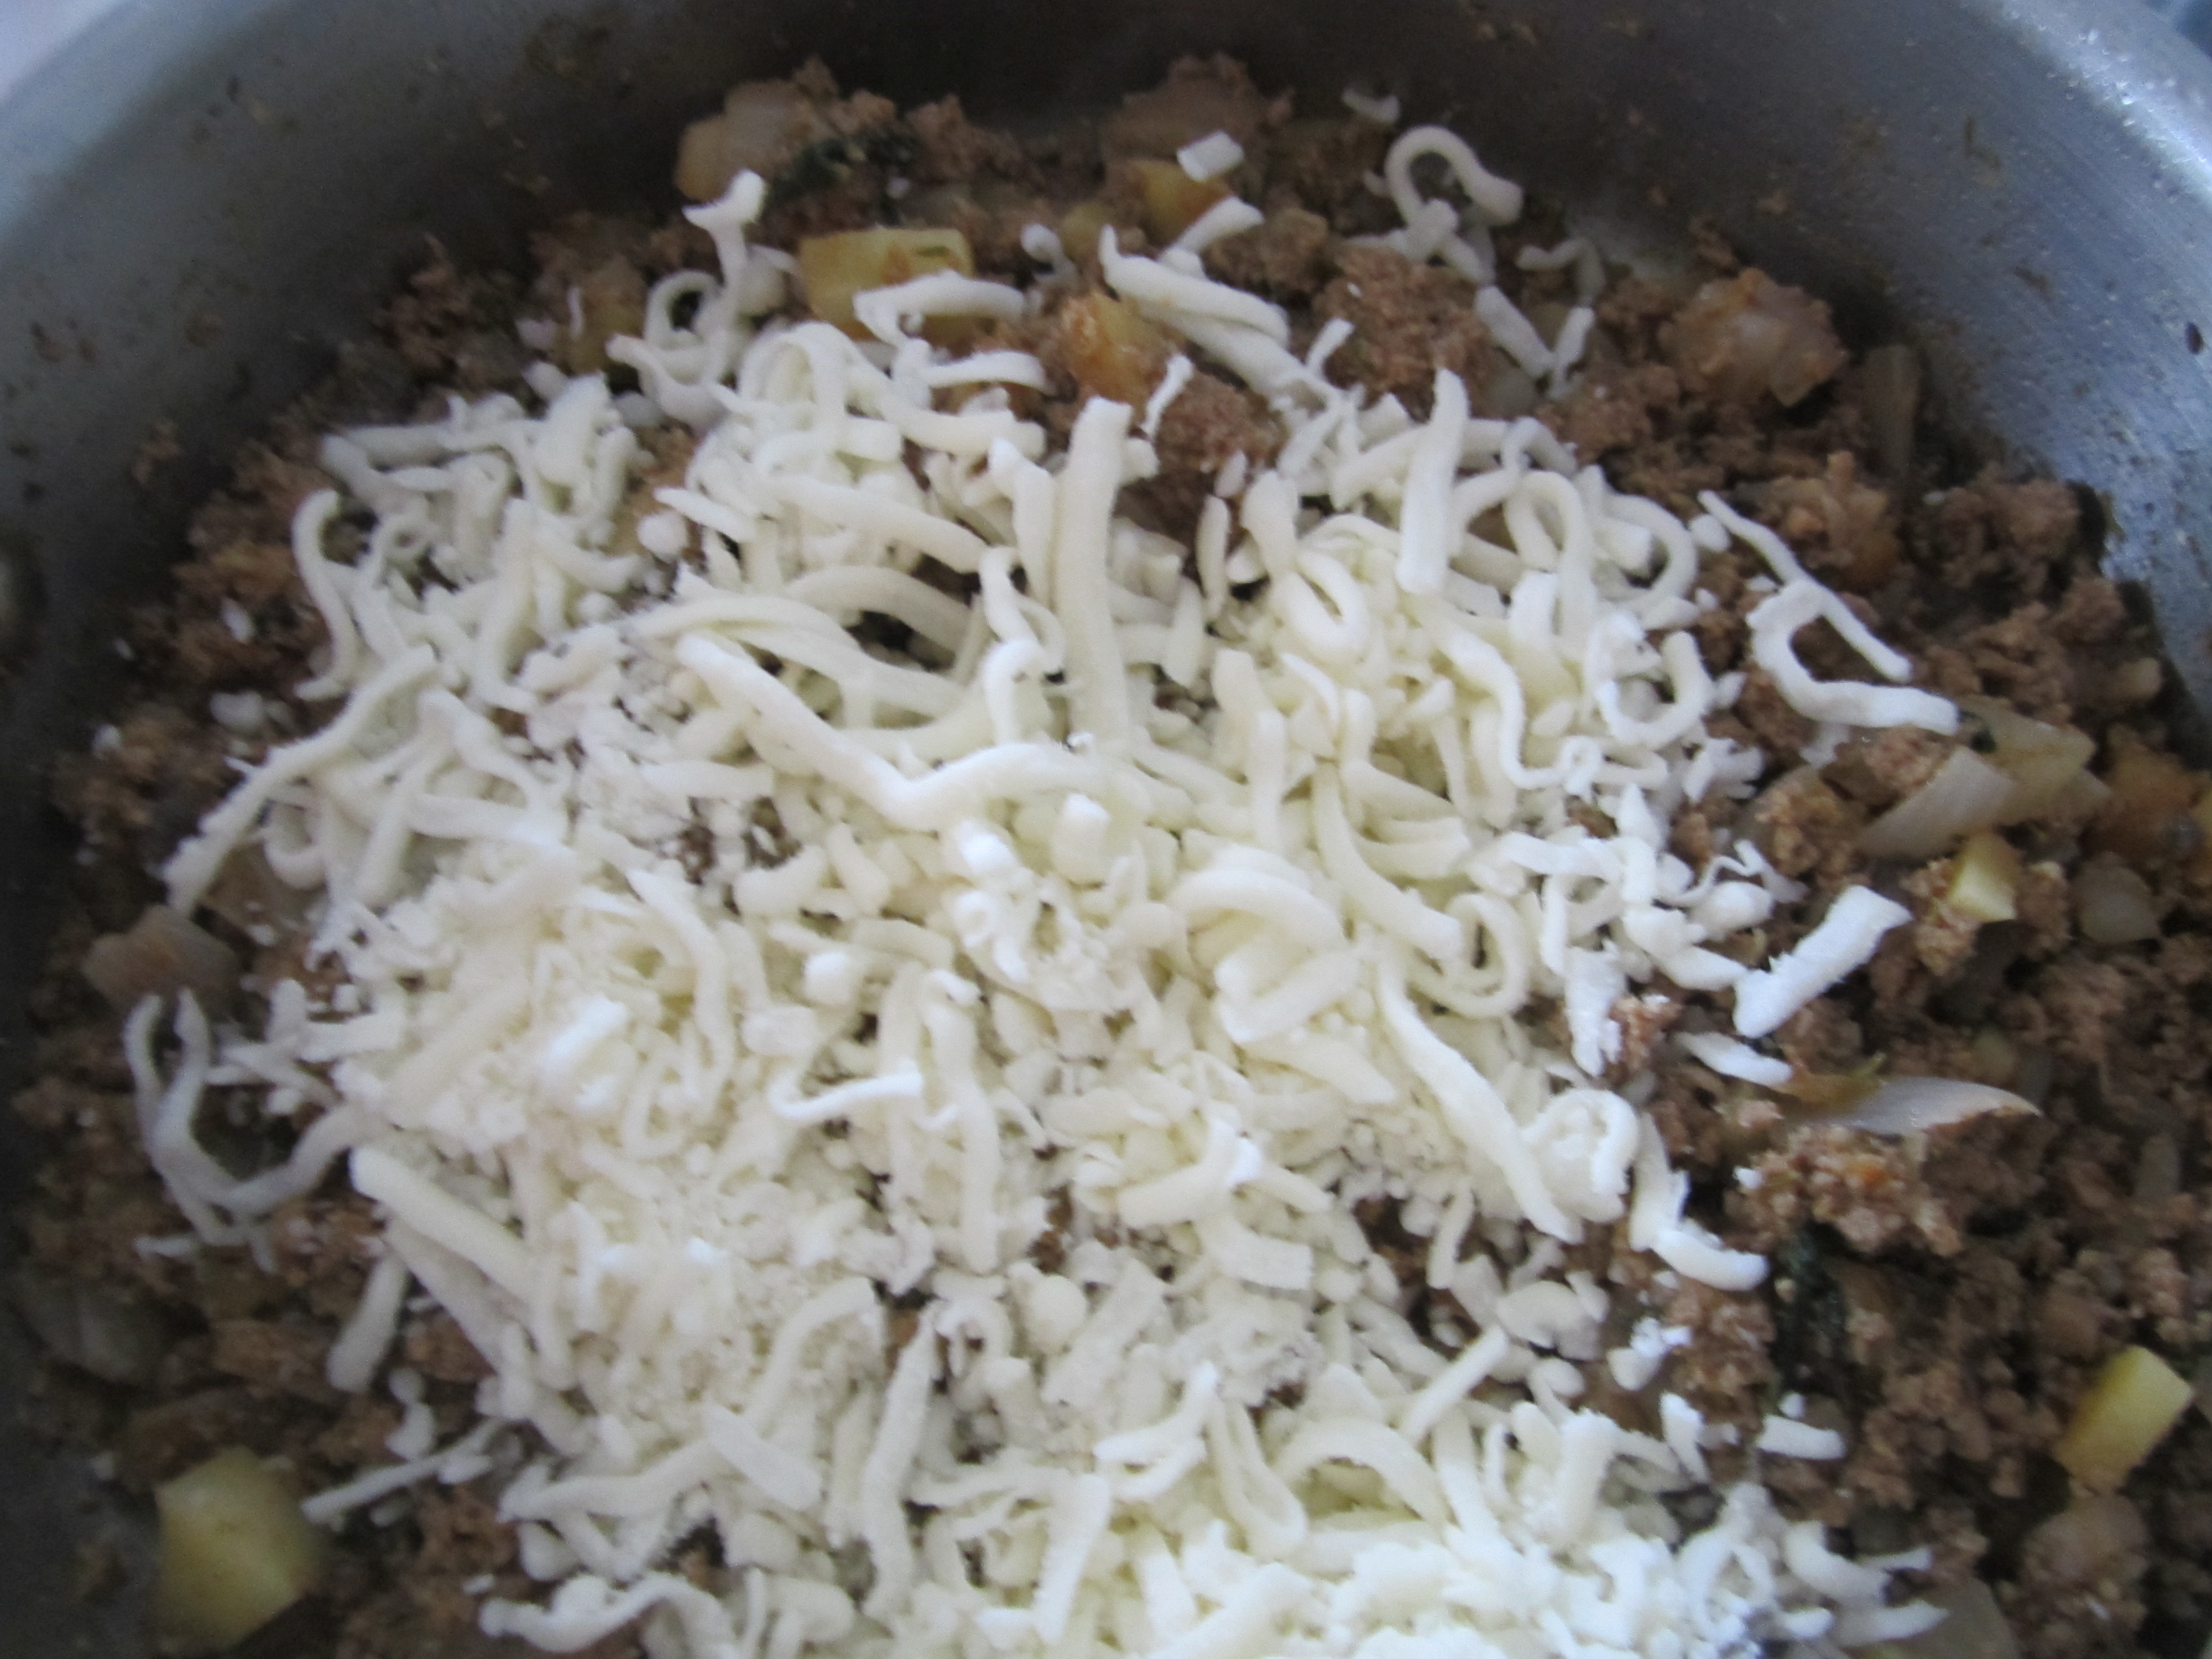
- 1 cup shredded mozzarella cheese
- 4 large burrito tortillas
- Green or Red Enchilada sauce
- 1 ½ lbs stew meat
- Tomatoes
- Sour Cream
- Cilantro
- Hot Sauce
Marinade:
- 2 tbsp garlic, minced
- 1 tbsp Worcestershire sauce
- 1 tsp parsley
- 1 tsp itallian seasoning
- 1 tsp lemon juice
- ¼ cup Teriyaki Marinade (Soy Vay Veri Veri Teriyaki)
- ¼ tsp Paprika
Put together the marinade along with stew meat in a large zip lock bag. Marinate over night or at least for 5 hours prior to cooking.
Preheat oven to 425 degrees.
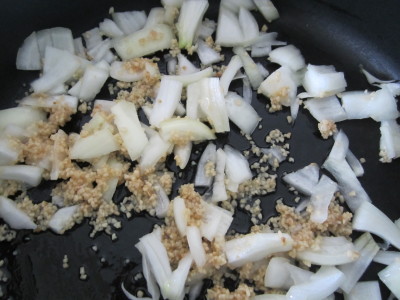
In a large pan, saute onions and garlic until tender.
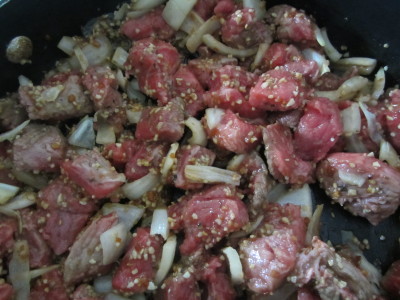
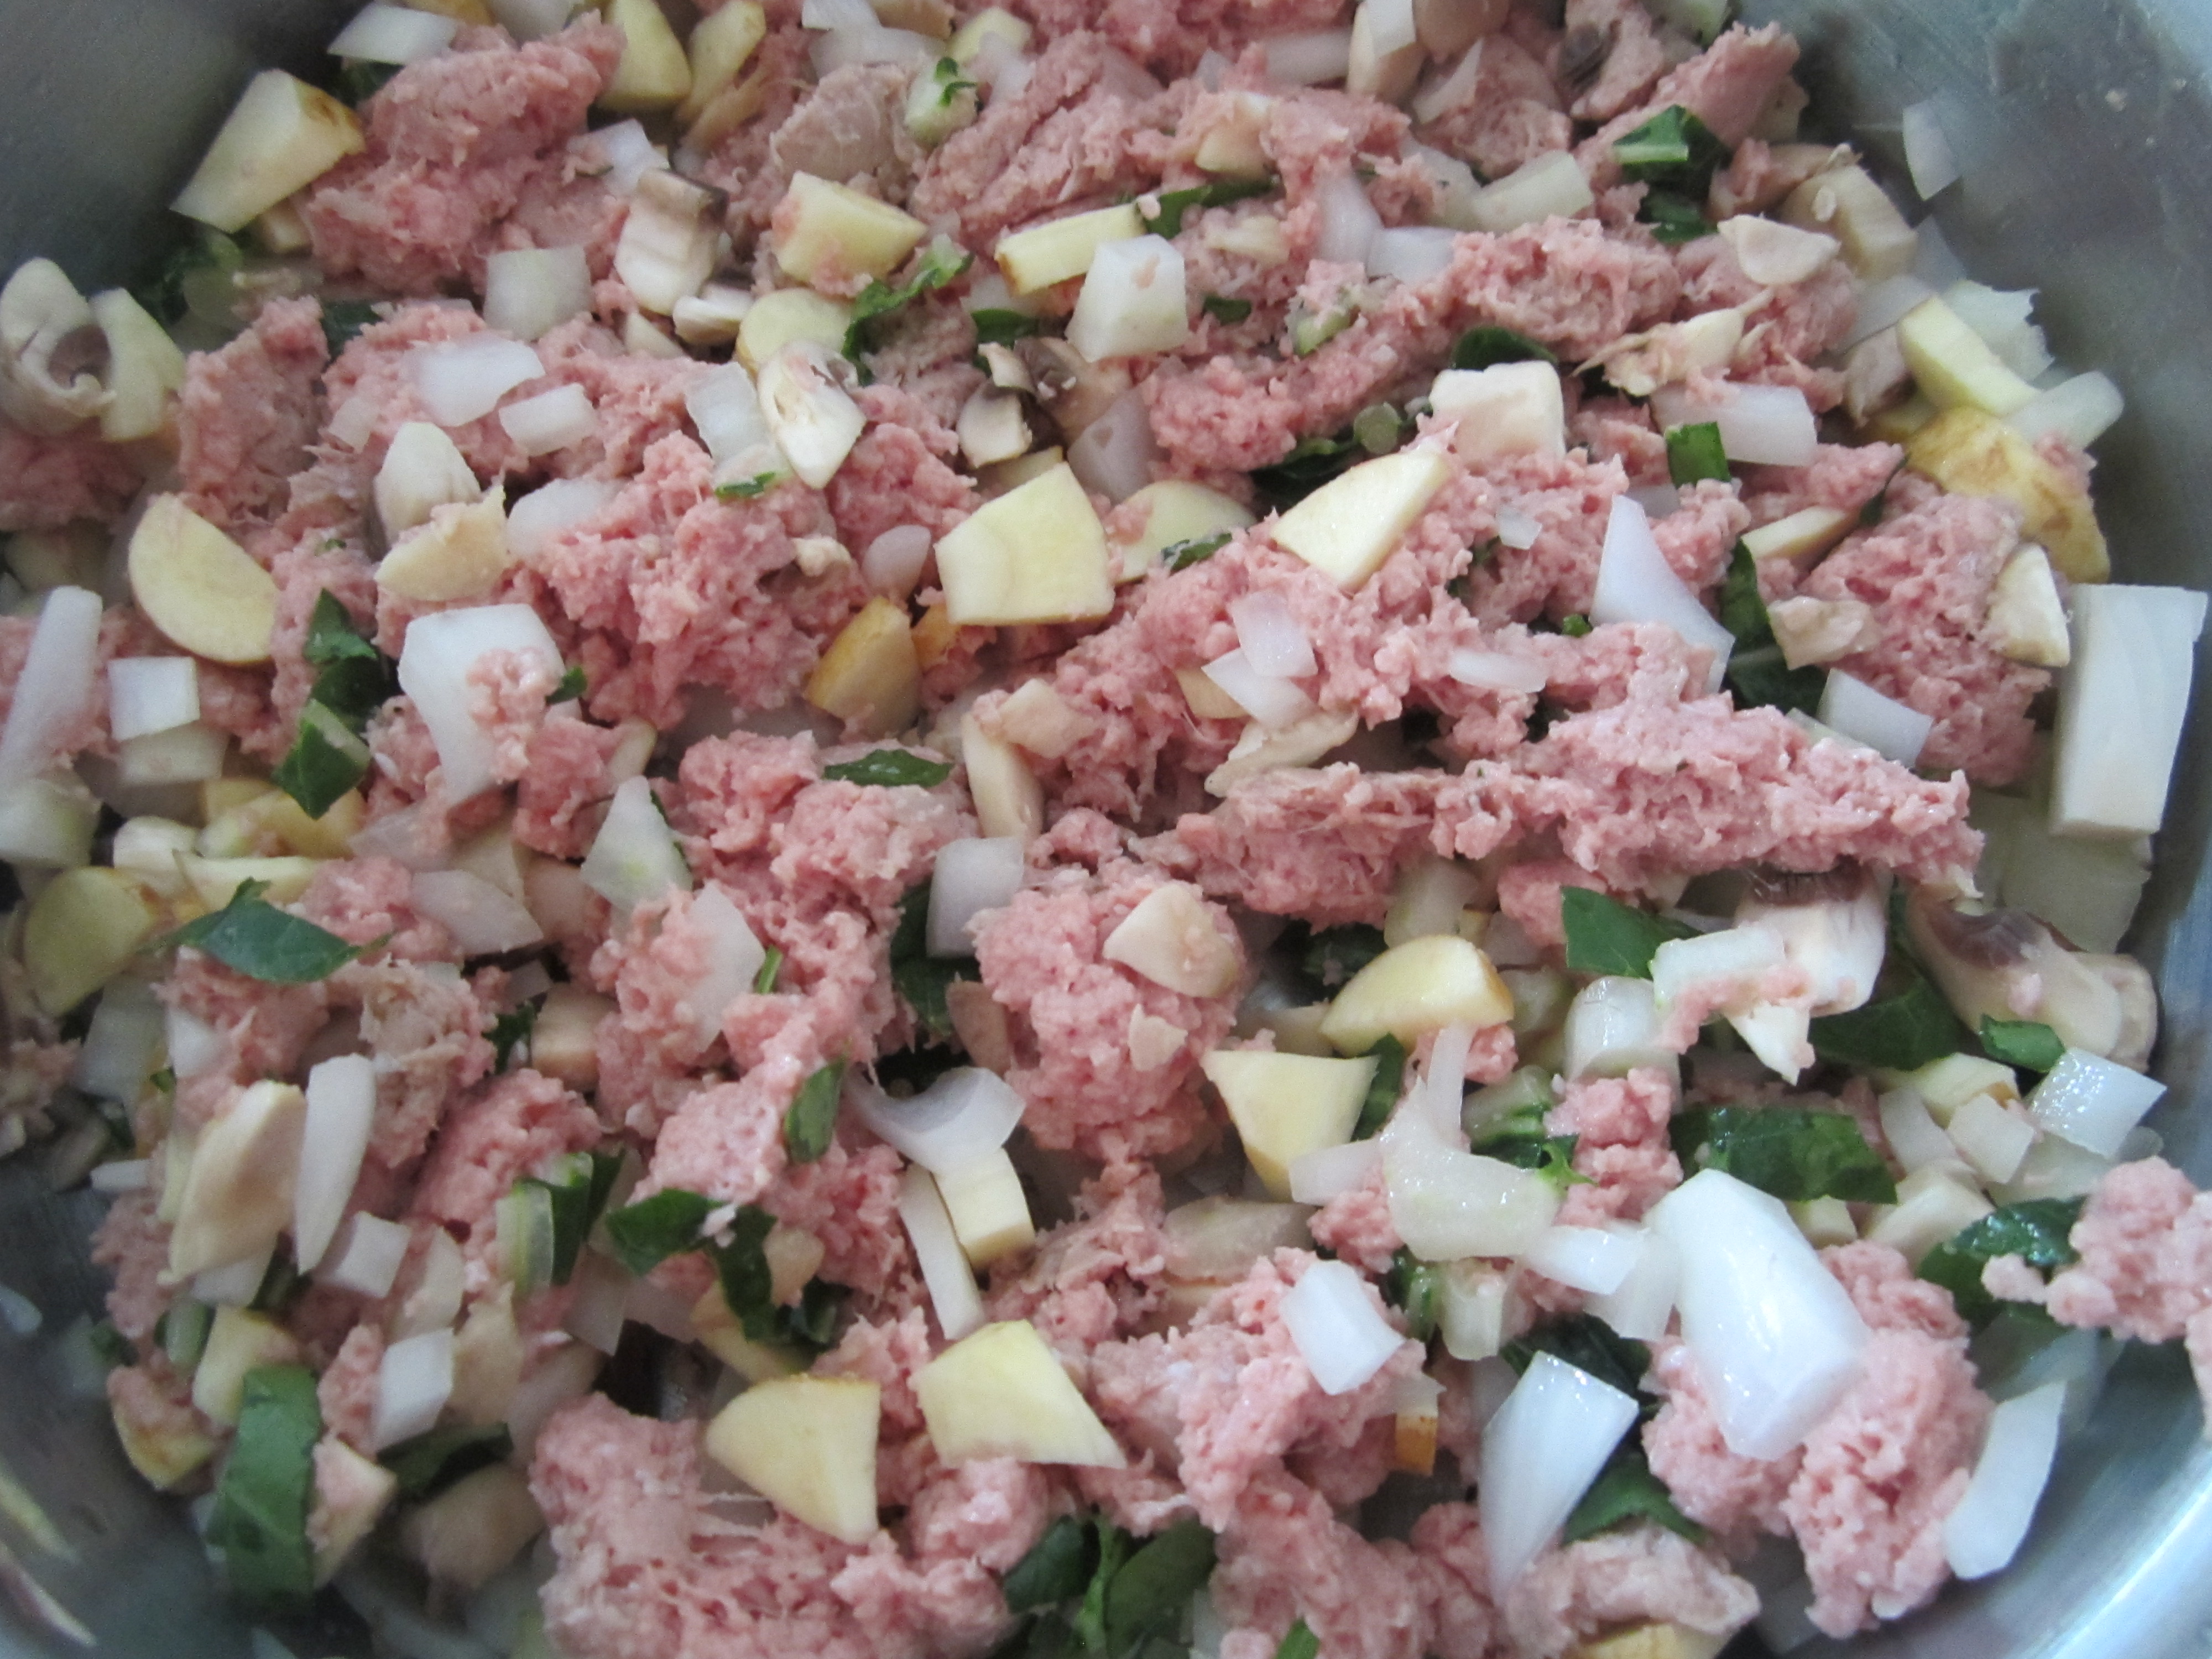
Once onions and garlic begin to cook add in meat and cook over medium-low heat. Cook until no longer pink.
Note: The higher the temperature, the more tough your meat will become.
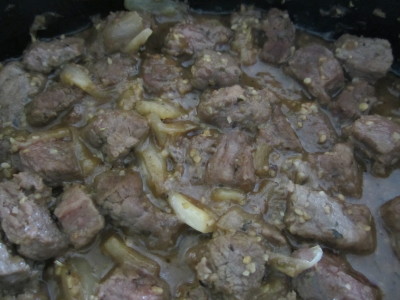
Allow the juices to soak in and continue marinating while cooking over med-low heat.
Meanwhile, cook Spanish rice and prepare black beans. Once meat is thoroughly cooked, on a large tortilla assemble a large spoonful of meat, rice and beans. Add cheese, sour cream, hot sauce, tomatoes and cilantro and fold up edges. On a large foil lined broiler pan, place burritos and cook for 10 minutes at 425 degrees.
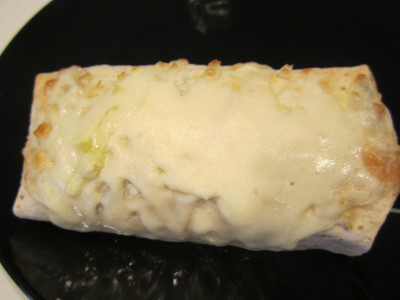
After ten minutes take burritos out and top with cheese and enchilada sauce. Turn oven to broil and cook until cheese is melted and burrito begins to crisp up.
(Sorry for the lack of pictures during assembly, I was completely distracted by conversation with my father-in-law and my migraine.)
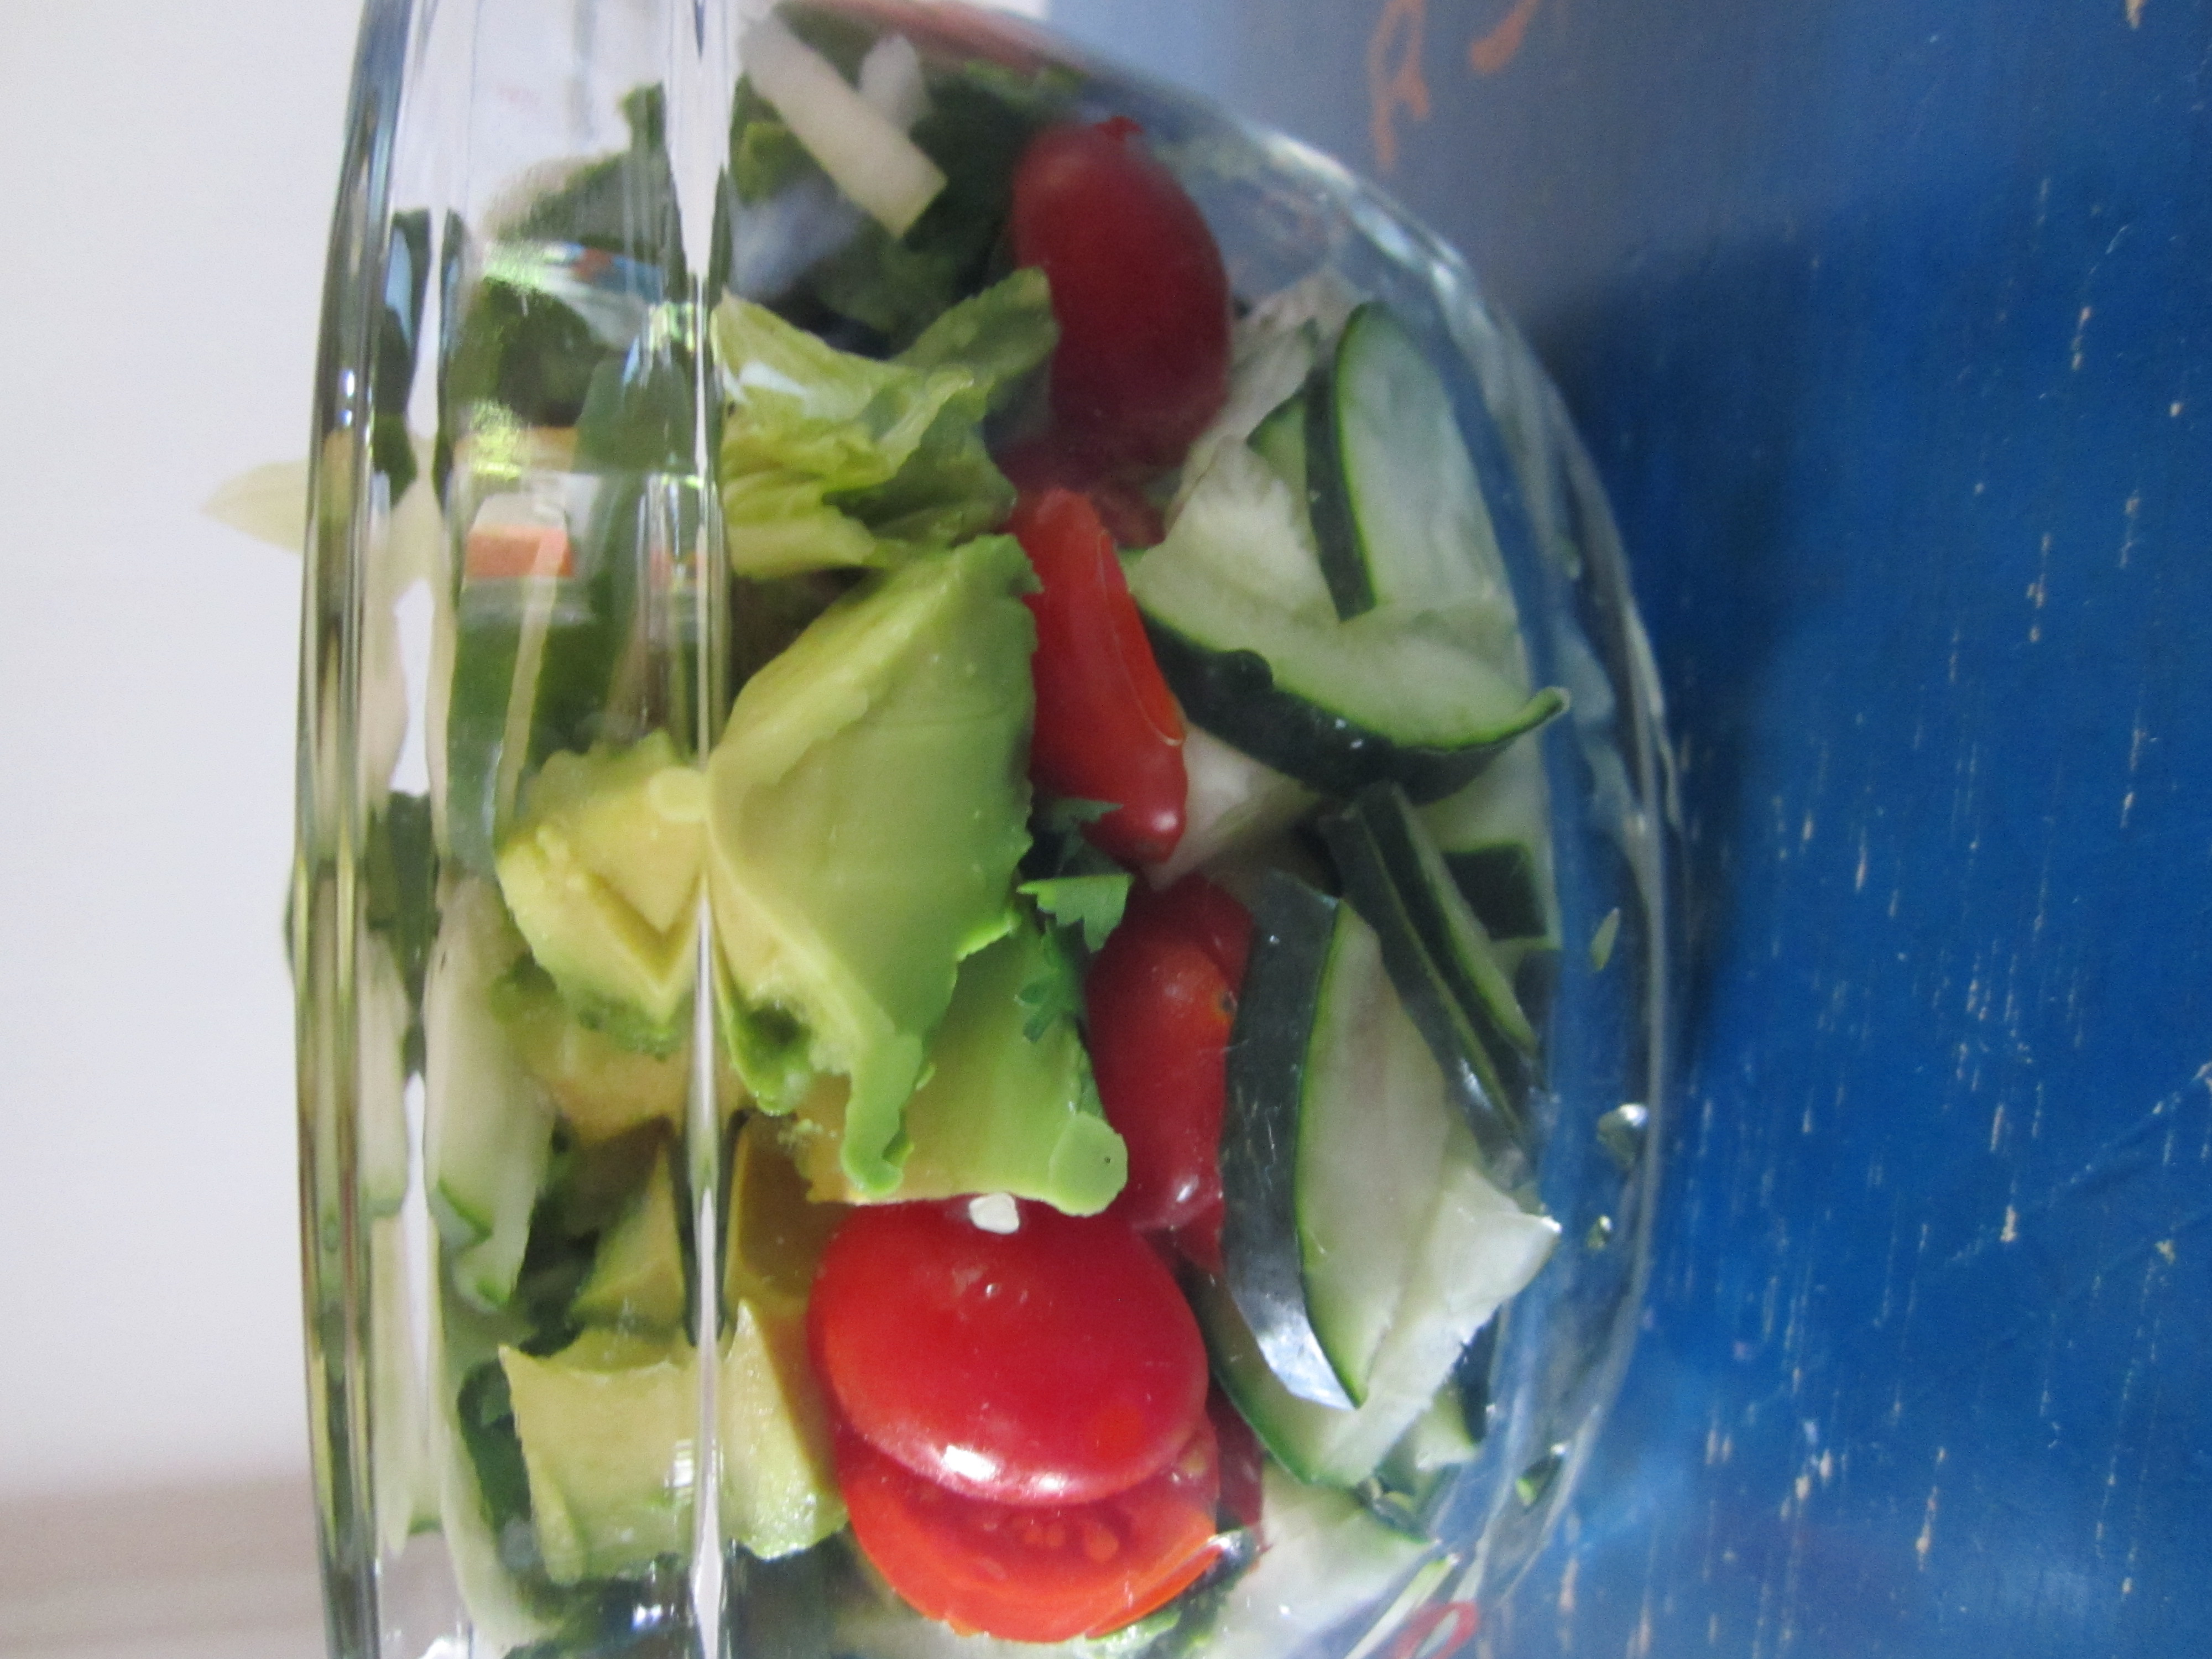
Serve with homemade chips and a fresh salad.

Luckily, even with my migraine, my husband was completely satisfied with his dinner of choice and it exceeded his expectations. :)
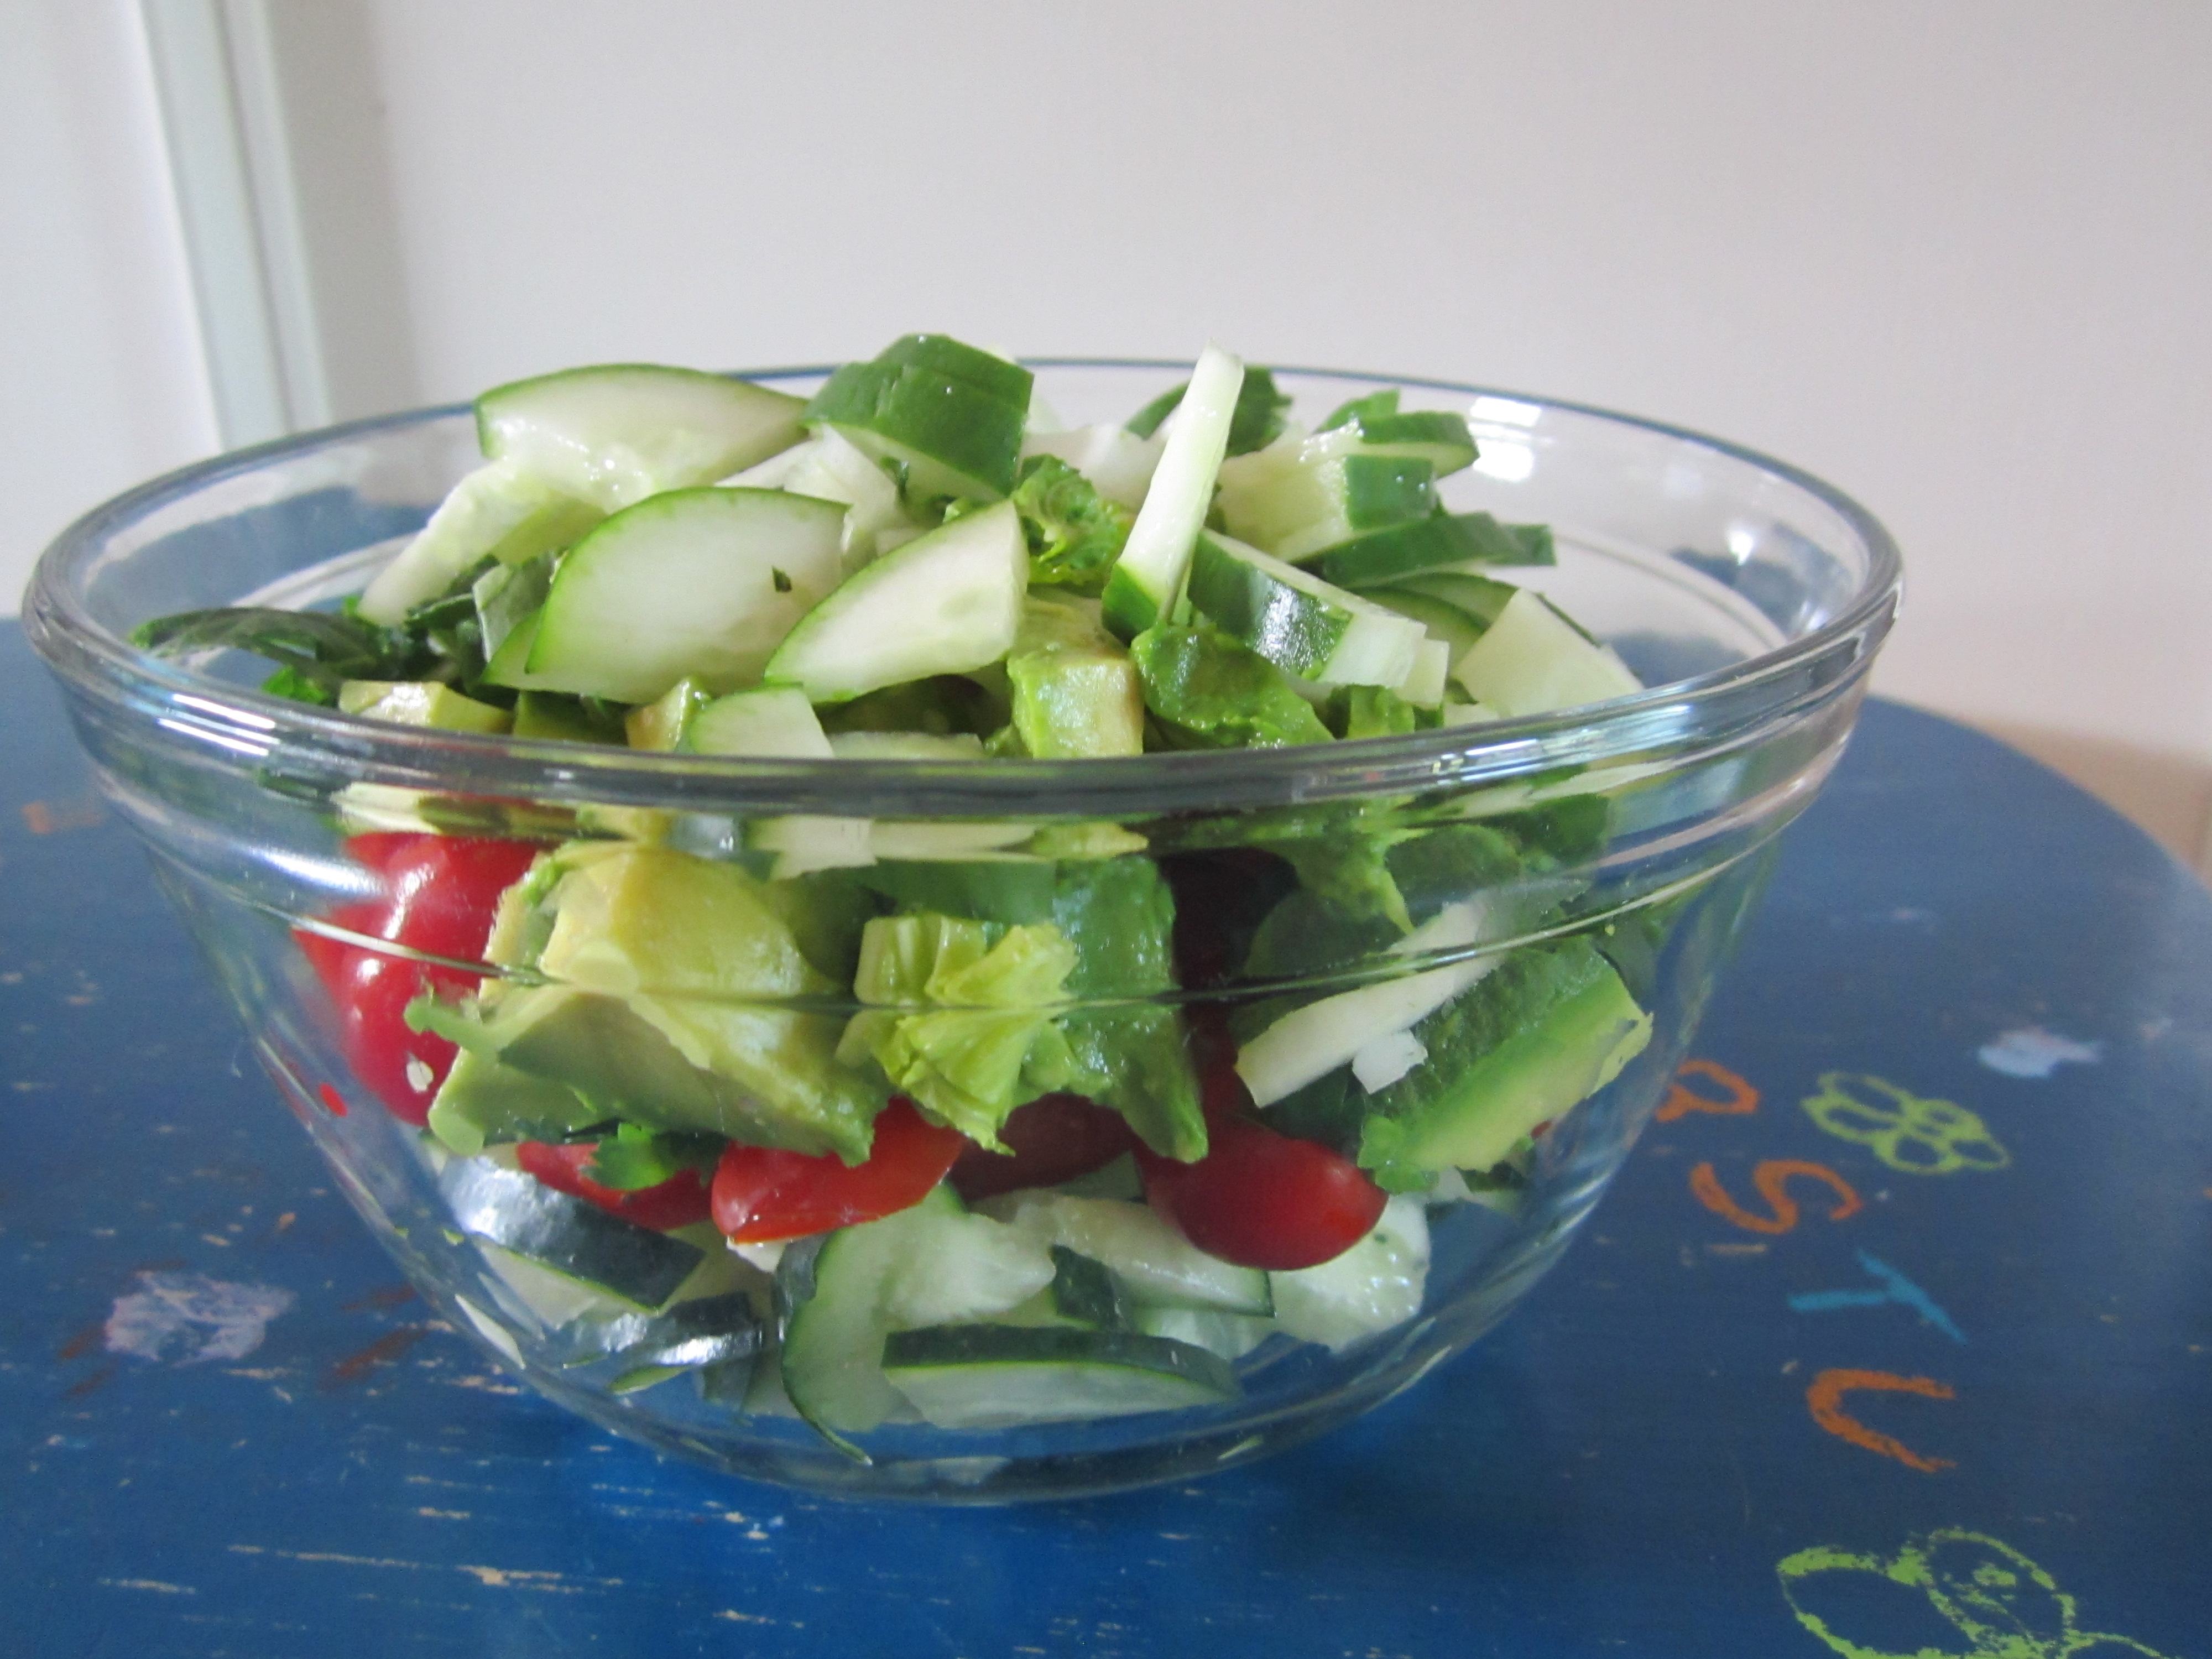 Mix together in a separate bowl, lemon juice and Oil. Pour on top of vegetables and mix well.
 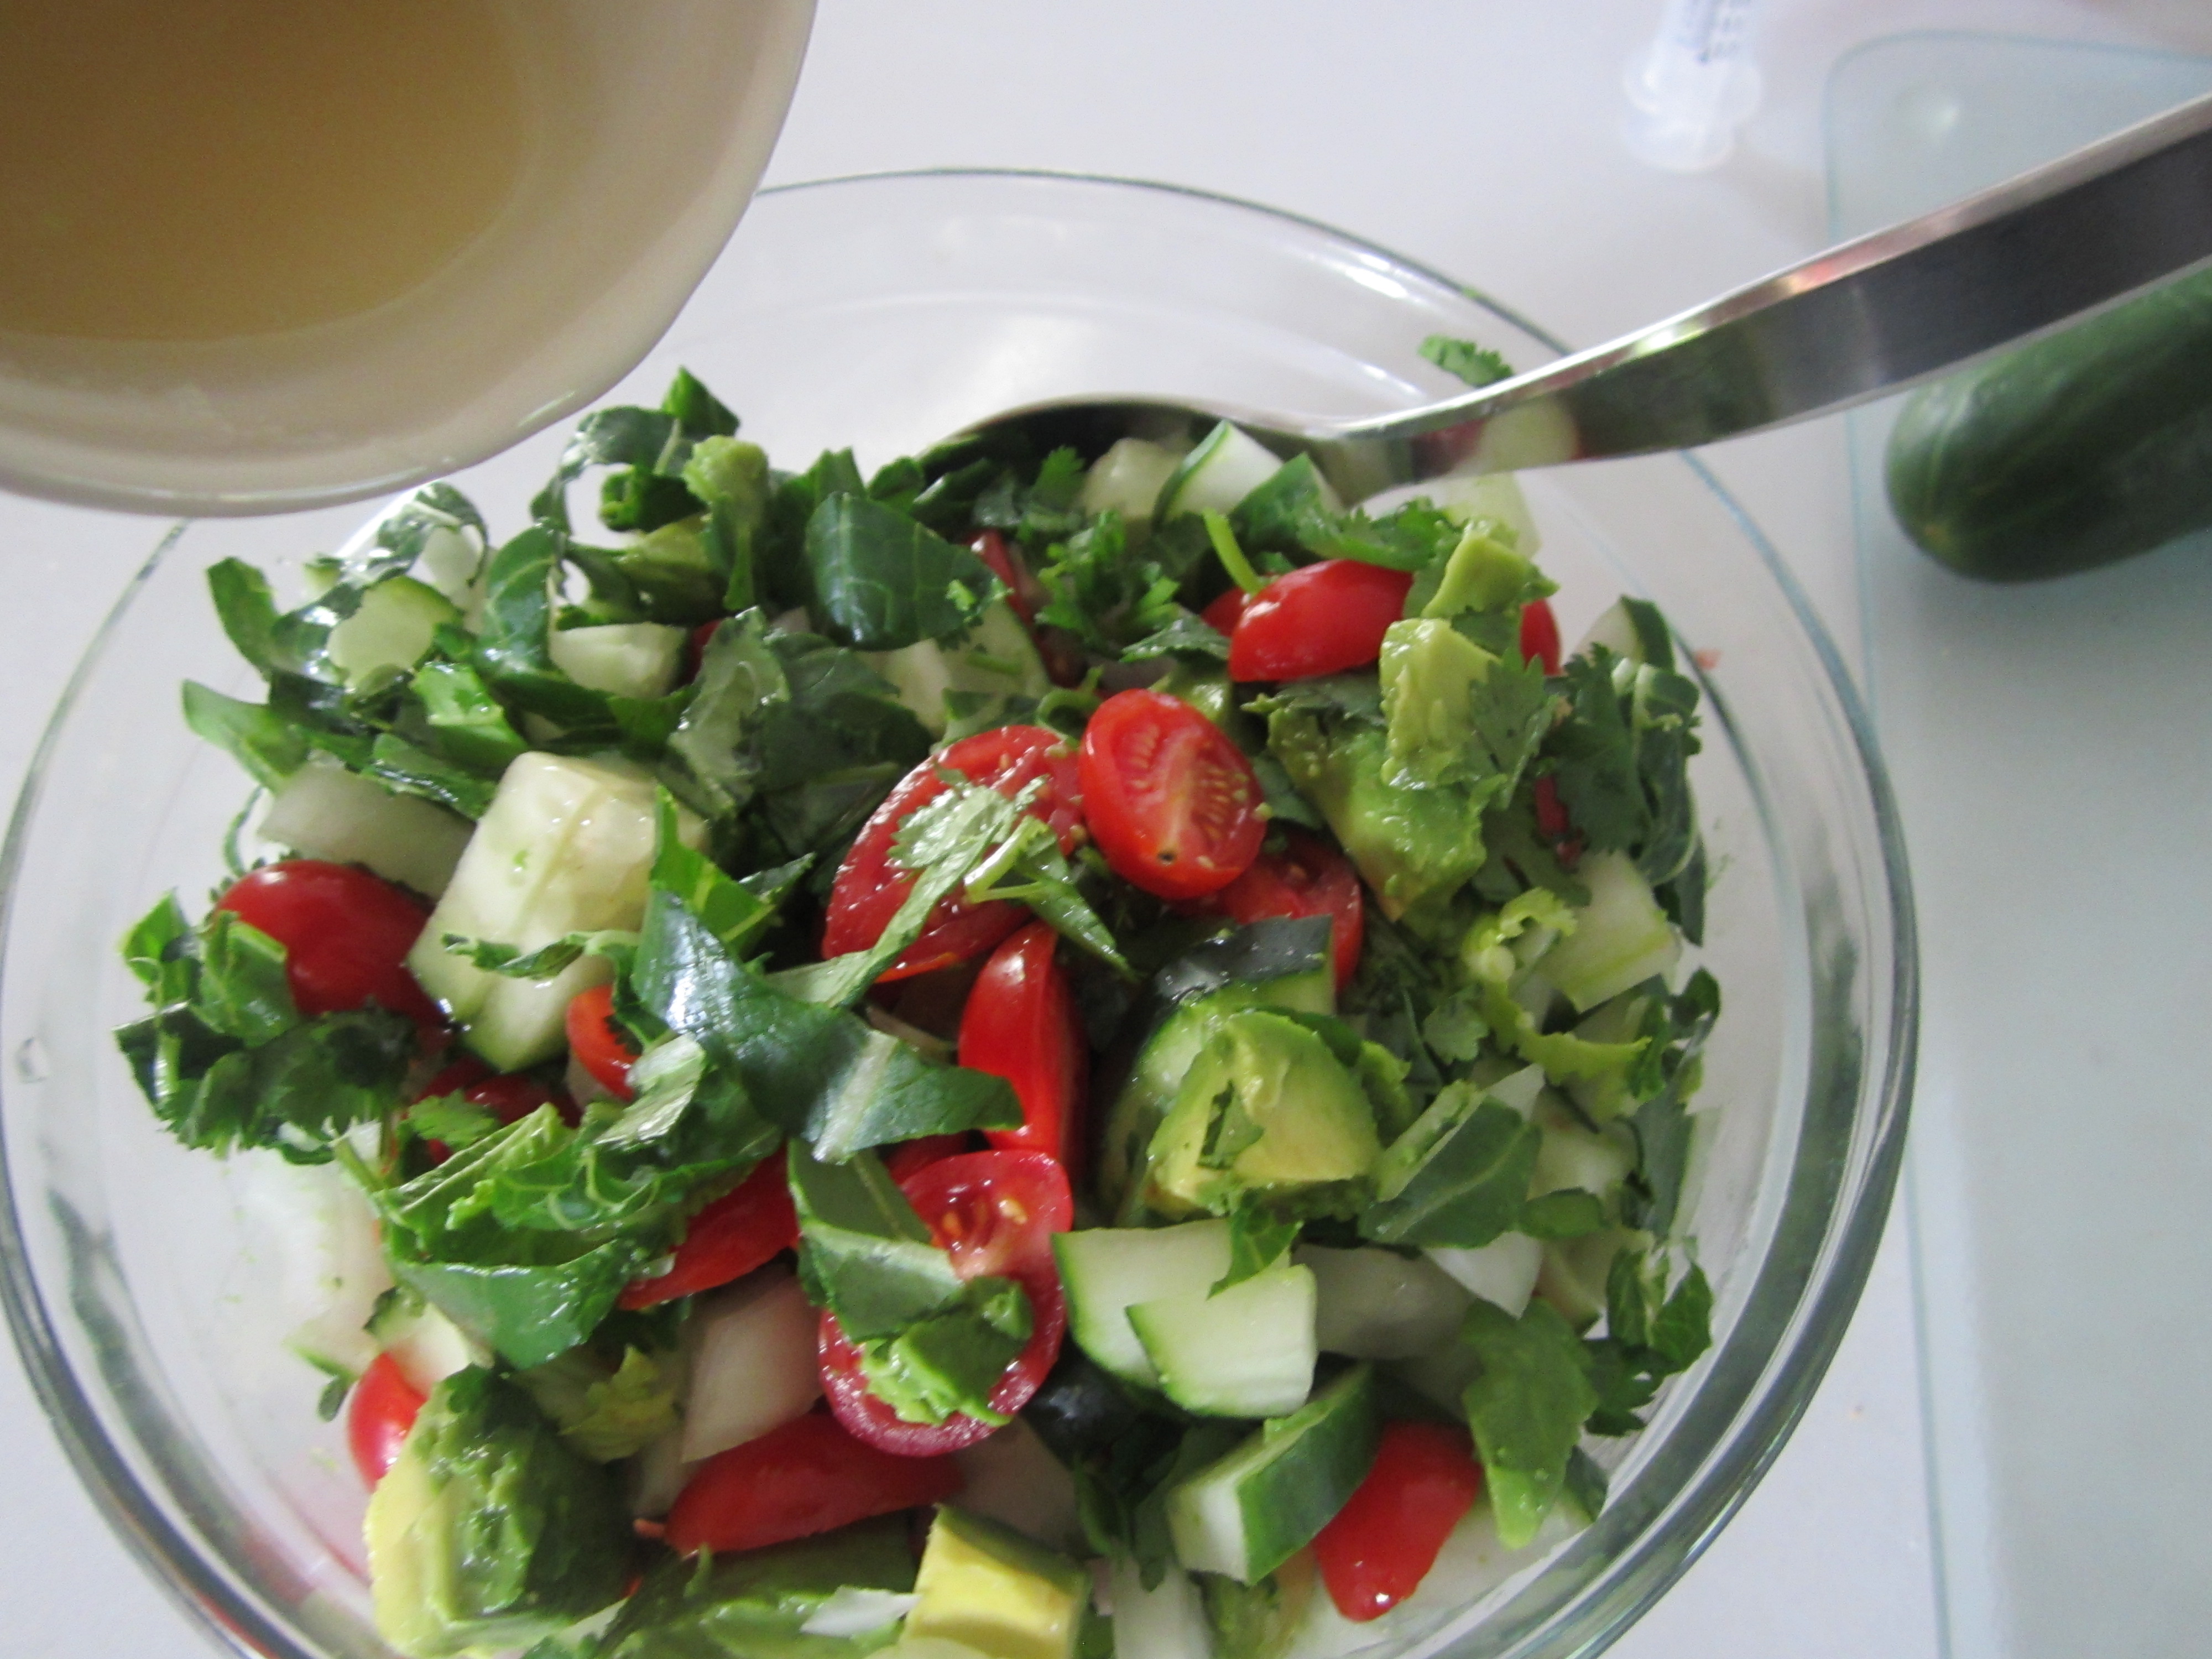 Rinse and drain beans; add to salad. When serving add salt and pepper.
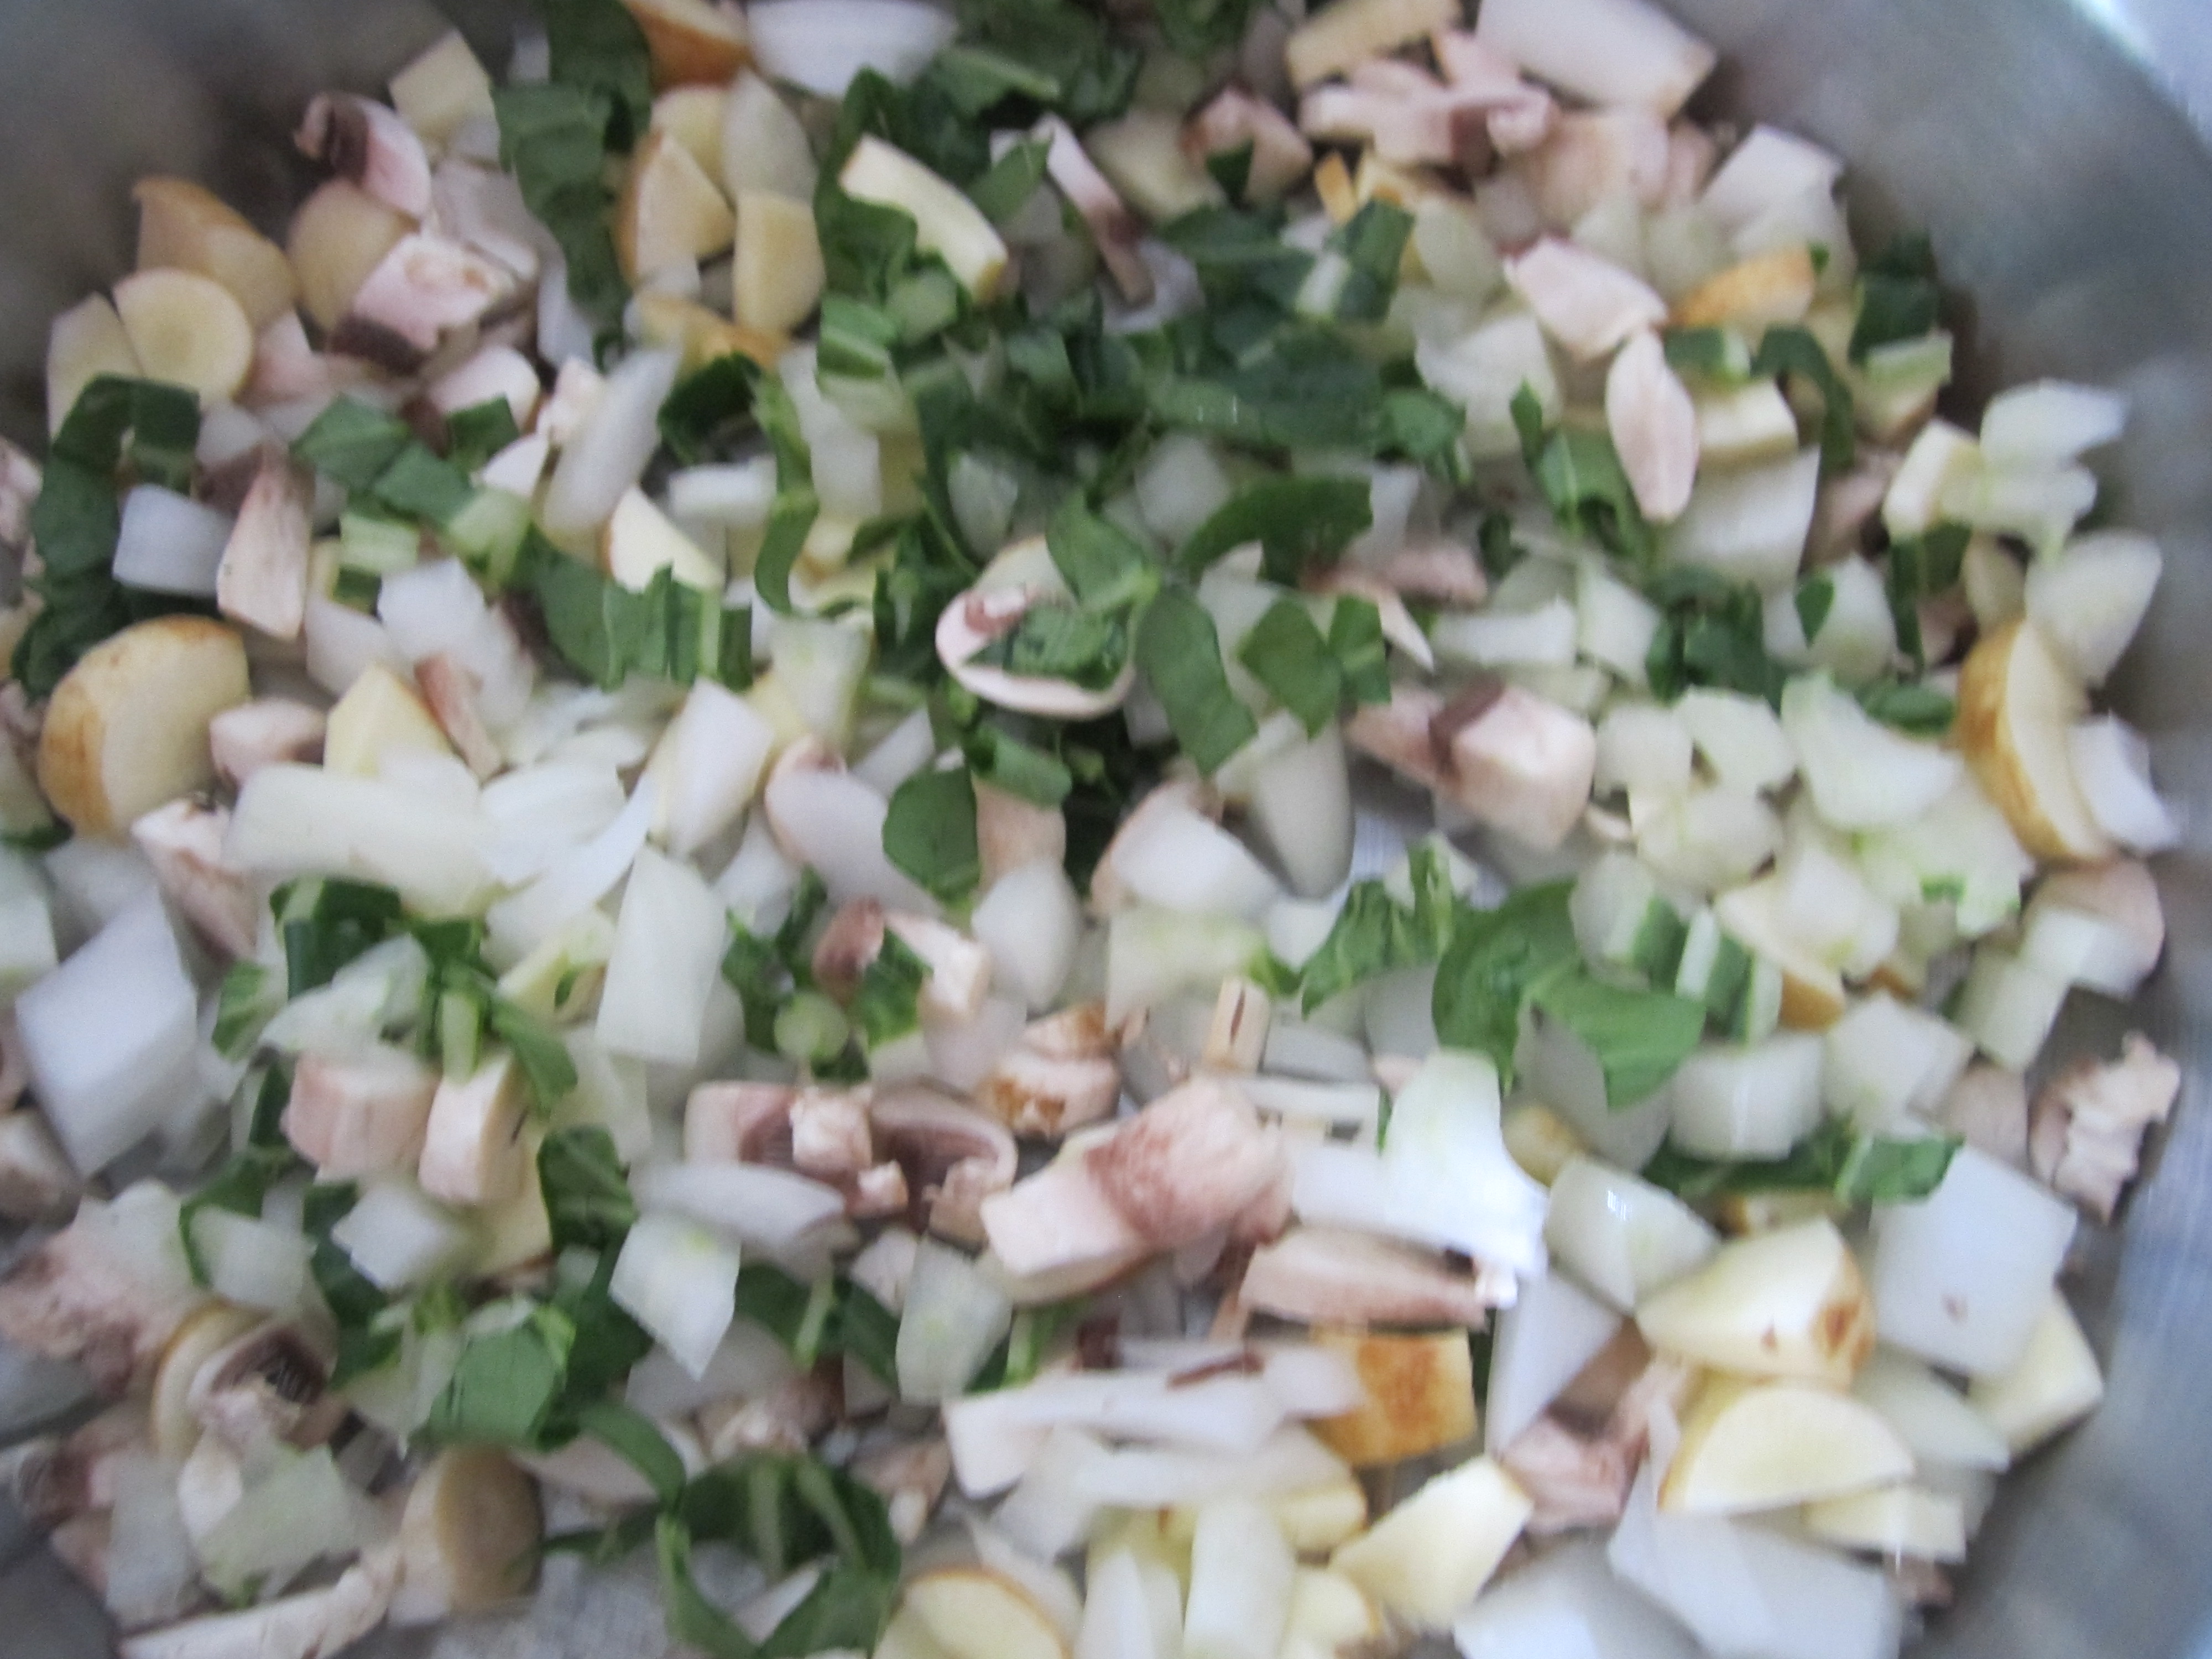


Recent Comments