Category Archives: Cooking

Popovers

Popover Mondays!

I was craving these the other day and was unhappy that I had no sugar left to make delicious syrup to eat with them. Though the syrup failed me, the popover itself with an egg was quite satisfying.

Cooper enjoyed it and sat with me outside talking up a storm while we enjoyed the fresh morning air. He drank his milk and I drank my coffee.

They are simple to make and take little time on your part as the oven does most the work. :)

Ingredients:

  • 2 Eggs
  • 1 Cup Milk
  • 1 Tbsp Butter, melted
  • 1 Cup Flour
  • ¼ Tsp Salt

Place ingredients into a blender and mix for 15 seconds. Scrap sides and mix another 15 seconds. If you do not mix long enough, they will not puff up.

Pour Batter into greased ramekins and fill half full (Muffin tins work great too)

IMG_5855

Place on a cookie sheet and place in COLD oven. Set and heat to 450 degrees and bake for 15 minutes. Reduce heat to 350 degrees and bake another 20-25 minutes.

IMG_5860

Cut slit into the side of each popover and serve immediately with butter, syrup or jam.

IMG_5865

ENJOY!!!!

How To: Keep Your Bacon From Shrinking

“Bacon Bacon Whose Got The Bacon?” Are you looking for your bacon? Did you cook a pound of little piggies only to be left with 1/4 pound? Does your bacon disappear in the oven and shrivel up to nothingness? Are you scrounging around wondering what just happened?

How does that work? Prior to cooking, you gaze at the longest slice of bacon known to man and you simply could not wait to get your hands on that little piggy. Post cooking that little piggy, you find yourself questioning your piggy and where it ran off to.

For years I have cooked bacon and felt like all that remained was a pile of grease with a couple crispy crumbs. Is there a bacon cure? Can this puzzle be solved? Is the mystery thief losing this bacon battle?

Never again will you wonder where your bacon thief came from and why he ate 90% of your delicious bacon.

No more bacon thief.

How to:

Lay bacon on a foil lined baking sheet or broiler pan.

IMG_5989

Douse your bacon with water using a squirt bottle. Literally douse it. This will help keep your bacon in tacked and will help keep the grease from shriveling up your bacon-ater.

Bake at 450 for 10-12 minutes**

IMG_5992

**Note: If you like your bacon crispy, turn the broiler on and broil for 1-2 minutes after baking for 10 minutes.

You will be so happy to see that all your money is saved when you go to eat your bacon; half the package wont be missing.

“Move over bacon something meatier’s coming in!”

And that my friends, is your cure to shriveled up bacon!

Red Enchiladas With Caramelized Onions

These enchiladas were by far an easy meal for a hot summer day with very little heat required. My sister came over for a summer swim in our pool, coffee talk, and mani/pedi time. We had a great day with wonderful laughs and good conversation. The kids played well together, and as always wear one another out.

Every time I cook with my sister around, a funny conversation takes place. She hates to cook. Seriously hates to cook. Her idea of a meal, is to have a smoothie, cereal, salad, or already prepared meal that someone else cooked. She loves to come over and enjoy the good stuff because she isn’t the one who made it. She loves my homemade goodies and meals as she knows I make most things from scratch.

I even sent her home with my cake pops last time she was here as I knew she would love them, but would never make them herself. I get the funniest messages from her while she is eating them in the confines of her own home. Oh how I love my sister, she’s funny in every way.

Today while she was here, I wanted to prep our dinner. In doing so this allows more time with my son and niece to prep while they are napping.

Ingredients:

  • 3 cups chicken, rotisserie works best on a hot day
  • 1 onion, diced
  • 1 cup mushrooms, chopped
  • 1 can olives, sliced
  • 1 tbsp sugar
  • 3 cups mozzarella cheese
  • 1 jar enchilada sauce (I used Trader Joe’s brand, I love the flavor)
  • 6-8 tortillas

Cook chicken and set aside. Begin to saute the onions in a skillet over medium heat. Once they start to become a little tender, add in the sugar to caramelize the onions.

IMG_5725

Stir in mushrooms and cook slightly, just until tender. Add in chopped olives and cooked chicken.

IMG_5727

Add in 1 cup cheese and half the jar of enchilada sauce. Split mixture up between 6-8 tortillas. Roll up and place in a greased 8×8 baking dish. Spread remainder of the enchilada sauce on top and sprinkle with remainder cheese. 
IMG_5729

Refrigerate until needed or freeze. If freezing, cook directly from freezer adding a few additional minutes, 10-15 depending on oven. Do not let thaw before cooking.

Preheat oven to 375 degrees and cook for 20-25 minutes (not frozen). Serve with homemade chips or fresh garden salad. 
IMG_5761

I believe caramelizing the onions and slightly tenderizing the mushrooms makes this meal very unique and full of flavor.

Drink of Choice

During these HOT summer days I always have to have coffee when I wake up in the morning, and even though it may be hot out, I still need my cup of hot coffee every morning. Come the afternoon though, I’m begging for an iced coffee. 4-Bucks has become the name of Starbucks in our household. Every drink no matter what it is, comes with a high cost. Surprisingly even iced coffee has a price tag with it that adds up on a regular basis. We LOVE iced coffee and since I drink it every day, I had to start making it myself. Cheaper and actually, really good!

IMG_5723

The weekends are our favorite time to go on morning walks and get coffee and pastries. This has become our “thing” as husband and wife. We love our coffee but we love our walks, conversations and yummy pastries to go with it. I come from a family (parents and sisters) who also live on coffee. Our motto is: Coffee is not a drug, it’s a vitamin. And boy do we believe that’s true. Even my son got into my iced coffee a couple times when I misplaced it not realizing he would actually drink it. And that little man himself, sucked it right down. Crazy.

IMG_5724

So, now that you have gazed at the picture for a few minutes, don’t you think it’s time to go make your own cup of excitement?

Ingredients:

  • 2 cups brewed coffee**
  • Cream
  • Honey (Sugar)

It’s pretty simple and delicious. We often serve ours just after it brews (as you would an americano) while still hot. First, pour a little coffee into your cup, just enough to melt the honey. Than add ice to the top of your cup and pour coffee over ice. Leave a little room for cream and viola, you have the perfect iced coffee.

** The key is to make the coffee stronger by adding 2 cups water to 2 heaping scoops coffee grinds. Once the coffee is brewed you can serve immediately over a full cup of ice to cool it down or simply refrigerate for later. Sometimes I make a large pot and keep it in the fridge throughout the week. The ratio for coffee is 1 large scoop to 1 cup water.

Layered Crispy Chicken Taco Bake

While up visiting my parents, this was one of the amazing meals we got to enjoy with everyone. My mom is a great cook and she is where I learned everything I know. She adds passion and love to her cooking, giving everything a wonderful taste filled with delight.

This meal was wonderful and we served it with our delicious Strawberry Chocolate Chip Cake for dessert.

Ingredients:

  • 2 cups sour cream
  • 1/4 tsp onion powder
  • 1/2 tsp garlic salt
  • 1 tbsp smoked tabasco
  • 1 tsp seasoning salt
  • 1 tsp smoked paprika
  • Green onions
  • 3 cups shredded cheese
  • 1 lb chicken, cooked and shredded
  • 6 large tortillas

In a small bowl, mix sour cream and all seasonings together. Set aside.

IMG_5606

Meanwhile, in a skillet, fry tortillas in vegetable oil or EVOO until lightly toasted.

IMG_5600

Lay to rest on a paper towel.

IMG_5620

Cook chicken until thoroughly cooked and season to your preference.  While cooking chop green onions.

IMG_5604

Allow chicken to cool and chop into small pieces.

IMG_5612

In a greased springform pan, layer tortilla, sour cream mixture, chicken,  green onions and cheese. Repeat with tortilla and continue same pattern with ingredients ending with cheese.

IMG_5608 IMG_5625 IMG_5626 IMG_5628

Bake at 375 degrees for 20-30 minutes. Until thoroughly heated and cheese is melted.

IMG_5631

Top with sour cream and additional green onions. 
IMG_5634

This meal was served with homemade chips and salad.

IMG_5635

You will not only be full from dinner but when served with Strawberry Cookie Cake for dessert, you will want to take a nap almost immediately.

IMG_5637

Creamy Potatoes

This past couple weeks has been so unbearably hot. So hot that the thought of cooking is not appealing whatsoever. I’ve decided to do as much on the grill as possible without having the same meals repeated. Not the easiest but can happen with creativity. These potatoes came from the grill and landed in my mouth with a great big smile upon my face.

I can’t express to you the great joy of hanging out with my family and sitting on the back porch enjoying so good food and even more, great family time. And this my friends, has been what our summer is all about.

Ingredients:

  • 1 lb red potatoes, chopped
  • 1 onion, chopped
  • 1 bushels of green onions
  • Salt & Pepper
  • Garlic Salt
  • Parsley
  • EVOO
  • 3/4 cup ranch

Like Father like son. They are twins in every aspect.

IMG_5692

Dice potatoes and onions. Season with a generous amount of salt, pepper, garlic salt and parsley.

IMG_5693

Add in green onions.

IMG_5694

Top with EVOO and ranch dressing.

IMG_5695

Mix together and compile onto a foil lined vegetable grill basket (or place foil directly onto grill).

IMG_5696

Grill for about 15-20 minutes until tender but still has a bite.

IMG_5697

This is great with any main dish. Tonight we had this with Applewood Sausage.

IMG_5699

Grilled Romaine Hearts

This is a great twist on your typical salads. If you are like us, we tend to eat salad on a “too” regular basis. We love our greens and love salads, especially as my garden is growing really great toppings for a nice crisp summer salad. And though salad is great, we like to switch things up a bit now and again too.

Now this is a salad that made me very excited and was really easy to grill. I buy romaine from Costco for $3 for 6 romaines. I made this the other night for the family and my husband preferred to eat it as is, rather than add all the yummy goodness once grilled. Both ways are really good but my way was a little less healthy but too delicious to deny. :)

Ingredients:

  • 1 Romaine heart, sliced in half
  • 1/2 lemon
  • Fresh cracked pepper
  • Sea Salt
  • Garlic Salt
  • EVOO
  • Dressing of choice (optional)
  • Glazed praline nuts (optional)

Wash and slice romaine in half lengthwise.

IMG_5262

On a plate, or grill basket, place romaine to keep from falling apart while seasoning.

IMG_5263

Season with salt, pepper and garlic salt.

IMG_5264

Cut lemon in half and squeeze throughout both romaines.

IMG_5265

Now you are ready to grill.

IMG_5272

Place face down on the grill for 2-3 minutes. Once lightly golden, remove with tongs.

IMG_5278

Eat as is! My husband prefers it as is but tonight I wanted a smidgen of blue cheese dressing and glazed praline nuts. My way was less healthy, but DEFINITELY not worth arguing about. :)

IMG_5282

Served with Bacon Wrapped Sausages.

Blueberry Scones

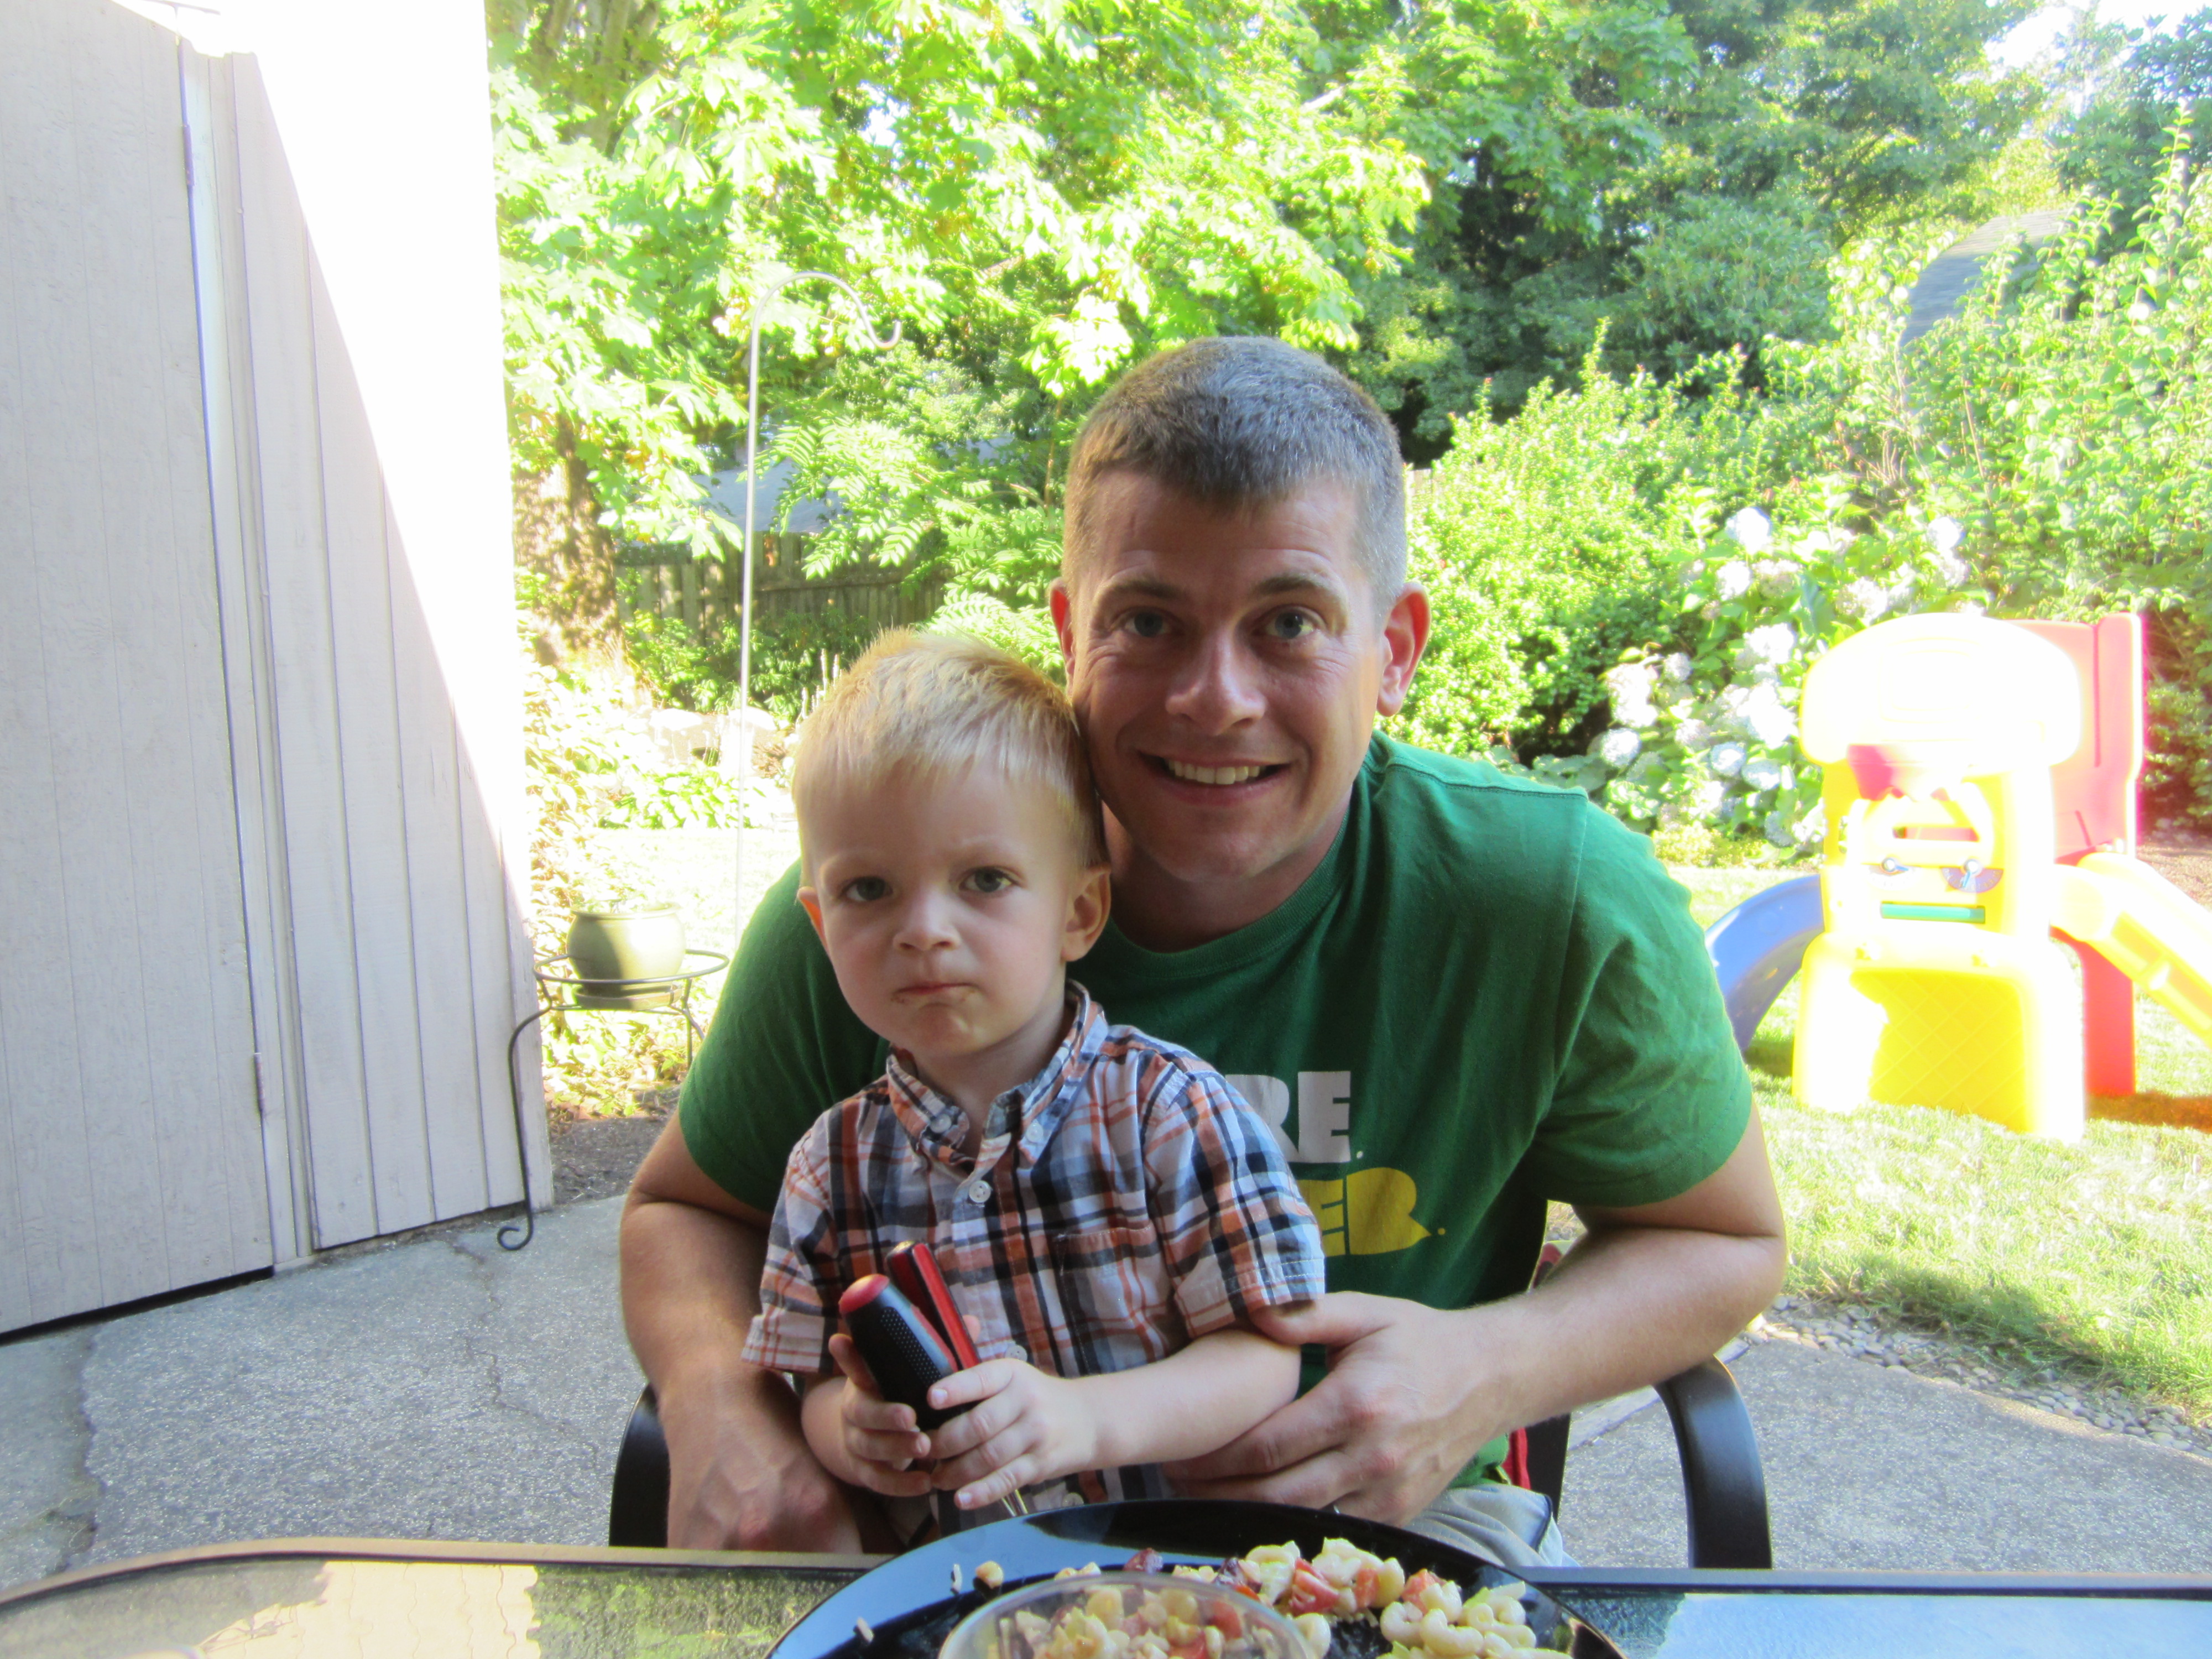
This morning my husband and I made breakfast together and sat on the back porch and drank coffee and ate our peaceful meal together…..okay maybe it wasn’t as peaceful as he had hoped. We have officially reached that stage with our son where he is realizing he cannot control everything and cannot always have his way. Boy is this a challenge and really tests our patience from time to time. His biggest struggle right now is eating. He longs to play 24/hr a day without breaking to eat. It’s odd, he really has no love for food. So when meal time comes, he fights for his life to not sit down and eat with us. Mealtime has been a dreaded part of our day this past week.

This morning we had a “timeout” in the highchair for a few minutes to get him to calm down and come sit with us. This highchair has become our miracle; the key is consistency. Although, he did not eat a lot afterwards, he did listen and came and sat with us.

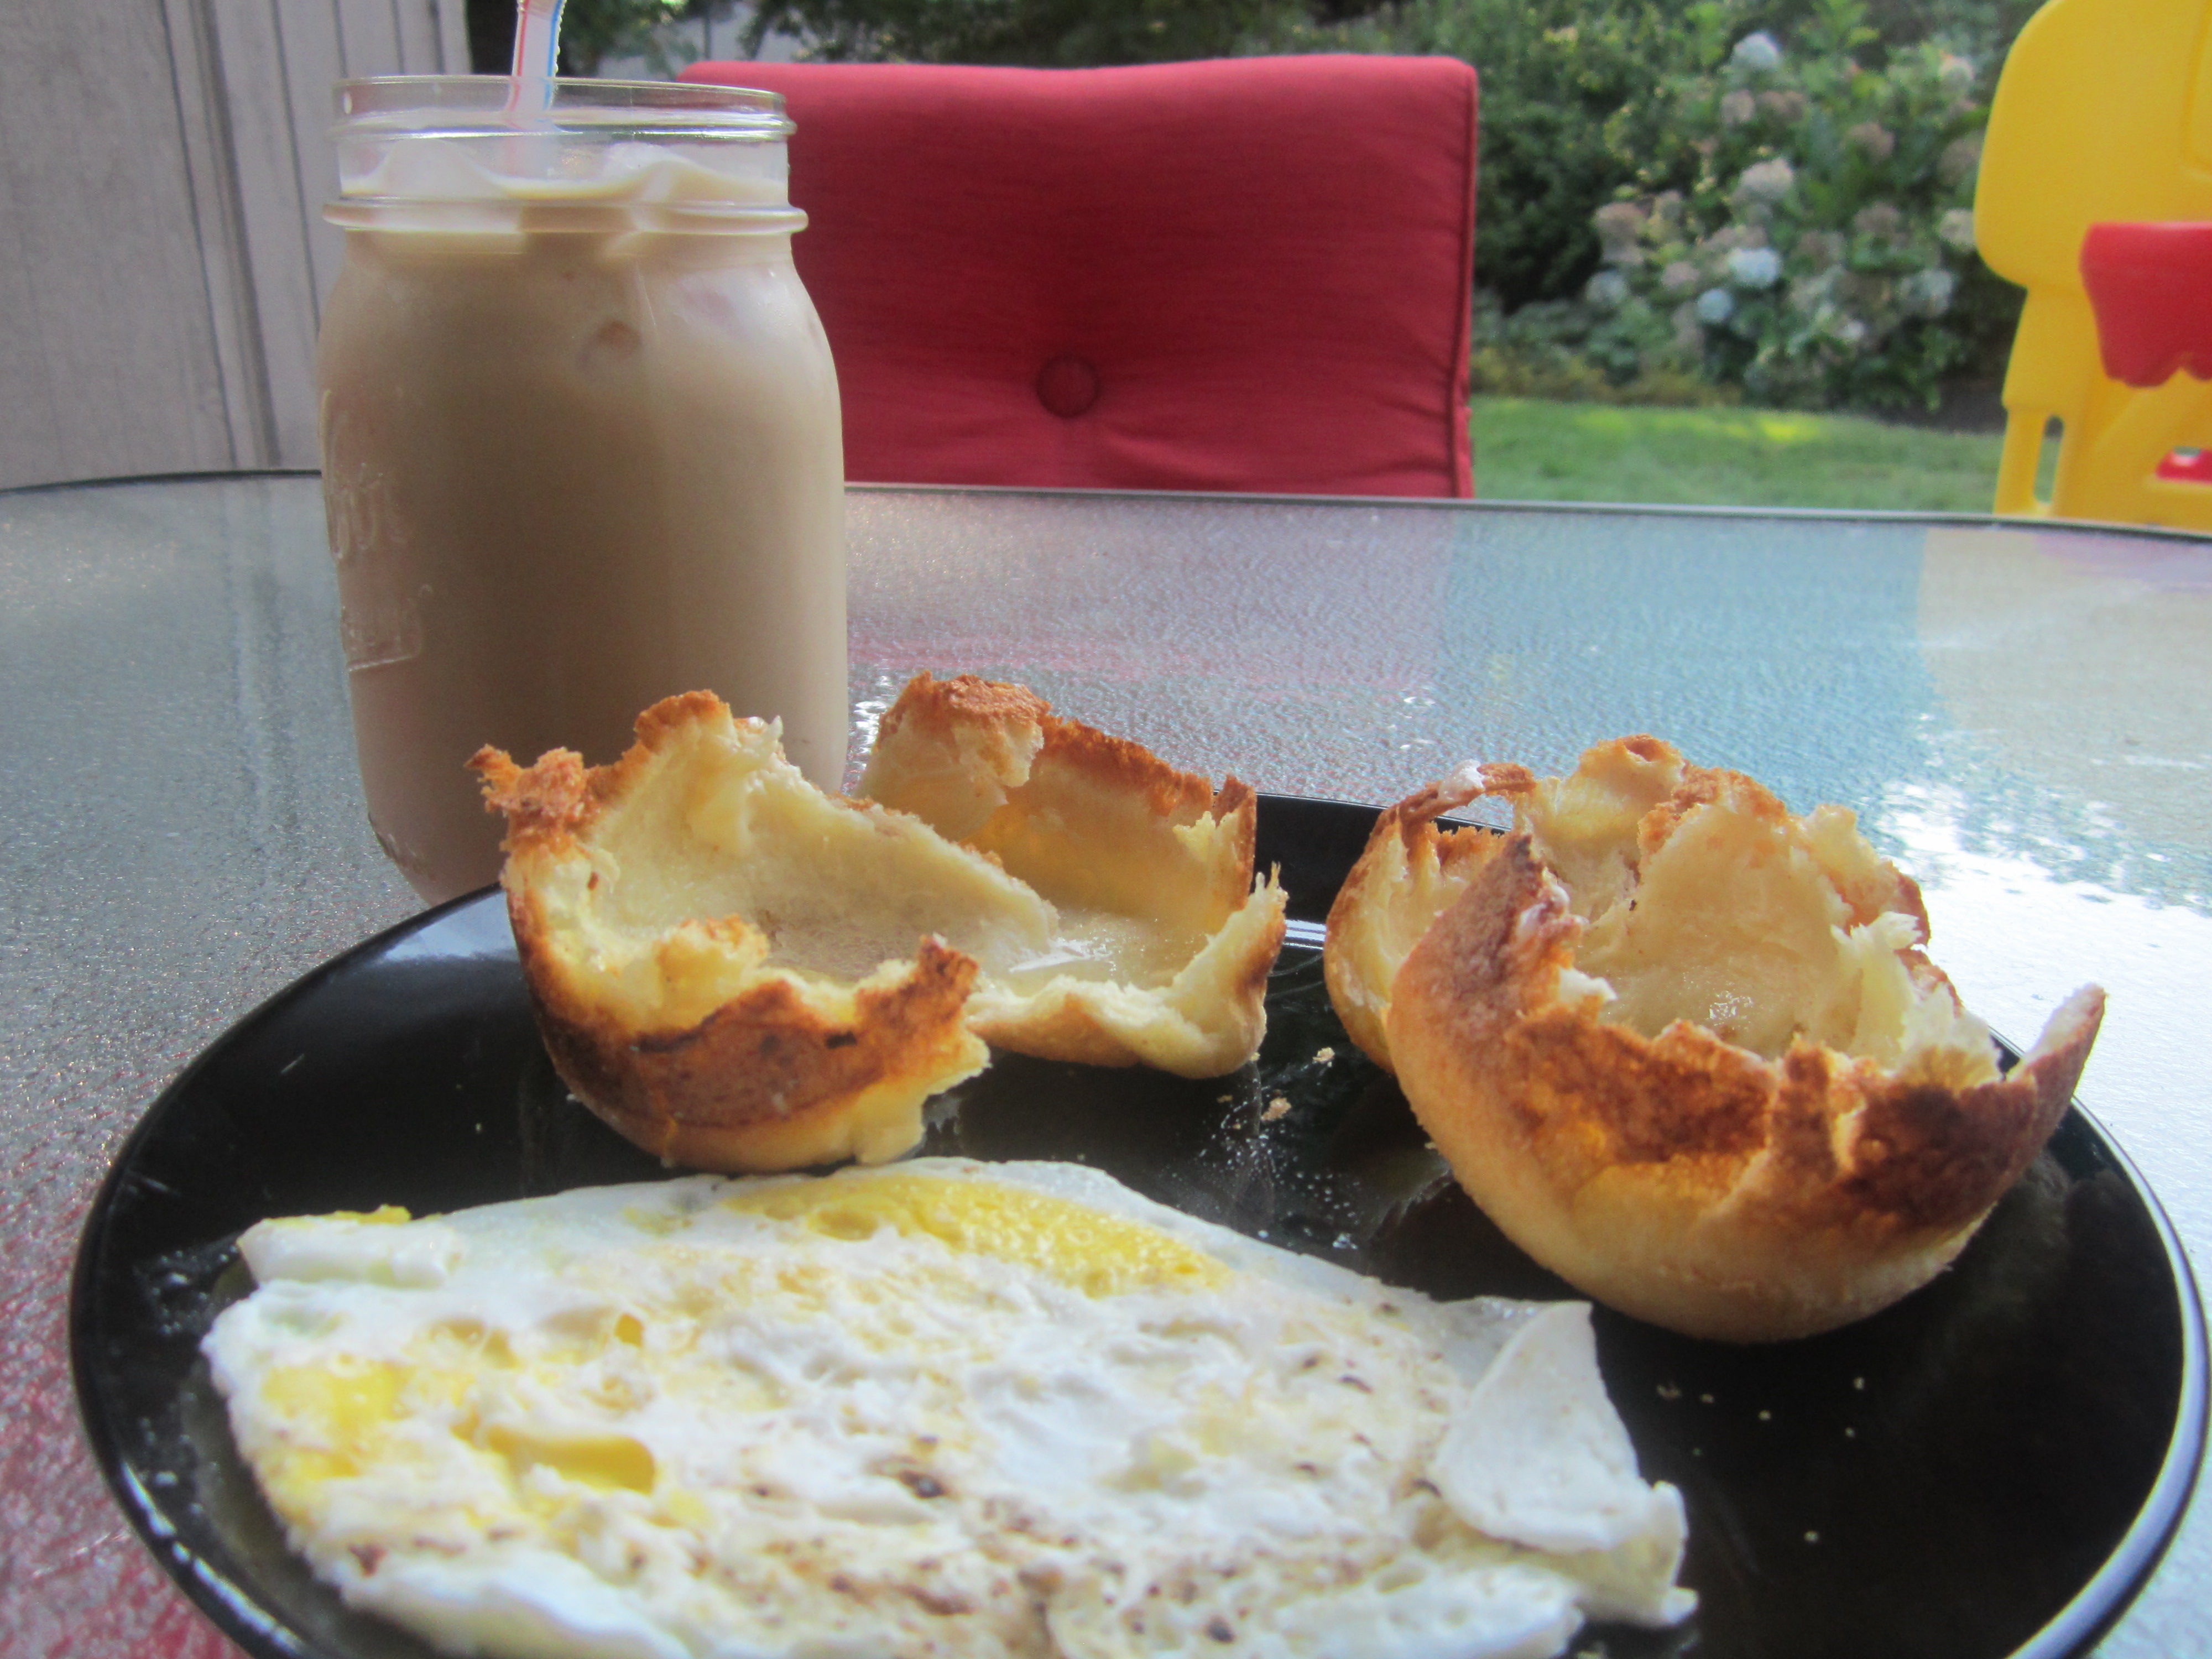
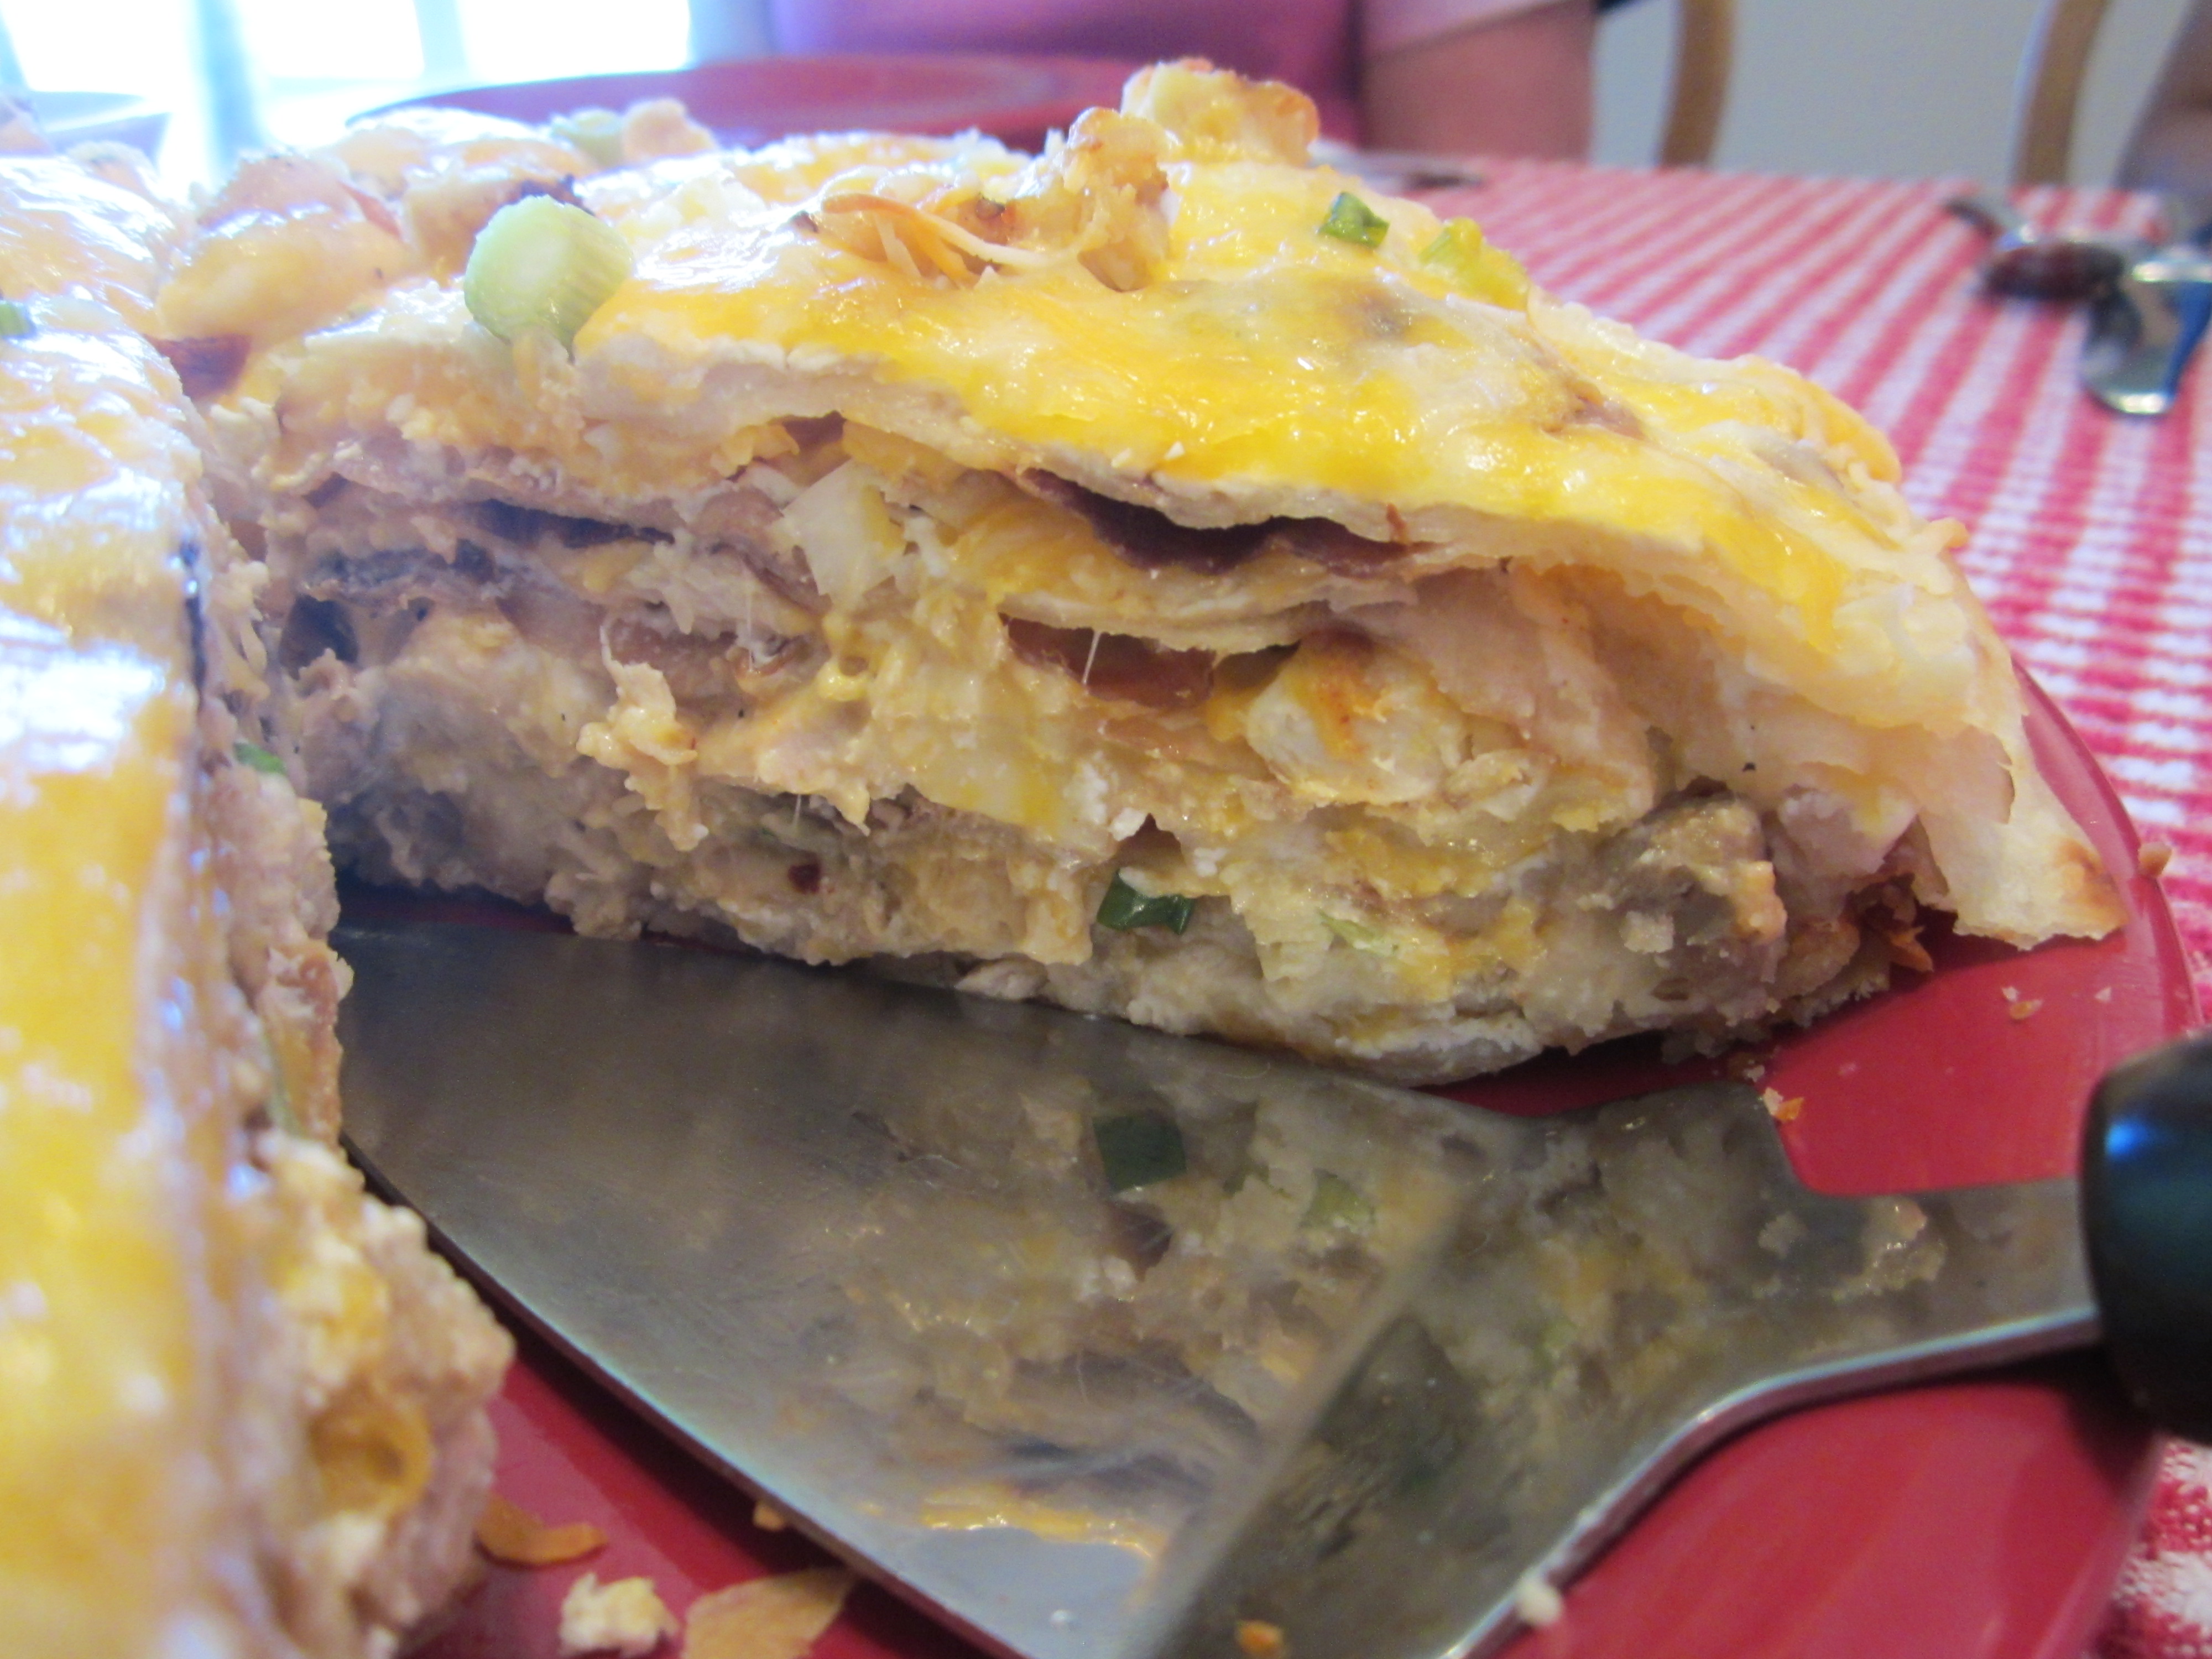
Meanwhile, my husband devoured his SPAM and eggs. NASTY! I literally hate spam. He received this from work as a joke but what’s funny, he loves Spam and he could hardly wait til this morning to make it. I ate a blueberry scone while my egg was cooked in the same pan as the spam and I could not bring myself to eat it. Something about it does not sit right with me. So…he ate and fell in love. I ate my scone as sat peacefully watching our son finally sit down without resisting. :) The scones are really good and made my morning with along with a great cup o’ joe.

Ingredients:

  • 1/2 cup cold butter (1 stick)
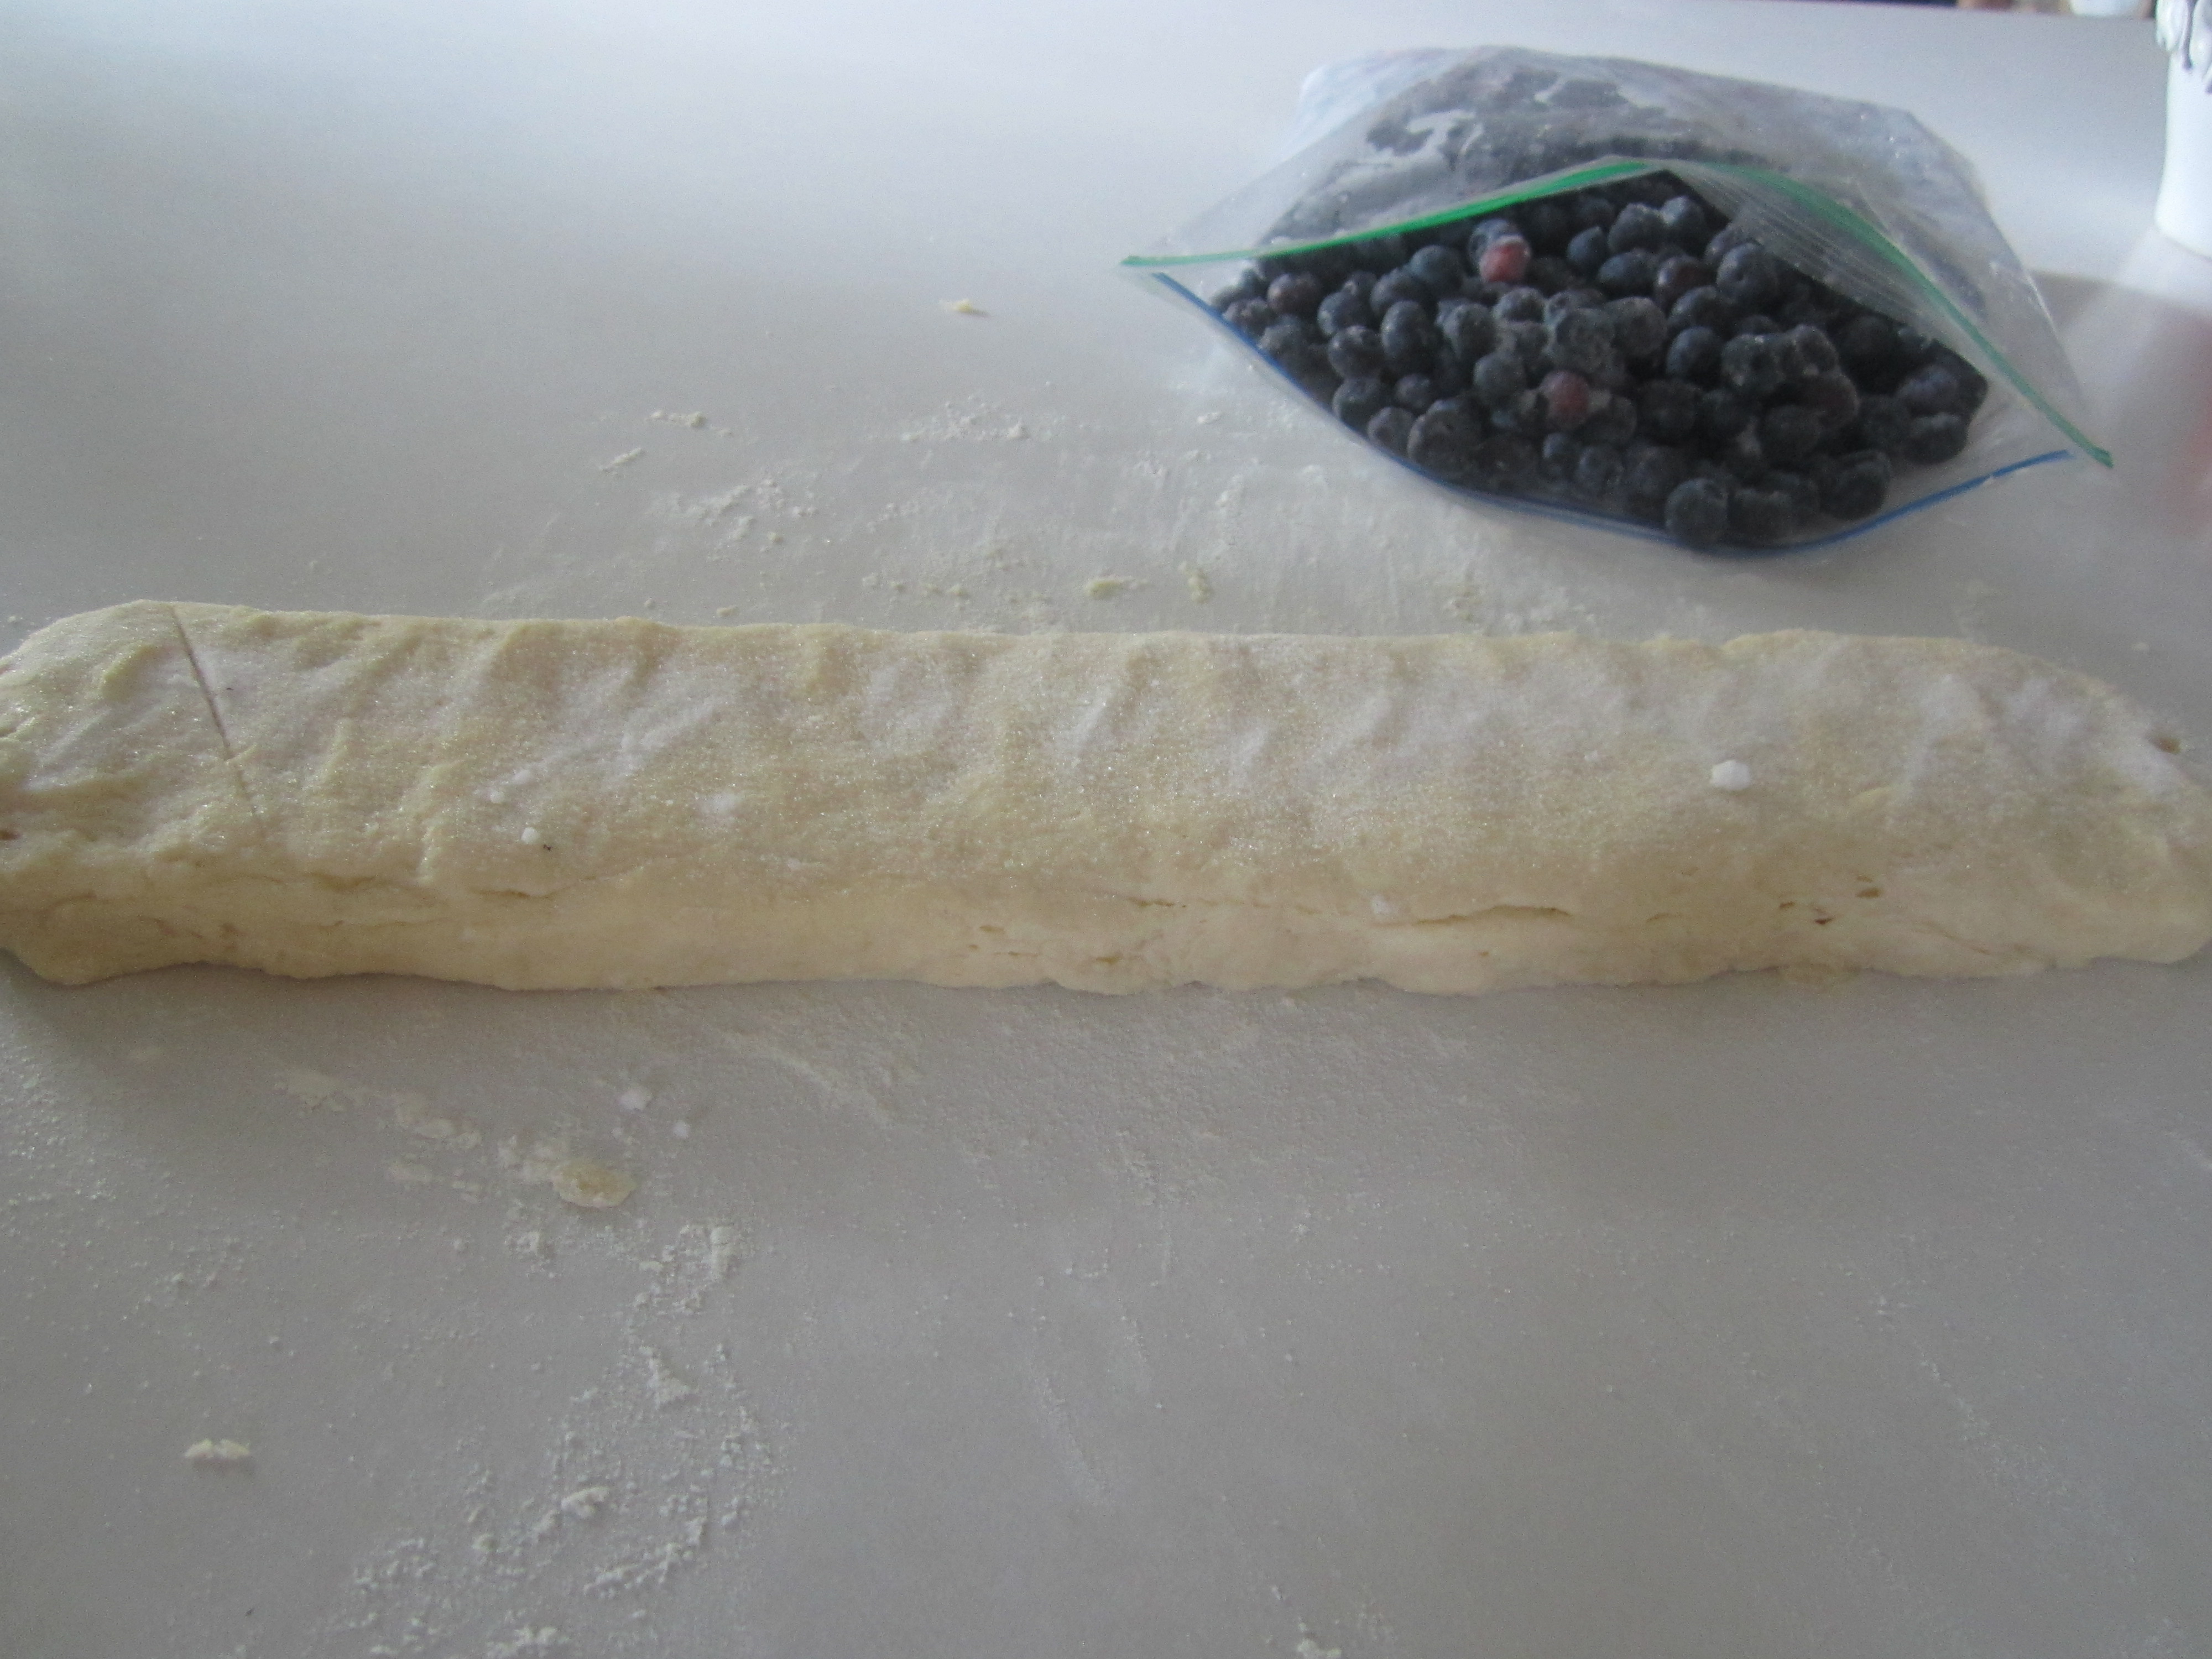
  • 1½ cups blueberries ( I used our frozen berries from our tree)
  • ½ cup whole milk
  • ½ cup sour cream
  • 2 cups unbleached flour, plus more for dusting the work surface
  • ½ cup sugar
  • 2 tsp baking powder
  • ¼ tsp baking soda
  • ½ tsp salt

Preheat to 425˚. Whisk together milk and sour cream in a small bowl, set aside. In a larger bowl, combine flour, sugar, baking powder, baking soda and salt. Combine well with a spatula.

IMG_5818

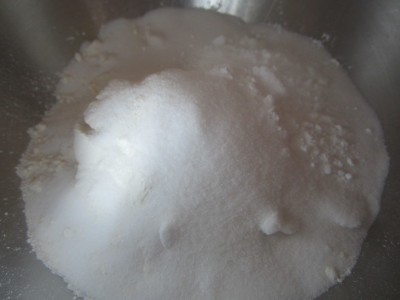
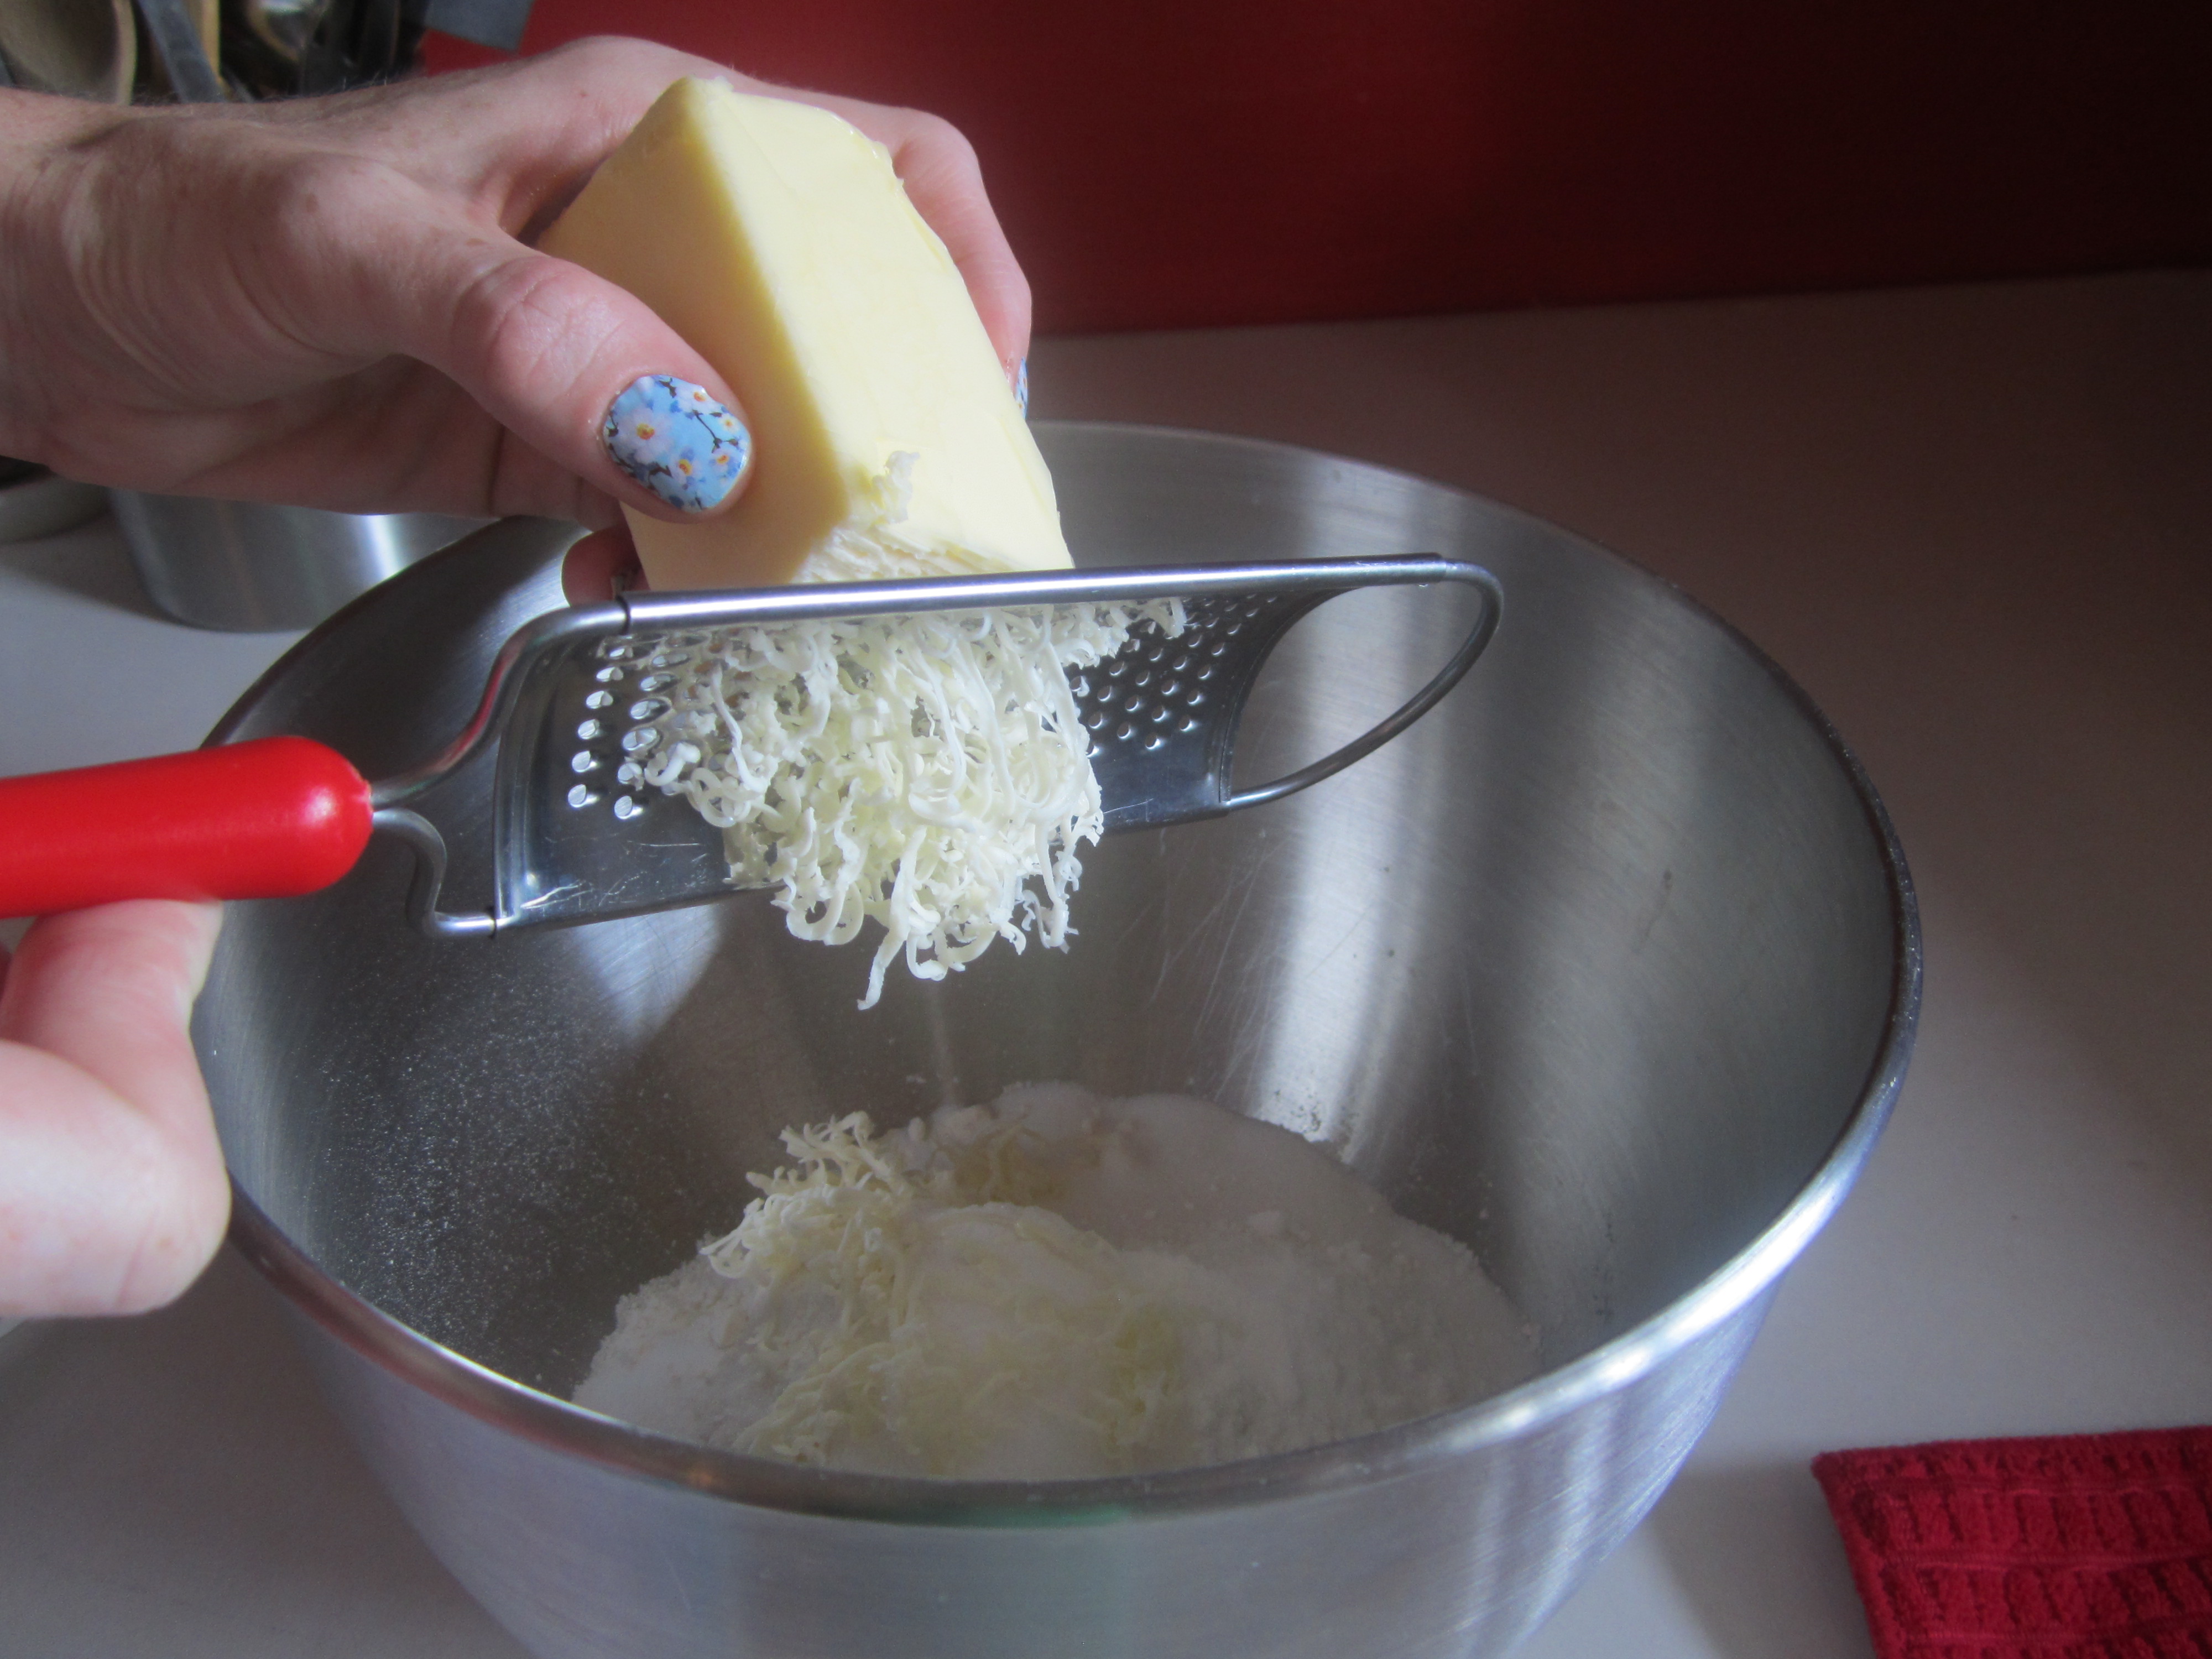
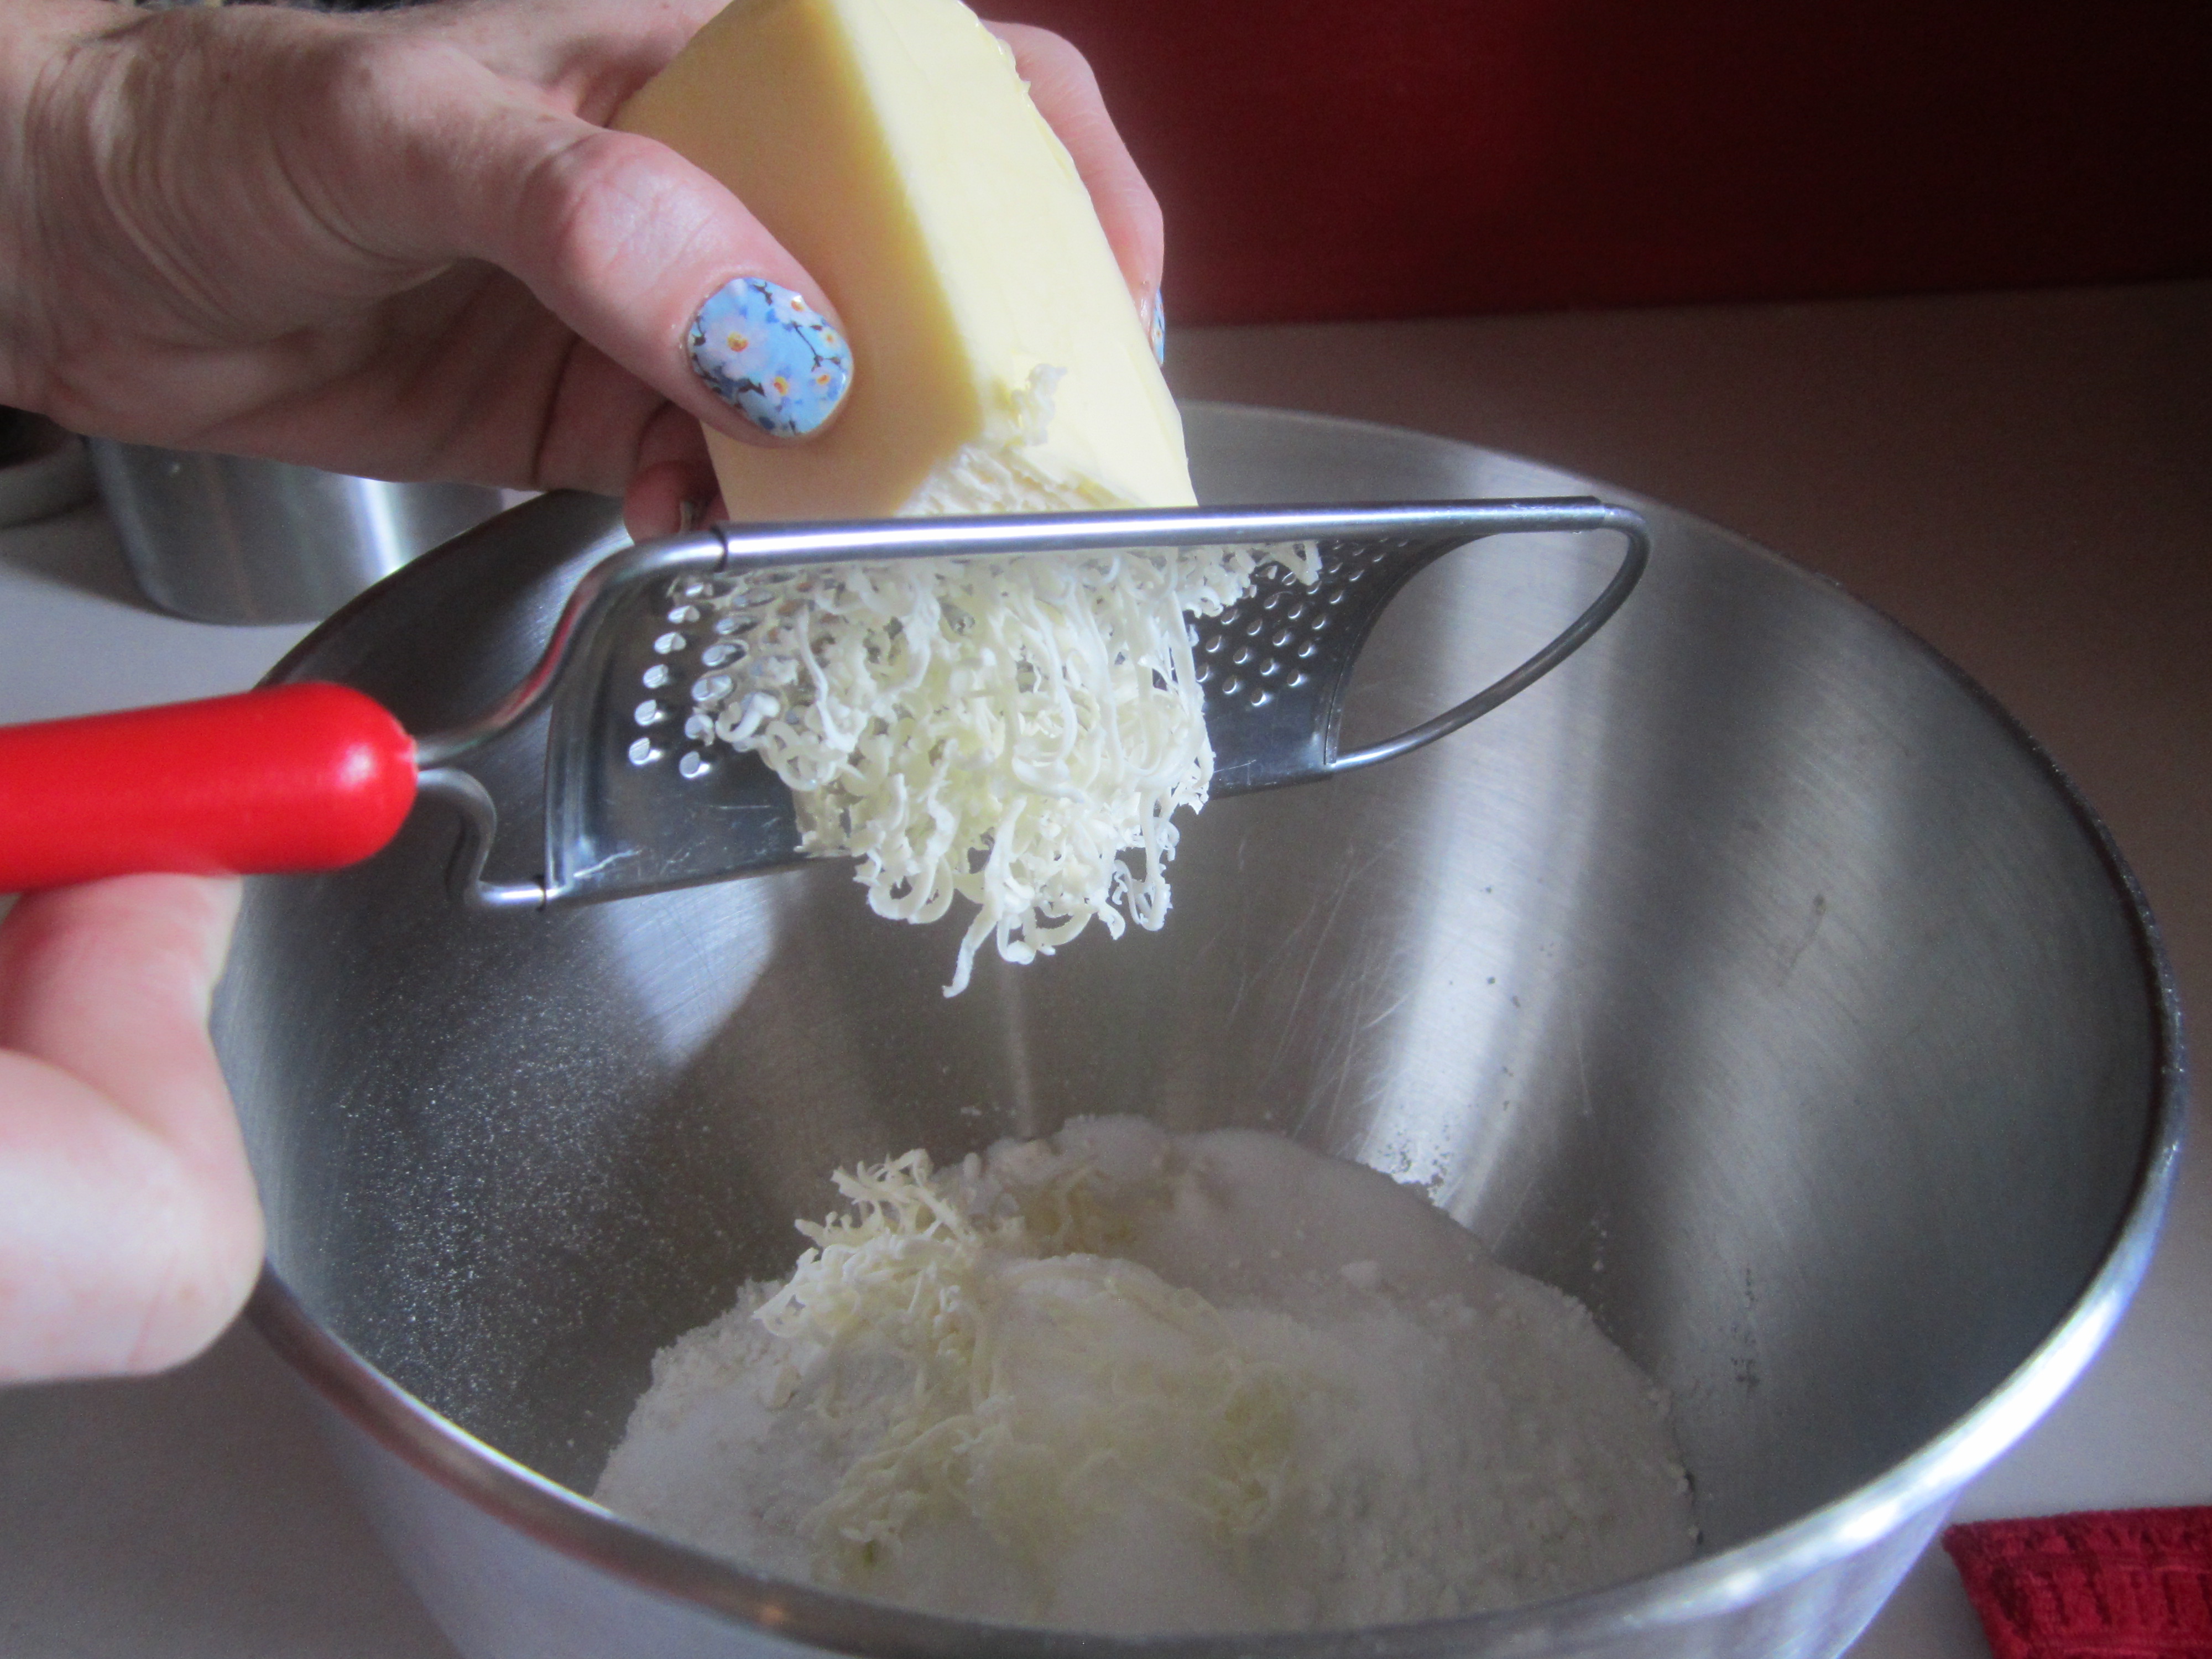
Grate cold butter directly into the flour mixture.

IMG_5822

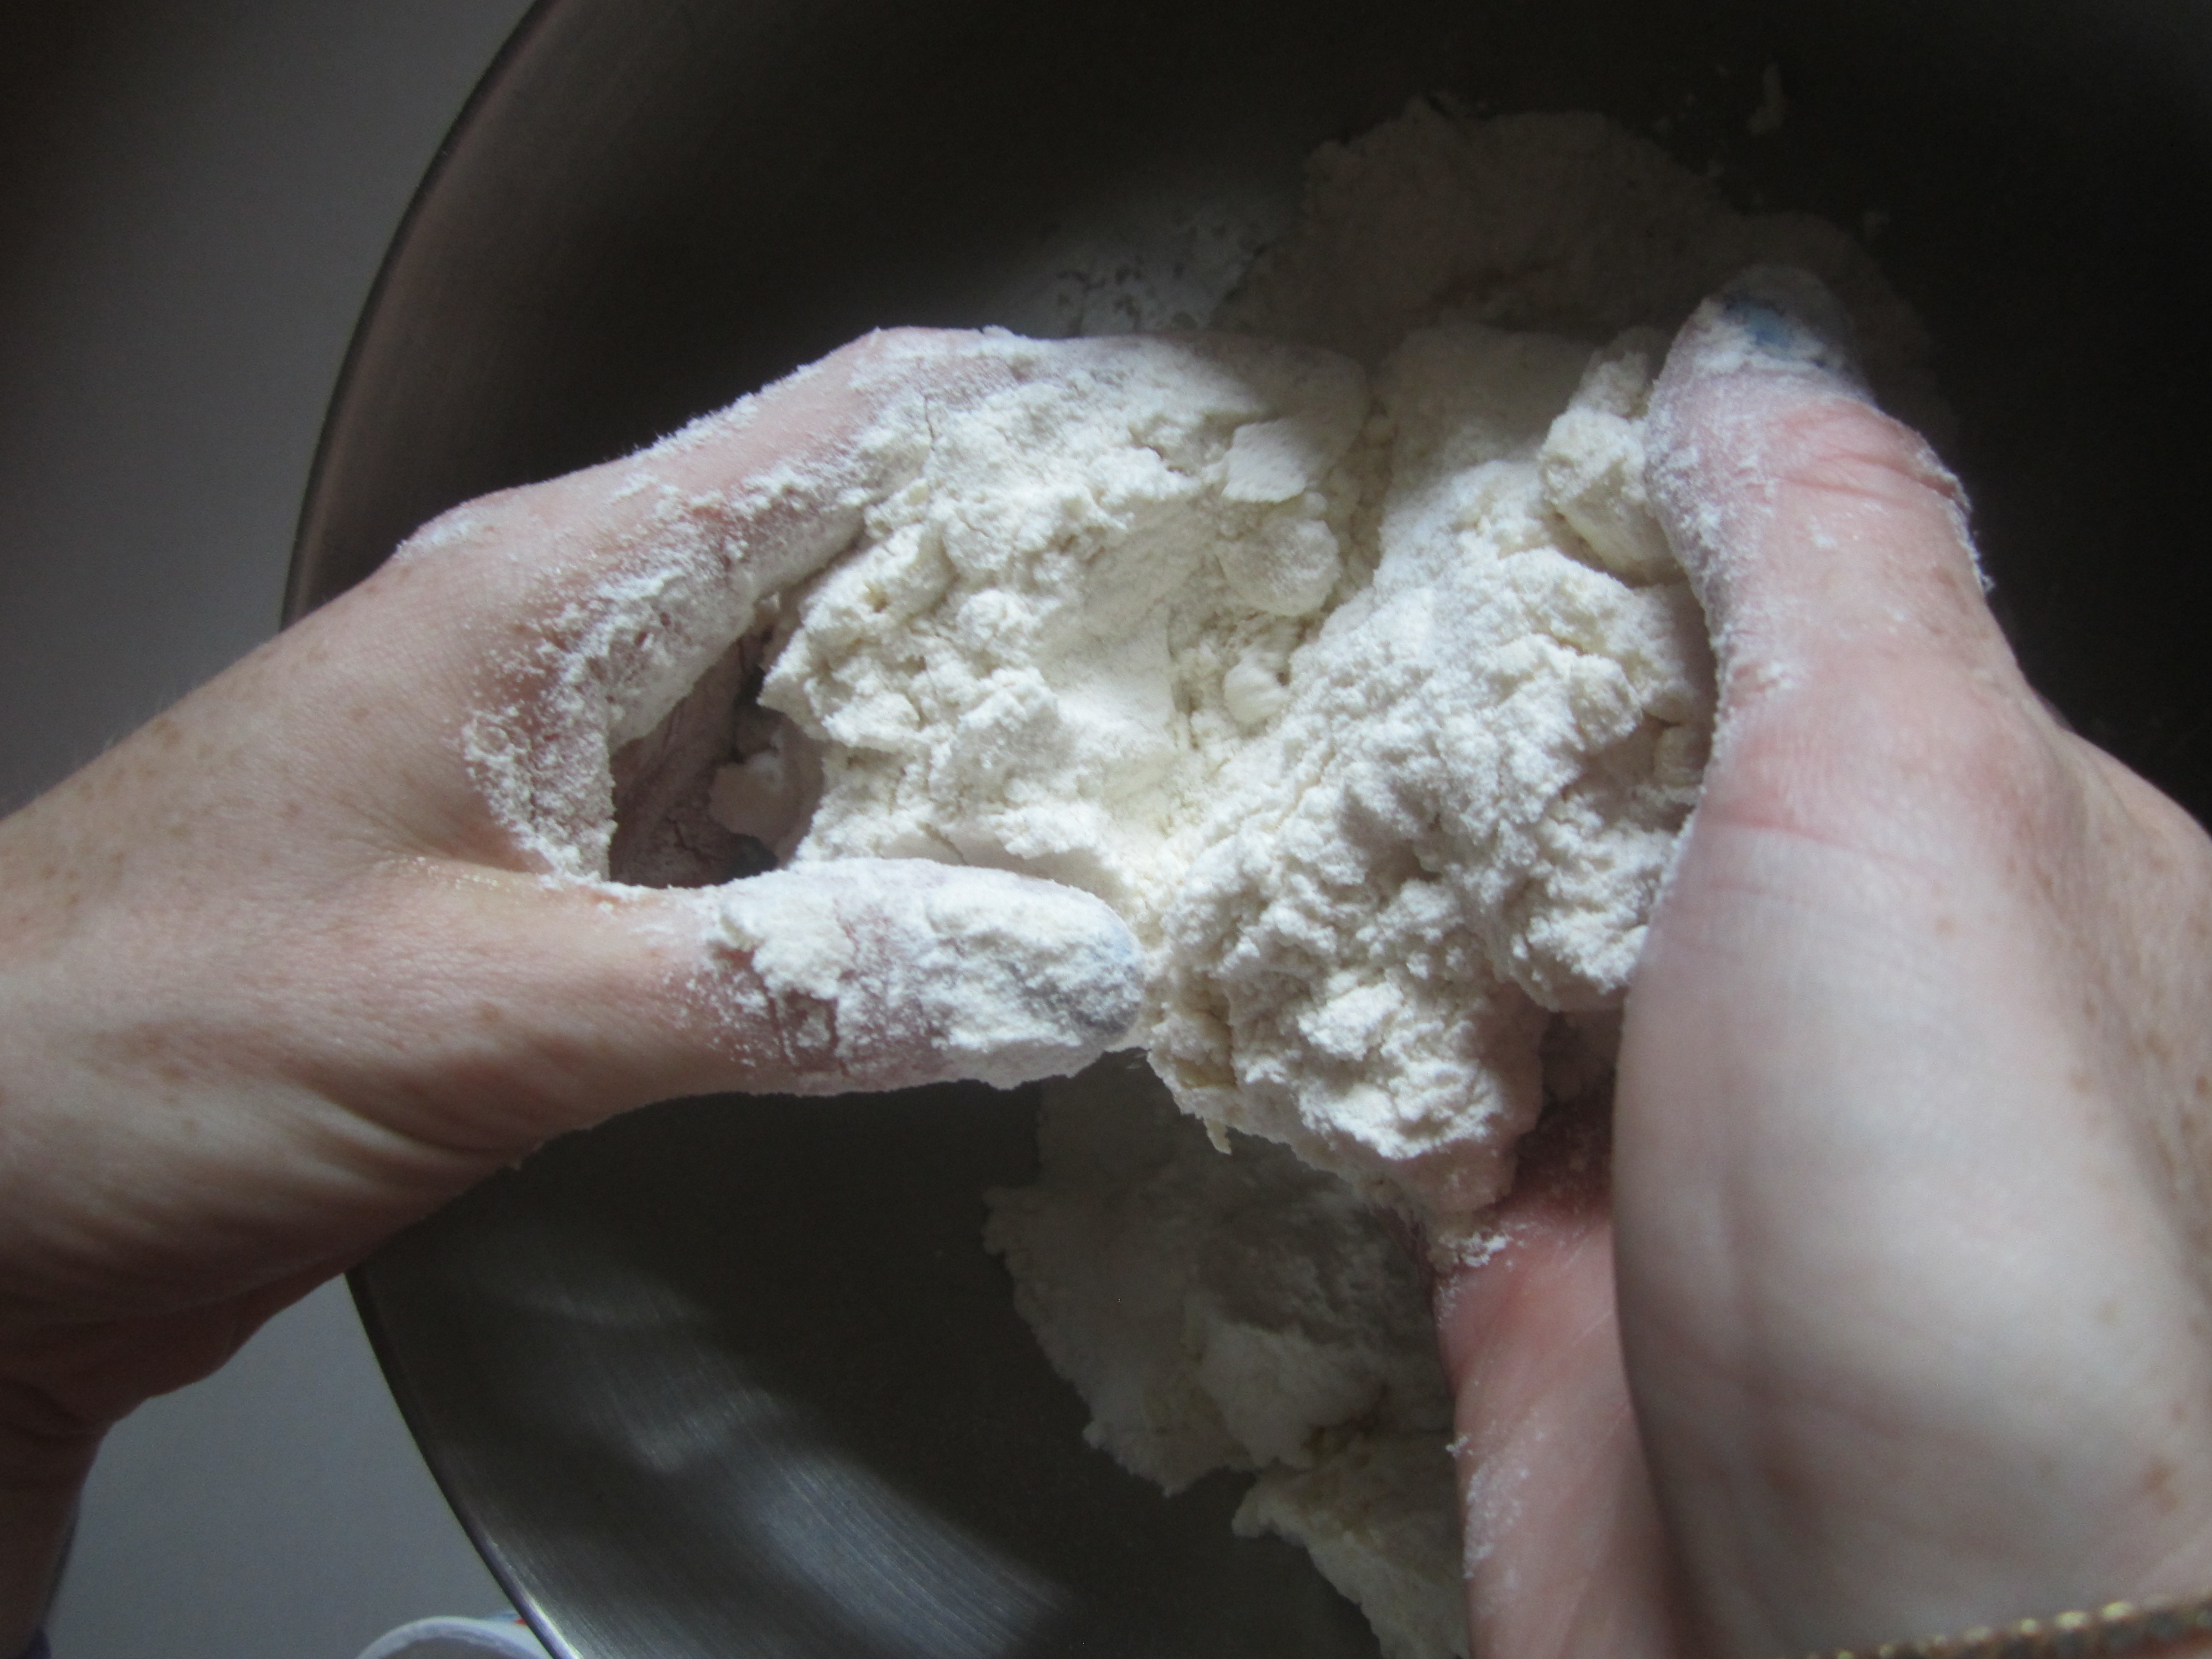
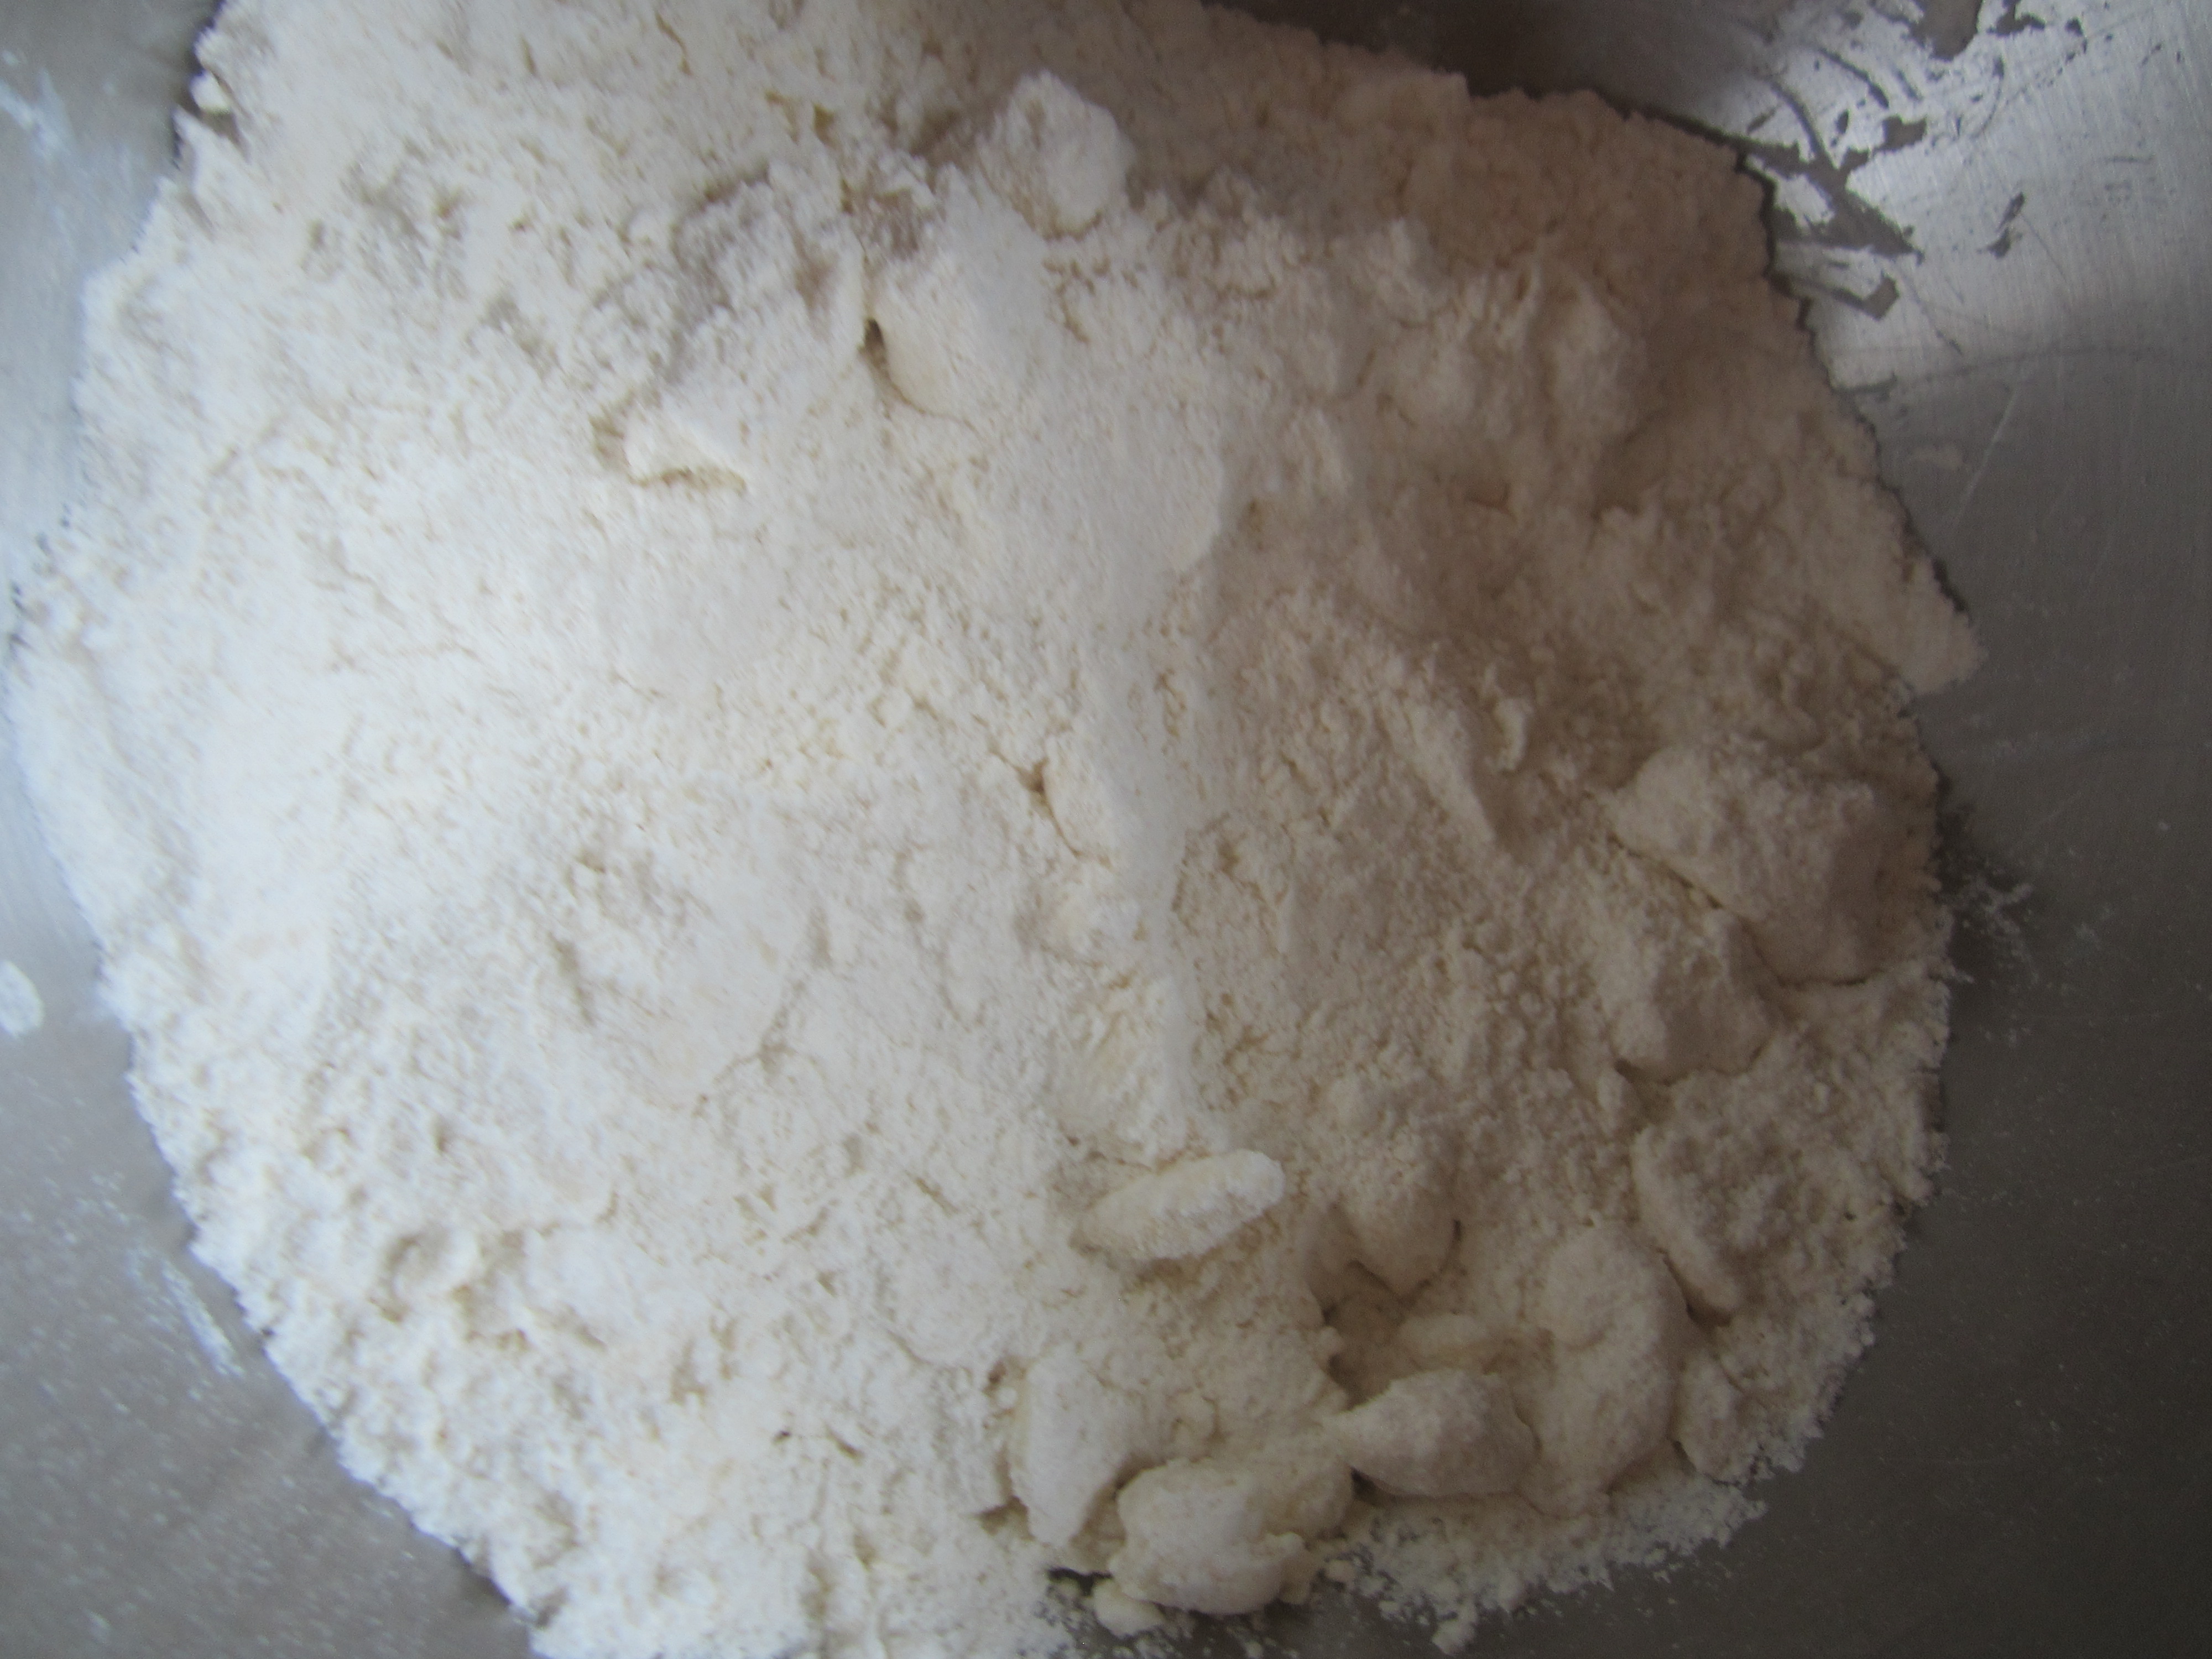
Toss with fingers until thoroughly coated.

IMG_5824

Will be slightly lumpy. 
IMG_5825
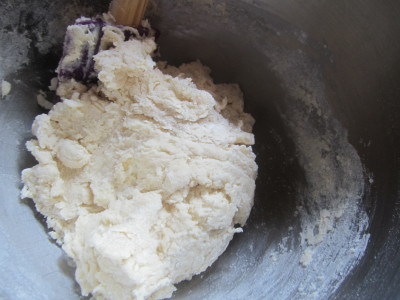
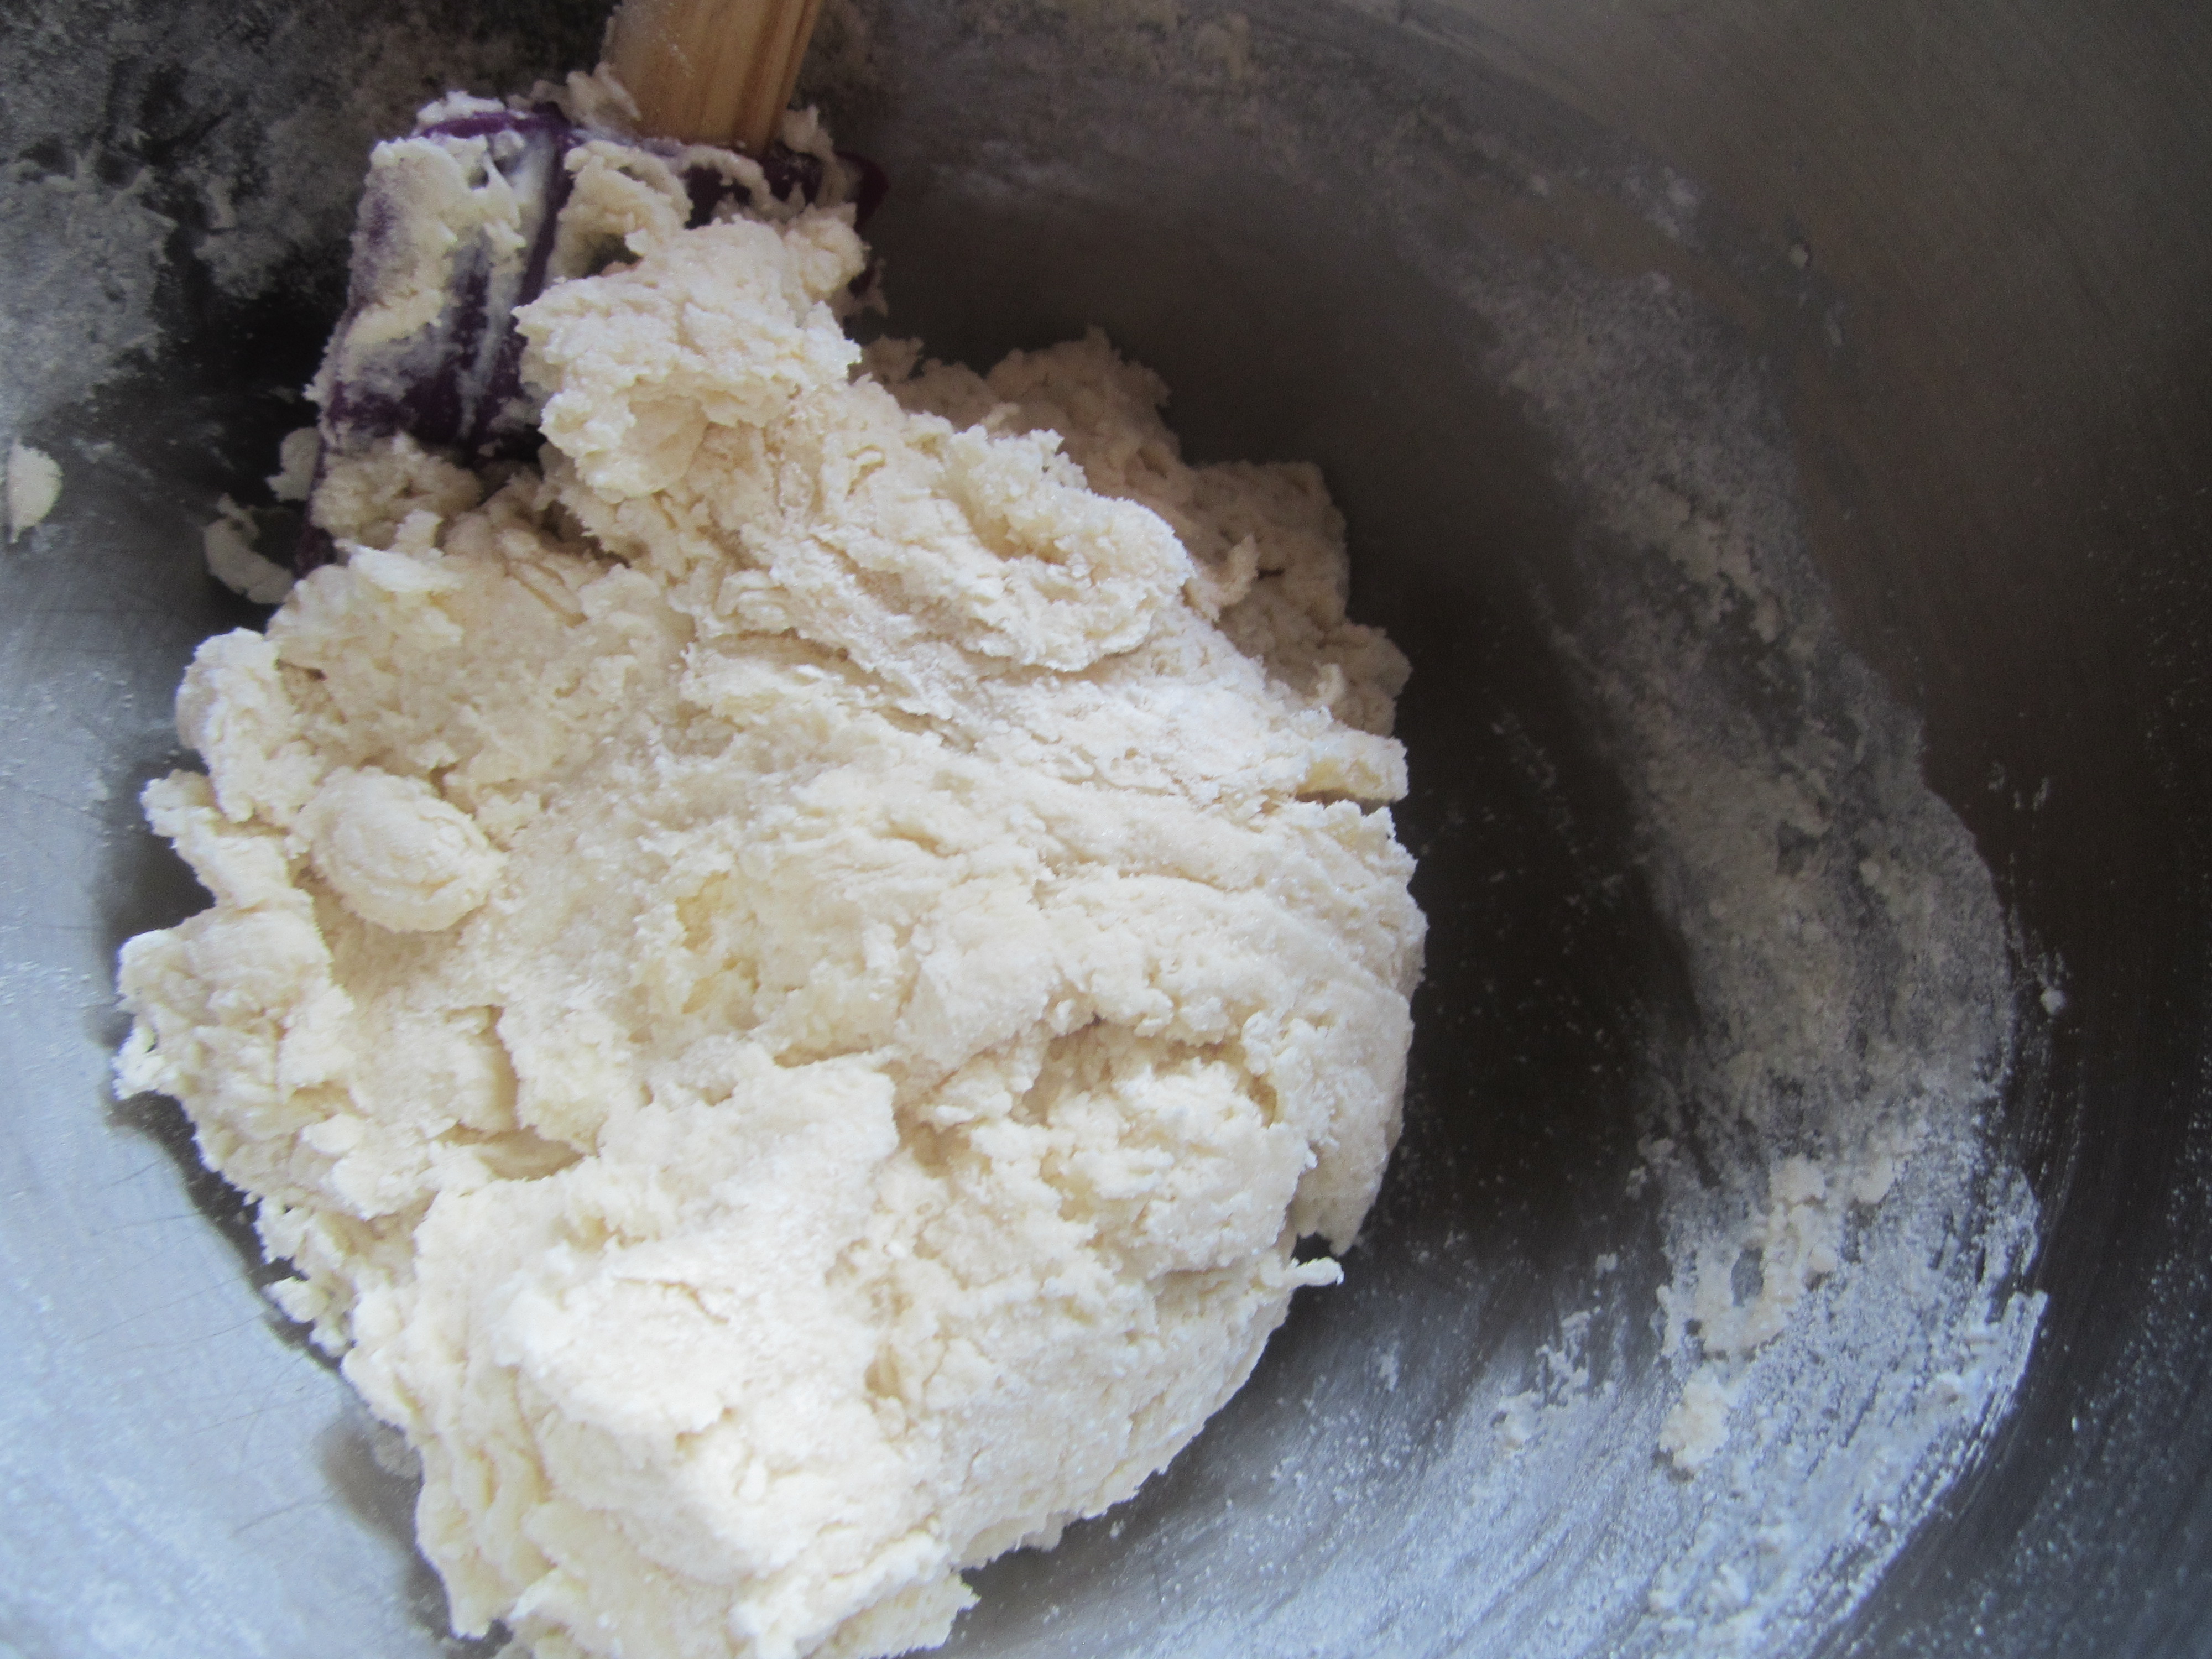
Add the milk mixture to the dry ingredients and fold with a spatula just until combined, dough will be shaggy.  

IMG_5827

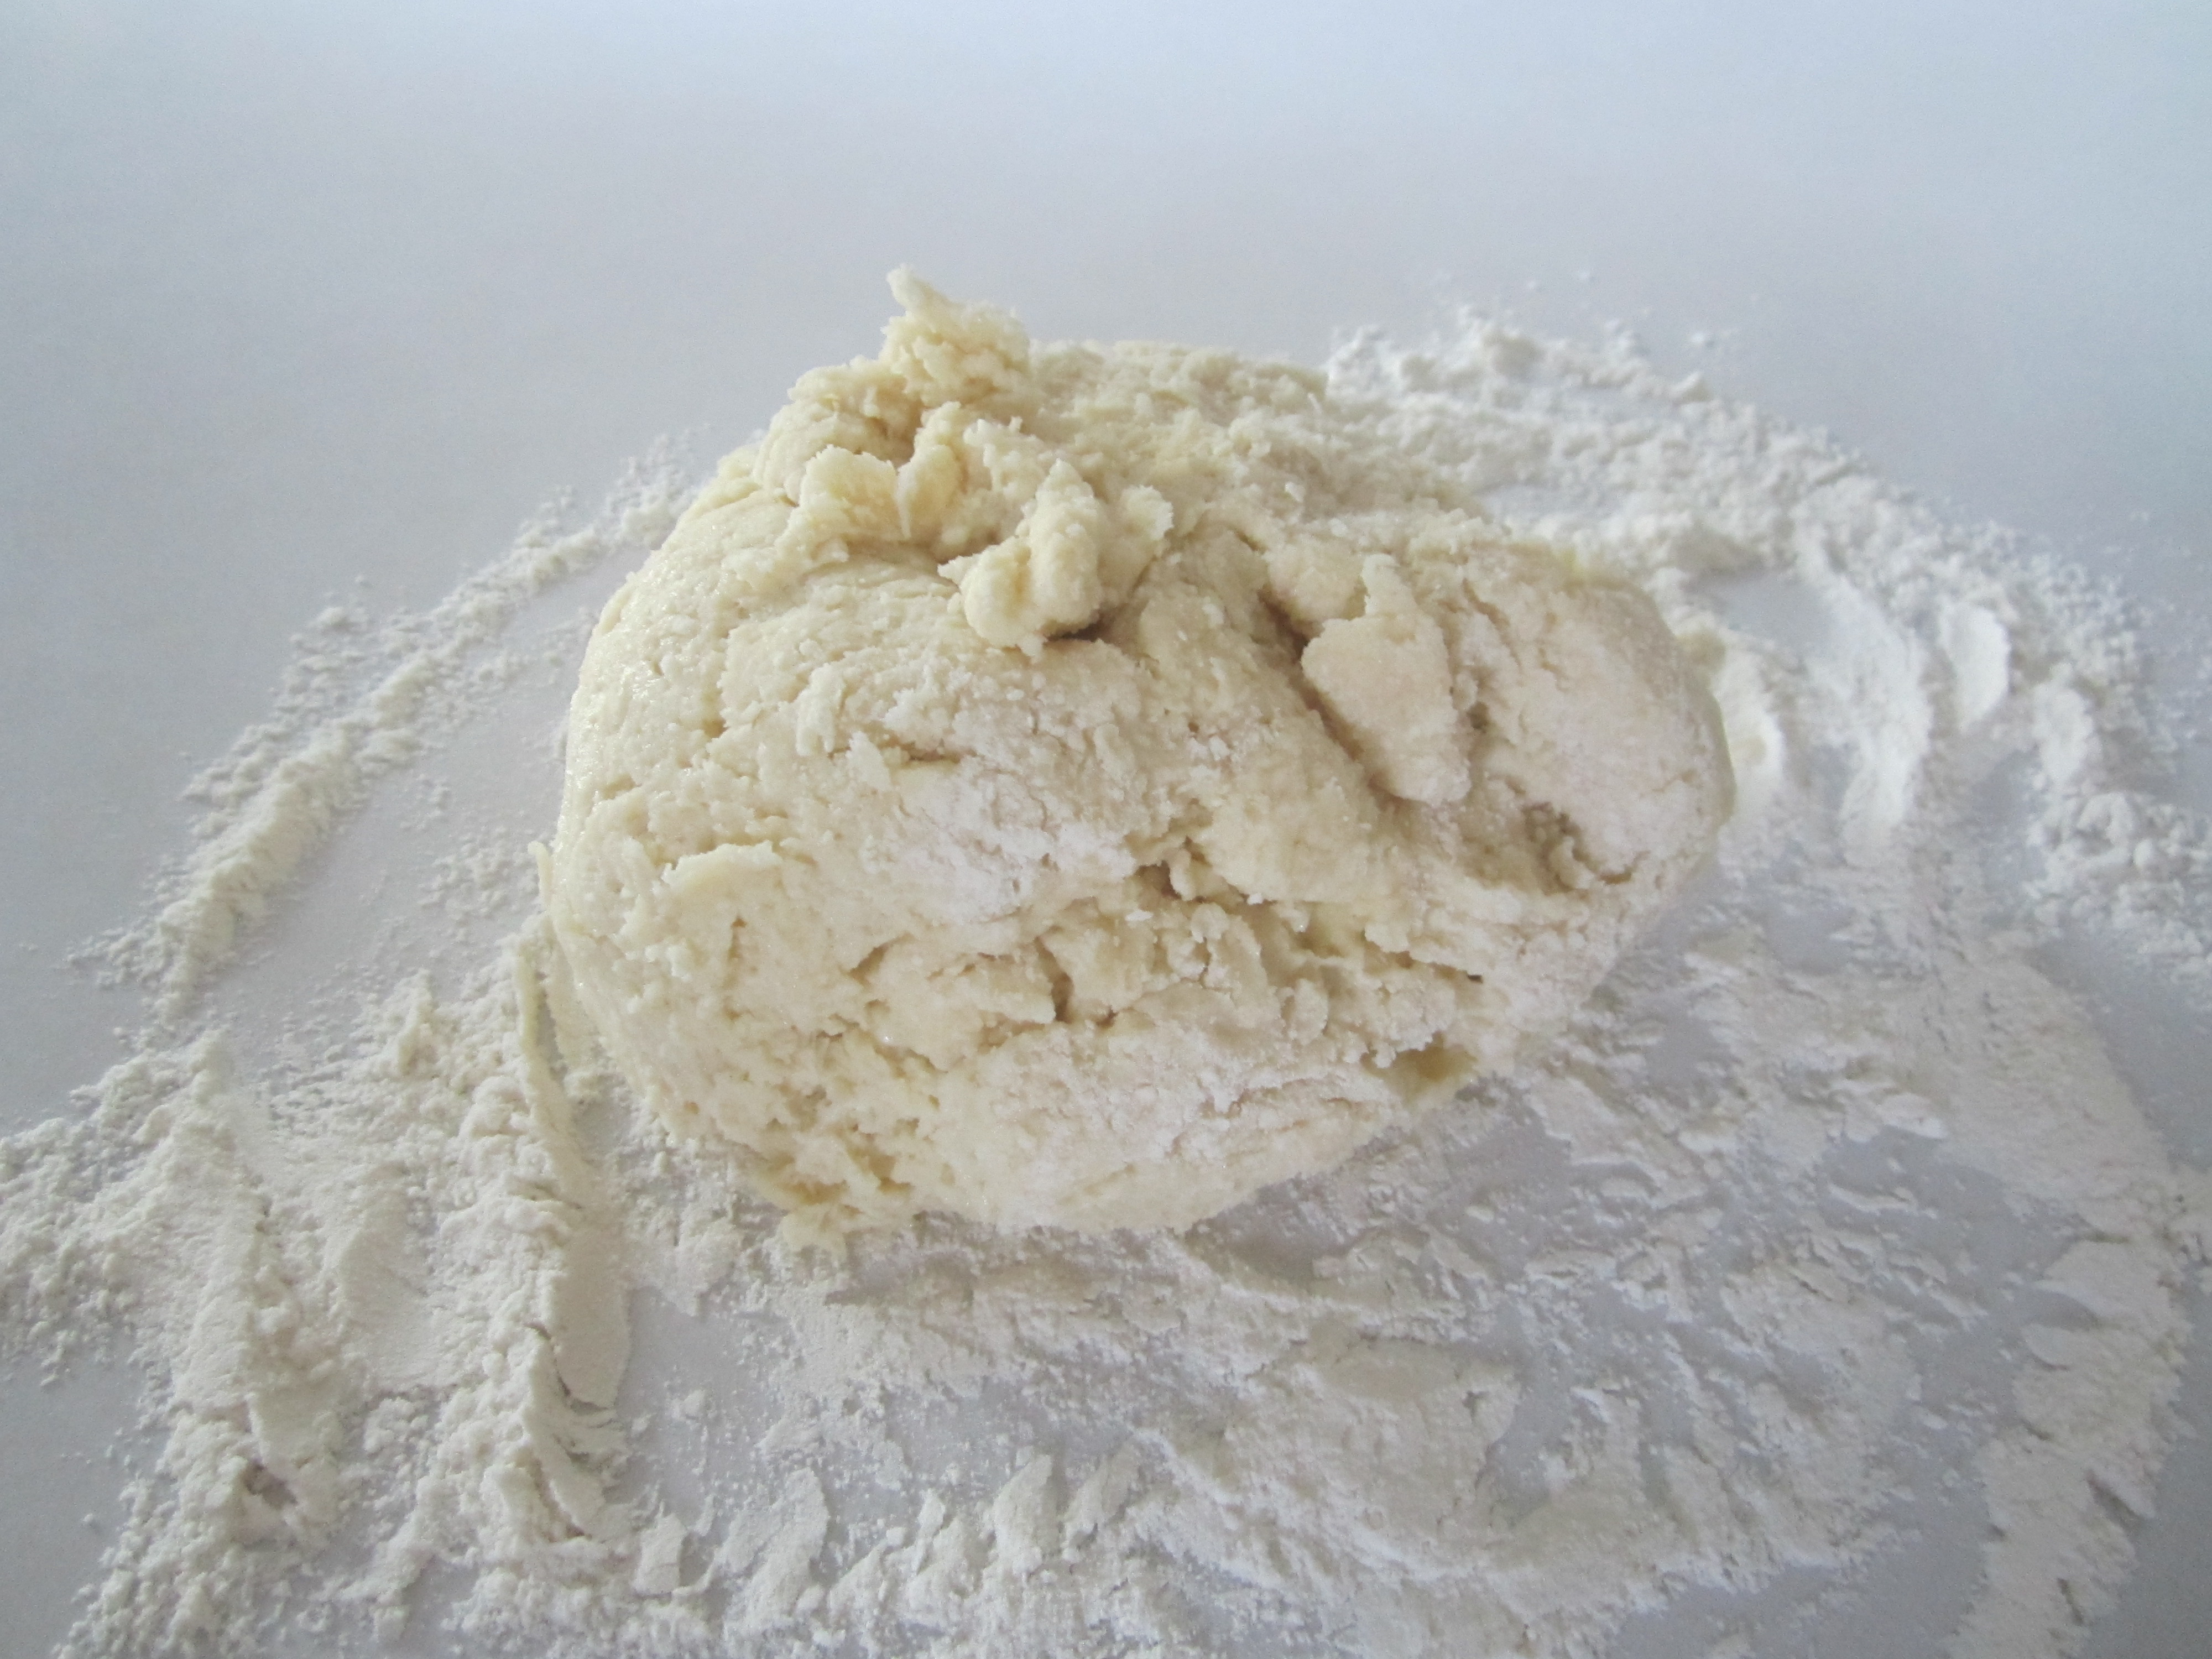
Transfer the dough to a generously floured work surface.

IMG_5828

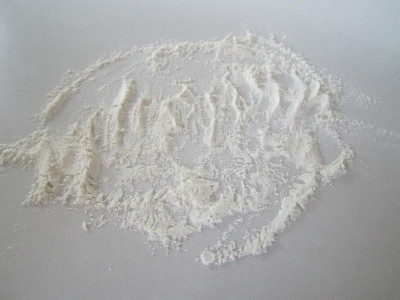
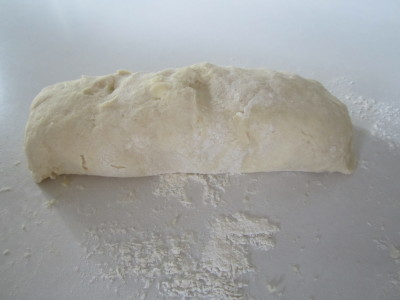
Dust the top of the dough with flour, and knead with well floured hands, 6-8 times, just until the dough holds together in a ragged ball.  Add small amounts of flour as needed to prevent sticking (be sure to not over flour). 

IMG_5829
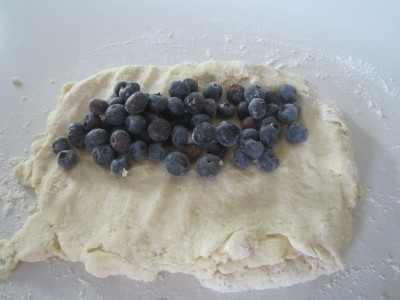
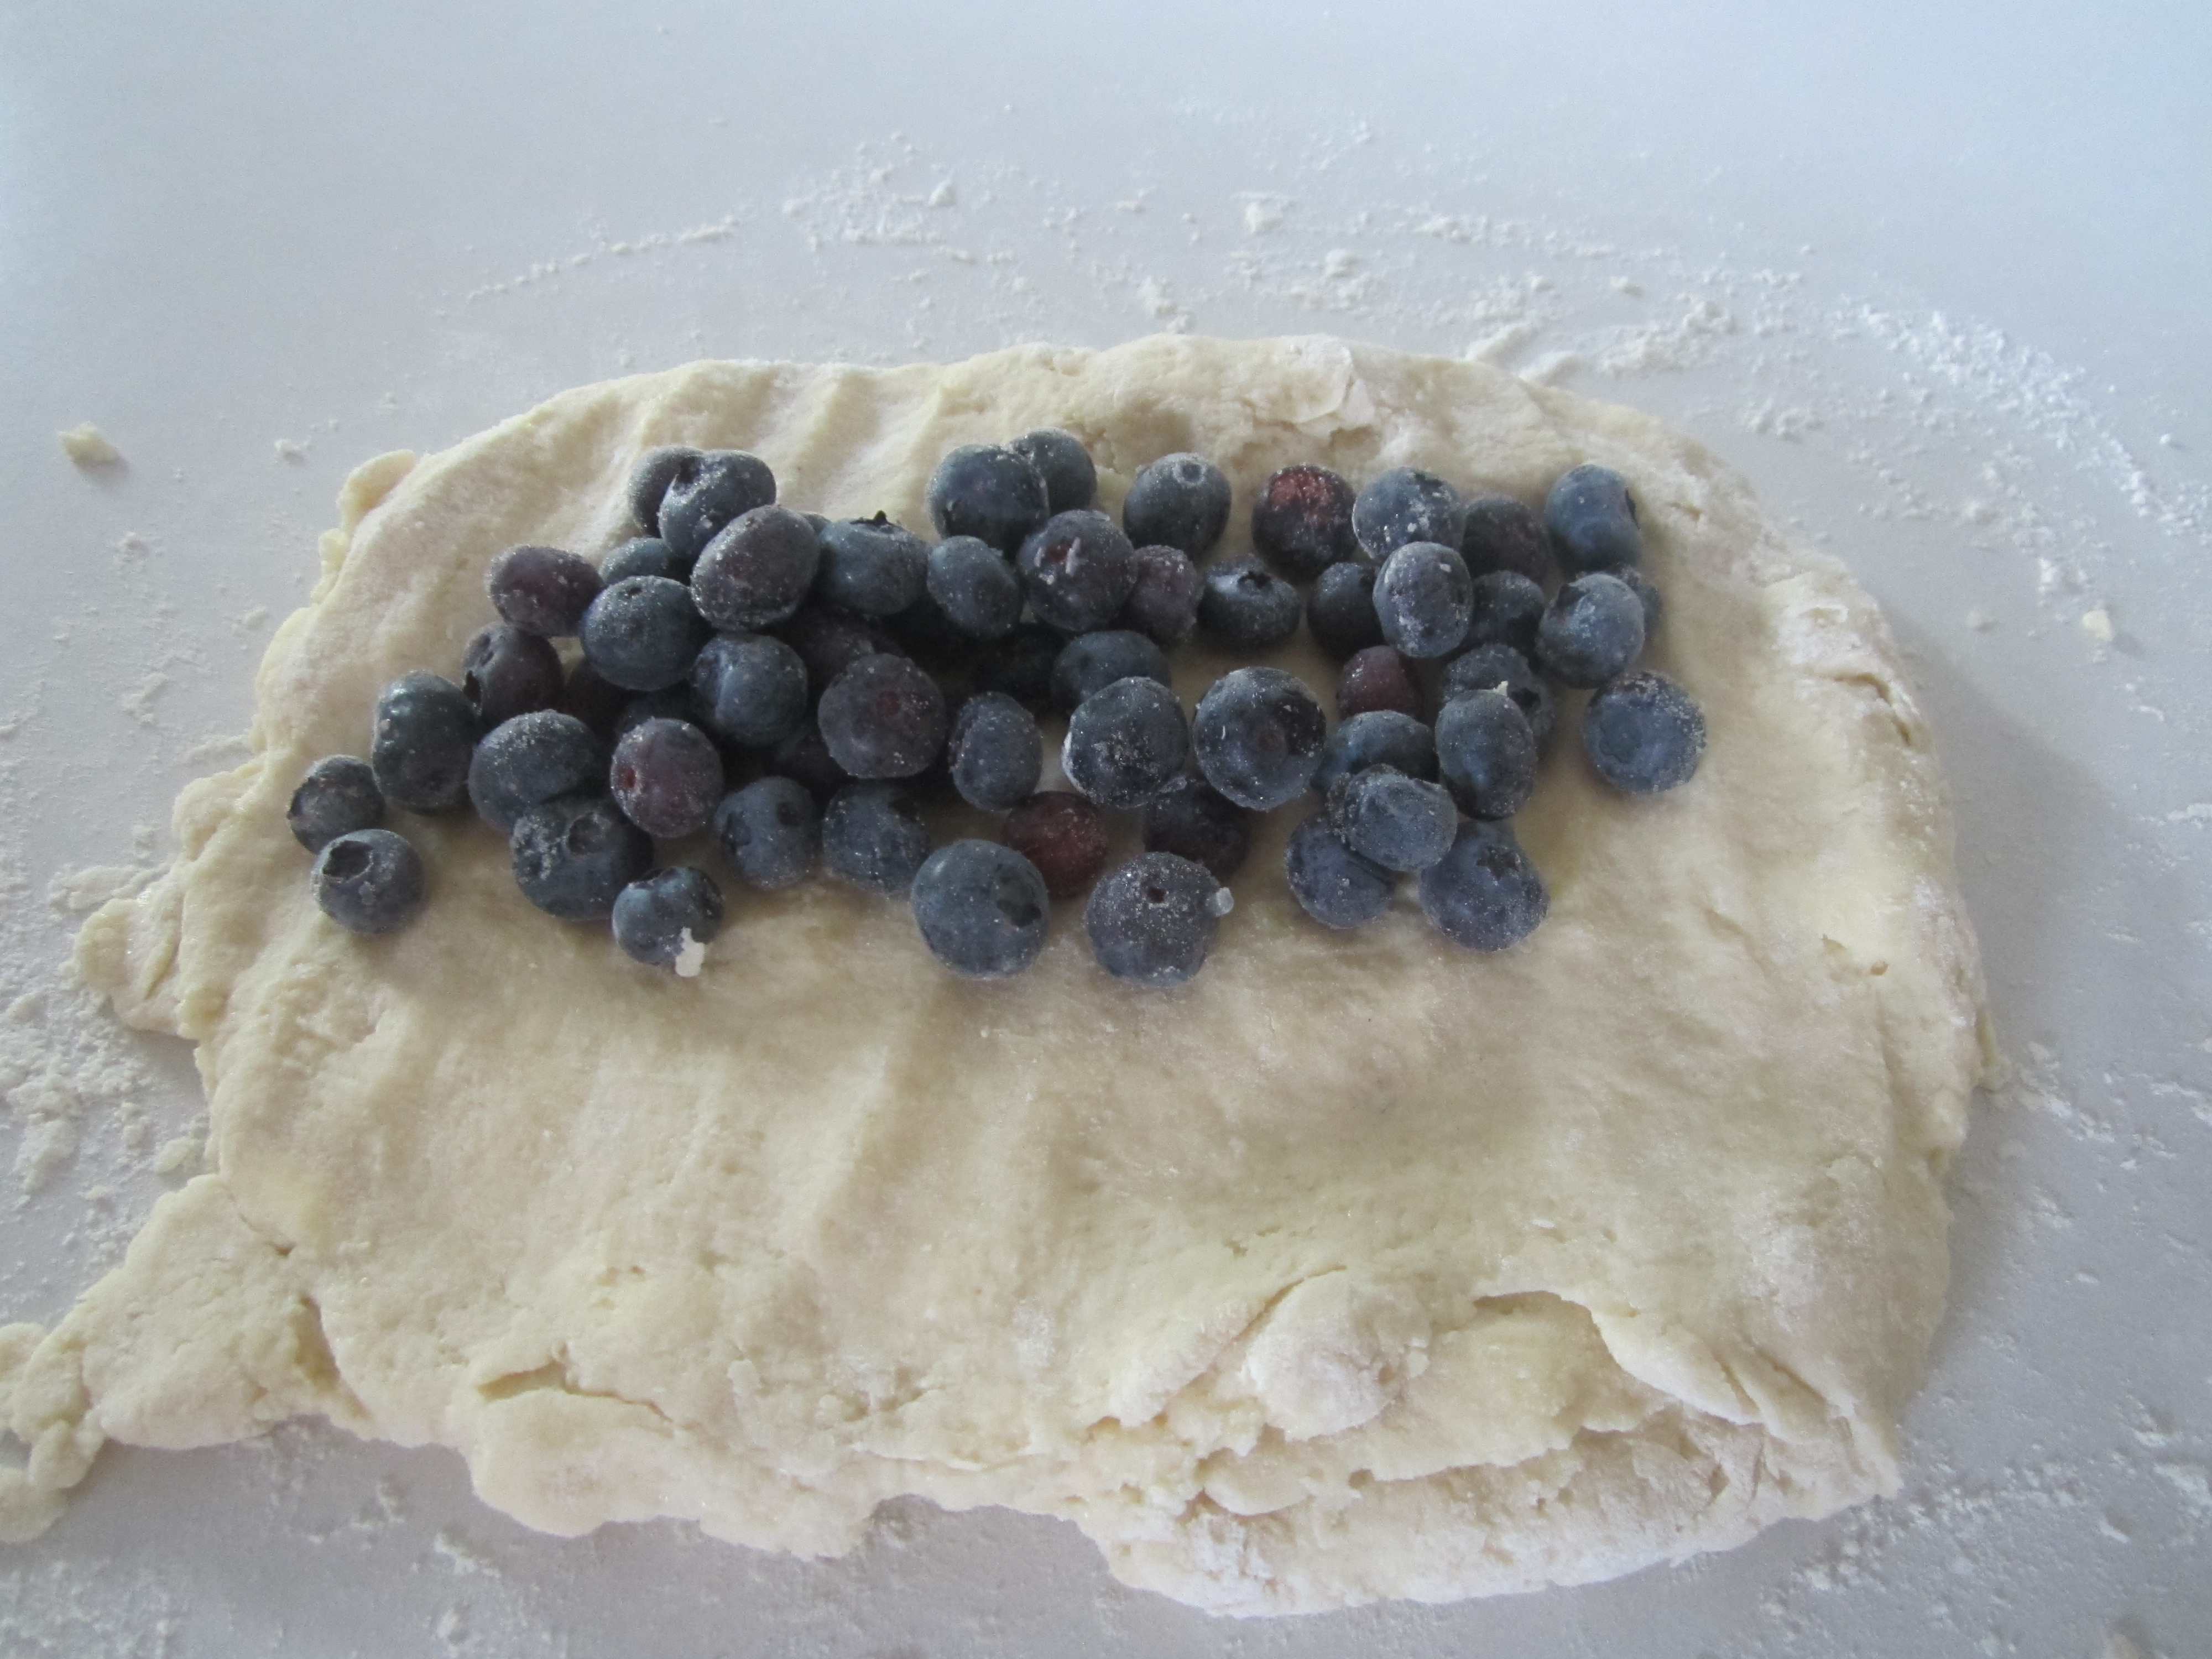
Use your hands (or rolling pin) and knead the dough into a rectangle. Top with frozen blueberries. 

IMG_5830

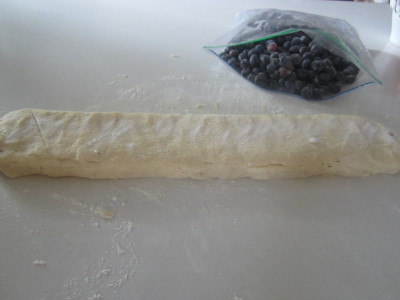
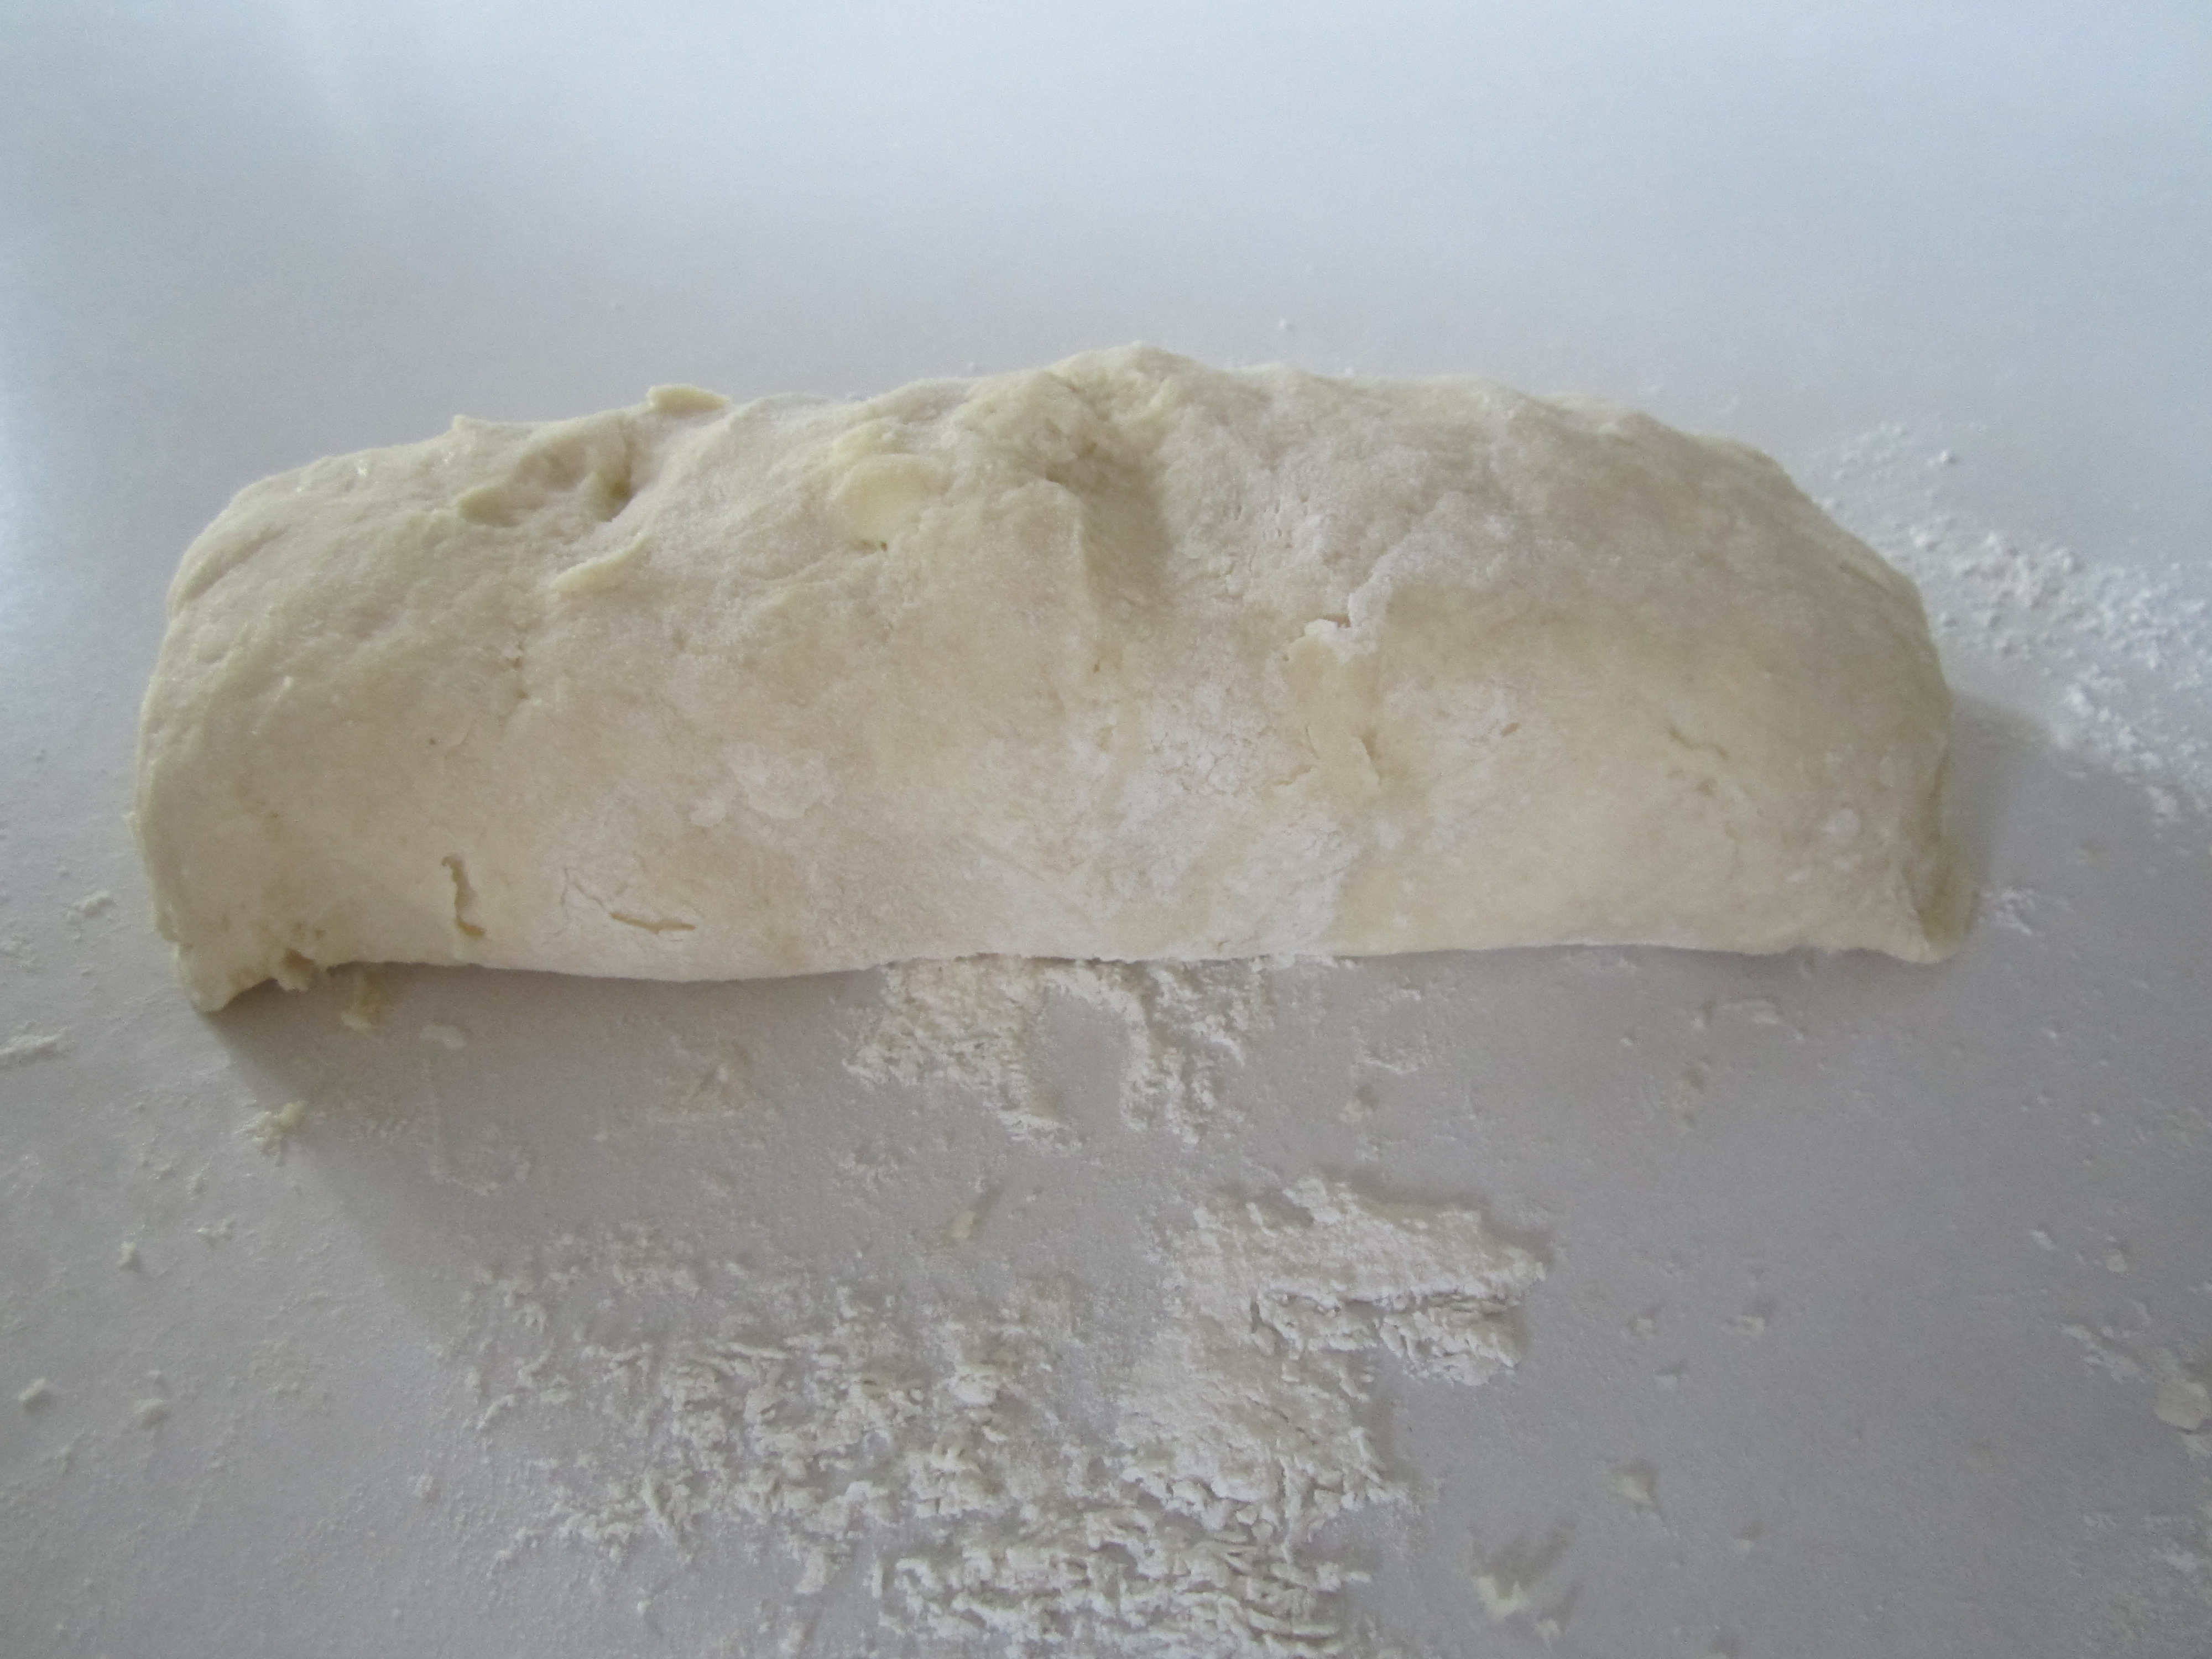
Using your hands (or a dough scraper) roll the dough up to form a tight log.

IMG_5831

Lightly press dough to make your rectangle wider and longer. Keeping the ends together and blueberries tucked nicely inside. Length should be about 14 inches long by 4 inches wide.

IMG_5833

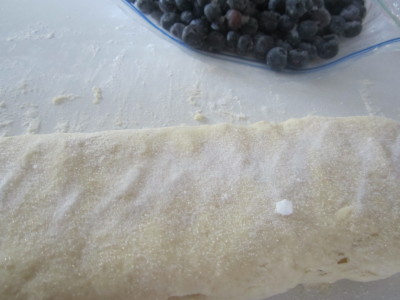
Before cutting your dough, sprinkle a generous amount of sugar on top and lightly press into dough.
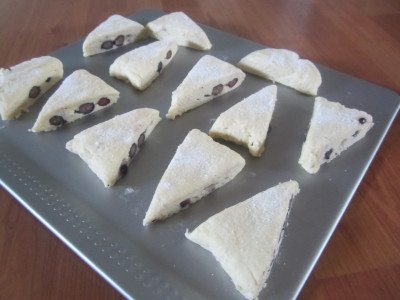
IMG_5834

Cut into triangles.

IMG_5835

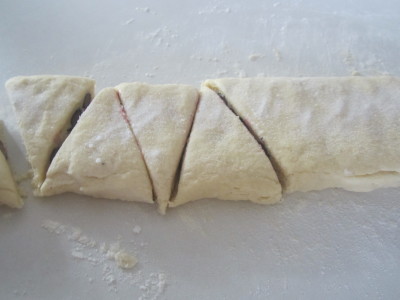
Transfer to a parchment lined baking sheet or cookie sheet.

IMG_5837

**If freezing ahead of time, flash freeze the scones on the baking sheet for 20 minutes, then wrap individually in plastic wrap and store in a freezer bag until needed.  Bake straight from the freezer, adding on a few minutes of baking time as necessary.)  

IMG_5839

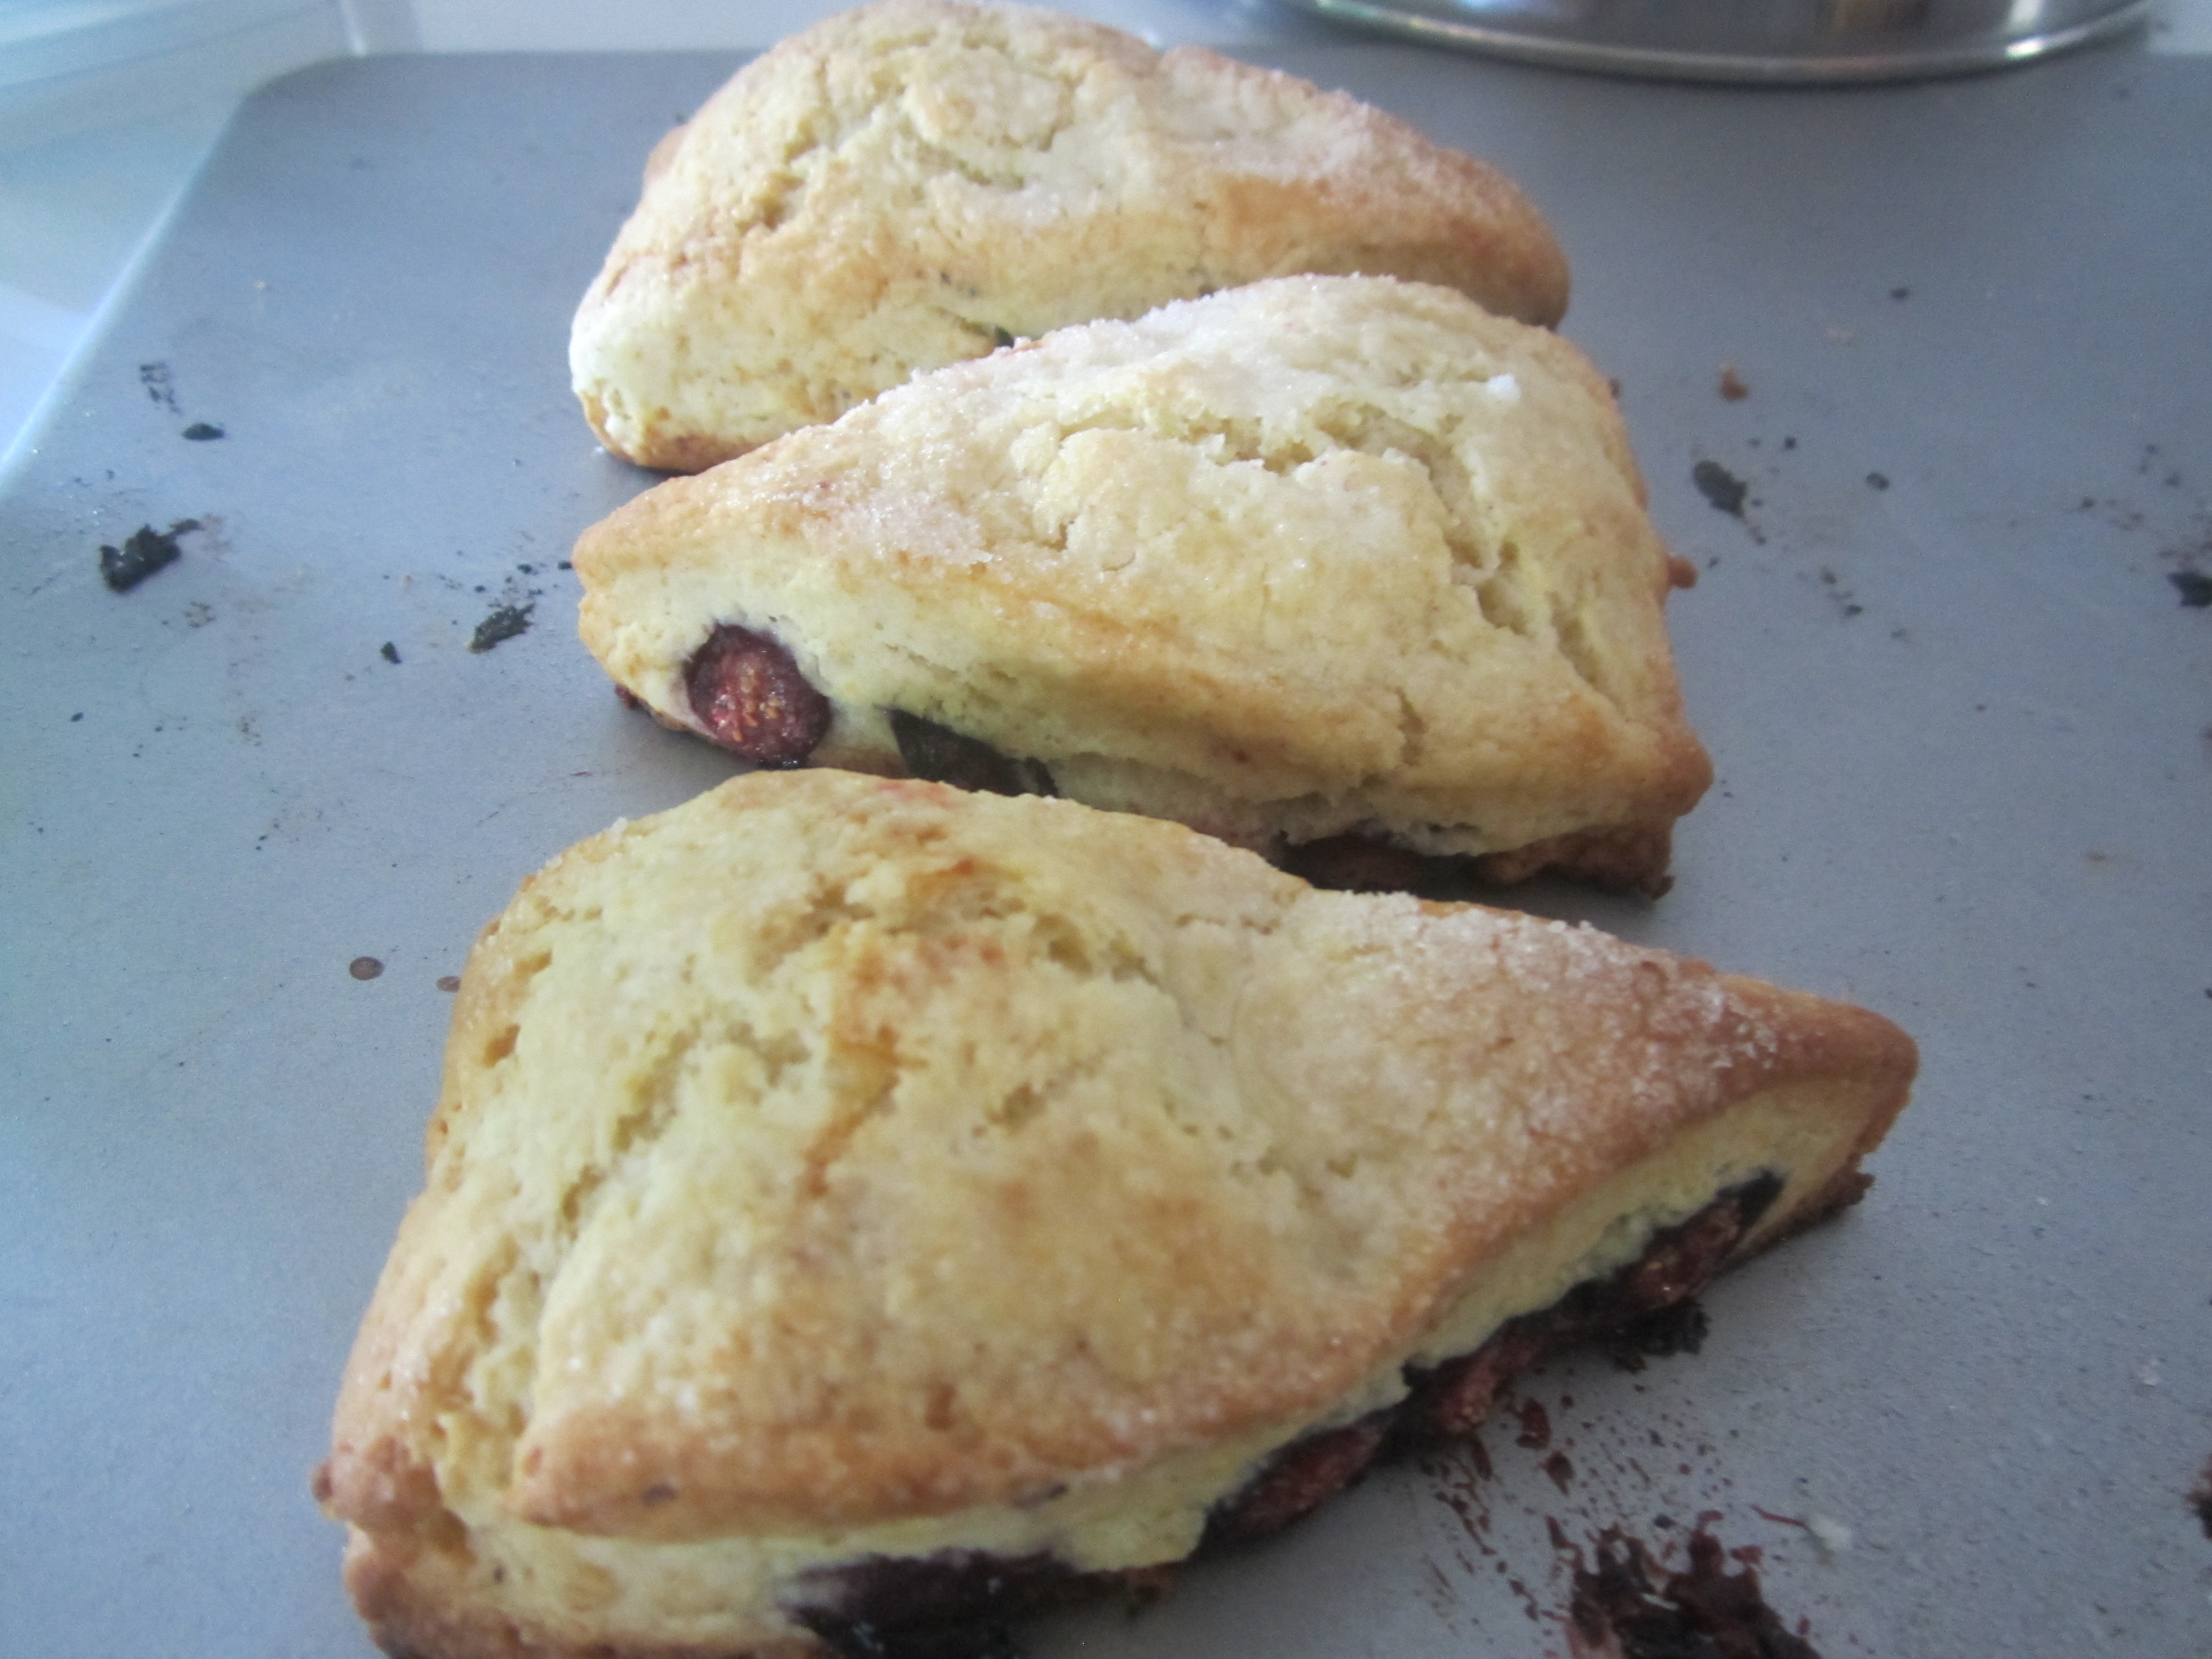
Bake until the tops and bottoms are golden brown, 18-25 minutes.  Transfer to a wire rack and let cool at least 10 minutes before serving. 
IMG_5841
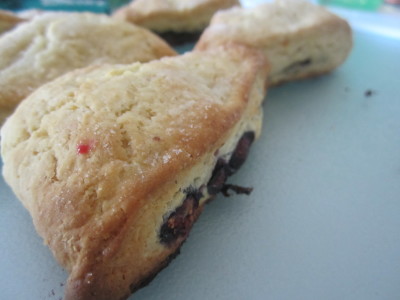
I sliced my scone open and spread with butter to add a little more “umph” and had no regrets. :) 

Adapted from Annie’s Eats, who adapted it from Entertaining for Cook’s Illustrated, Spring 2009

Strawberry Cookie Cake

While I was up visiting my parents this past week, my mom (and I) made this DELICIOUS dessert. Well… my mom made it and I took pictures. I am not typically a fan of fruit with chocolate but this literally was AMAZING.

She wanted to share this delicious recipe with me and I was so thankful she did. I couldn’t stop eating it the second day. Mmmm it was good.

Ingredients: 

  • 2 package of 40 chocolate chip cookies (or homemade Chocolate Chip Cookies)
  • 1 1/2 lb strawberries, chopped
  • 1 1/8 cup heavy cream, divided
  • 1- 8oz cream cheese (room temp)
  • 2/3 cup sugar

For the whipped cream:

In a stand mixer add 1 cup heavy cream. Beat until stiff.

In a separate bowl, beat cream cheese til smooth. Add sugar and 1/8 cup cream. Beat until smooth. Fold in whipped cream.

Place cookies on a pedestal plate and layer on whipped cream.

IMG_5565

Add strawberries

IMG_5570

And cookies yet again

IMG_5572

More whipped cream…

IMG_5576

More Strawberries

IMG_5577

Is your mouth watering yet?

IMG_5580

And pile way up high…6 layers to be exact.

IMG_5585 IMG_5587

On your 6th layer, leave strawberries off and refrigerate for 2-4 hours before serving. 
IMG_5593

Doesn’t this look incredible???

IMG_5596

Cover and refrigerate 2-4 hours. The longer you refrigerate the better it is. The whipped cream molds into the cookies leaving the dessert to be easily cut.

IMG_5598

When serving, top with strawberries and take a picture as you will devour this dessert immediately.

IMG_5637

Summer won’t last long…better hurry and make this amazing treat!

Bacon Wrapped Sausage

These bacon wrapped sausage dogs are making my mouth water as I simply sit to write out this recipe for all of you gracious people. This recipe even first thing in the morning will bring satisfaction to my palette. It’s a great meal for the warm summer heat surrounding your backyard and your barbecue with good family conversation while the kiddos play.

Ingredients:

  • 4 Italian Sausages
  • 8 slices of bacon
  • 2 cups mushrooms, sliced
  • 1/2 onion, diced
  • 1 tbsp minced garlic
  • 4 hot dog buns
  • Garlic butter

Turn your barbecue on and allow the heat to begin to smell your backyard and all across town making a statement that it is barbecue season and we are making delicious grub.

IMG_5266

Wrap each sausage with two slices of bacon. Hold together with a toothpick if needed.

IMG_5269

Meanwhile, saute mushrooms, onions and garlic until nice and tender. Set aside.

IMG_5270

Prepare to grill the goodness.

IMG_5271 IMG_5273

Allow the juices to run off and sizzle the grill. Ohhh the smell of barbecue, oh how I love it.

IMG_5274

My bacon was a bit juicy as you can tell. :)

IMG_5276

When sausage is done, butter your buns with garlic butter and lightly toast on the grill.

IMG_5281

Top each sausage with a portion of the mushroom mixture.

IMG_5284

Served with grilled romaine hearts.