Category Archives: Cooking

Busy Day Chicken

I received this recipe from my sister as she had made this for me once a long time ago. I was shocked how simple it was and how yummy it was that when I made it this week, I knew I had to share it with you all.

I made this the other night as I wanted something basic but full of flavor. Something I could leave and let be as I had the kids all day and didn’t have time to cook dinner by 6:15. I had this meal prepped and ready for the oven.

Ingredients:

  • 3 large chicken breasts
  • 2 cups brown rice
  • 3 tbsp butter
  • 3 ½ cups water
  • 1 packet onion soup mix
  • 1 can cream of mushroom (or cream of chicken)

Preheat oven to 325** (convection oven instructions below)

Add two cups rice and 2 tbsp butter to a greased 9×13 casserole dish.

IMG_4329

Add 3 1/2 cups water and stir.

IMG_4331

Lay chicken on top of rice and sprinkle with Onion Soup Mix.

IMG_4332

Add 1 can cream of mushroom and stir.

IMG_4333

Bake at 325 degrees for roughly 1 1/2-2 hours. 
IMG_4335

Enjoy with a fresh garden salad.

**If using convection oven bake at 375 degrees for 40-50 minutes or until juices in chicken run clear.

Grilled Mahi and Corn on the Cob

Yummy!

Grilled Mahi and Corn on the Cob. Easy, delicious, healthy and most of all…..easy clean up.

I’ve become quite the grill master lately and have really enjoyed it. Makes your food taste great and is easier than I had expected.

This is a meal the whole family with love, as you can see, my little boy loves it as well. :)

Ingredients:

  • 4 Mahi fillets
  • 4 Corn on the cob, shucked
  • 1 White or Yellow Onion, sliced
  • Dill
  • Garlic Salt
  • Salt & Pepper
  • EVOO
  • Butter

As you can see I didn’t give exact measurements for the seasoning. I prefer to do seasoning to desired preference. Also, depending on the size of the fillet you may want a little more or a little less. :)

For easy clean up I wrap each corn and fillet individually in foil to allow for the flavors to seep in and stay concentrated.

Sprinkle corn with salt, pepper and garlic salt. Top with a chunk of butter and sprinkle with EVOO.

IMG_4106

Fold foil up in somewhat of a dome. This will give easy access to check and see if the corn is done without losing all your juices.

IMG_4108


Slice onion and sprinkle seasoning on top of Mahi. Lay onion on top and drizzle with EVOO and chunks of butter. Fold up into a dome.

IMG_4109

Grill corn first as it will take significantly longer. Once corn is half way grilled begin cooking the fish for 5-8 minutes (depending on size) making sure not to overcook. You will want the fish to be flaky, this means it is done and not over cooked or under cooked.

IMG_4112

Once done, open up and enjoy the aroma and enjoy this luscious, healthy meal.

IMG_4111

Cooper LOVED this meal and LOVES seafood. He ate a whole corn on the cob by himself and shared the fish with me.

IMG_4115

Cooper being a big boy using adults silverware and feeding himself. :)

IMG_4114Makes for great leftovers if you can make it last that long. :)

IMG_4110

Oreo Stuffed Chocolate Chip Cookies

I get asked for this recipe often– or shall I say, I get asked to make them often! :) They are probably the best cookies you will ever eat. I have substituted the dough for another recipe I make and this was an utter disaster. Using the original cookie dough recipe is important.

I am a ‘dough eater’ and always have been. As you have heard previously, I used to hide the dough from my sister but in the midst of hiding it, I would sneak spoonfuls for myself because it was so good. I figured I made the dough, I get to eat it. :) Having a son, I am trying to teach him it’s “icky” to eat something that isn’t cooked which in turn forces me to sneak bites from him as well, carrying on the family tradition. I don’t want to be a hypocrite but also do not want to feed my son raw eggs. I did pay the price for my hypocrisy as after I got the first batch out of the oven, I literally felt I was going to throw up. Not because I had eaten a large amount of raw egg but because I ate probably half the batch of cookie dough! Needless to say, my tummy was NOT happy with me for a good couple of hours.

That evening, I decided to transition to the fully cooked double stuffed chocolate chip cookie and was much happier. :)

Ingredients:

  • 2 sticks (1 cup) softened butter
  • 3/4 cup packed light brown sugar
  • 1 cup granulated sugar
  • 2 large eggs
  • 1 tablespoon pure vanilla
  • 3 1/2 cups flour
  • 1 teaspoon salt
  • 1 teaspoon baking soda
  • 10 oz bag chocolate chips
  • 1 pkg. Oreo cookies

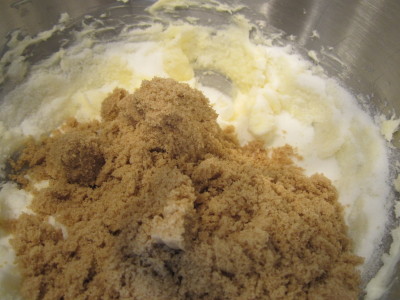
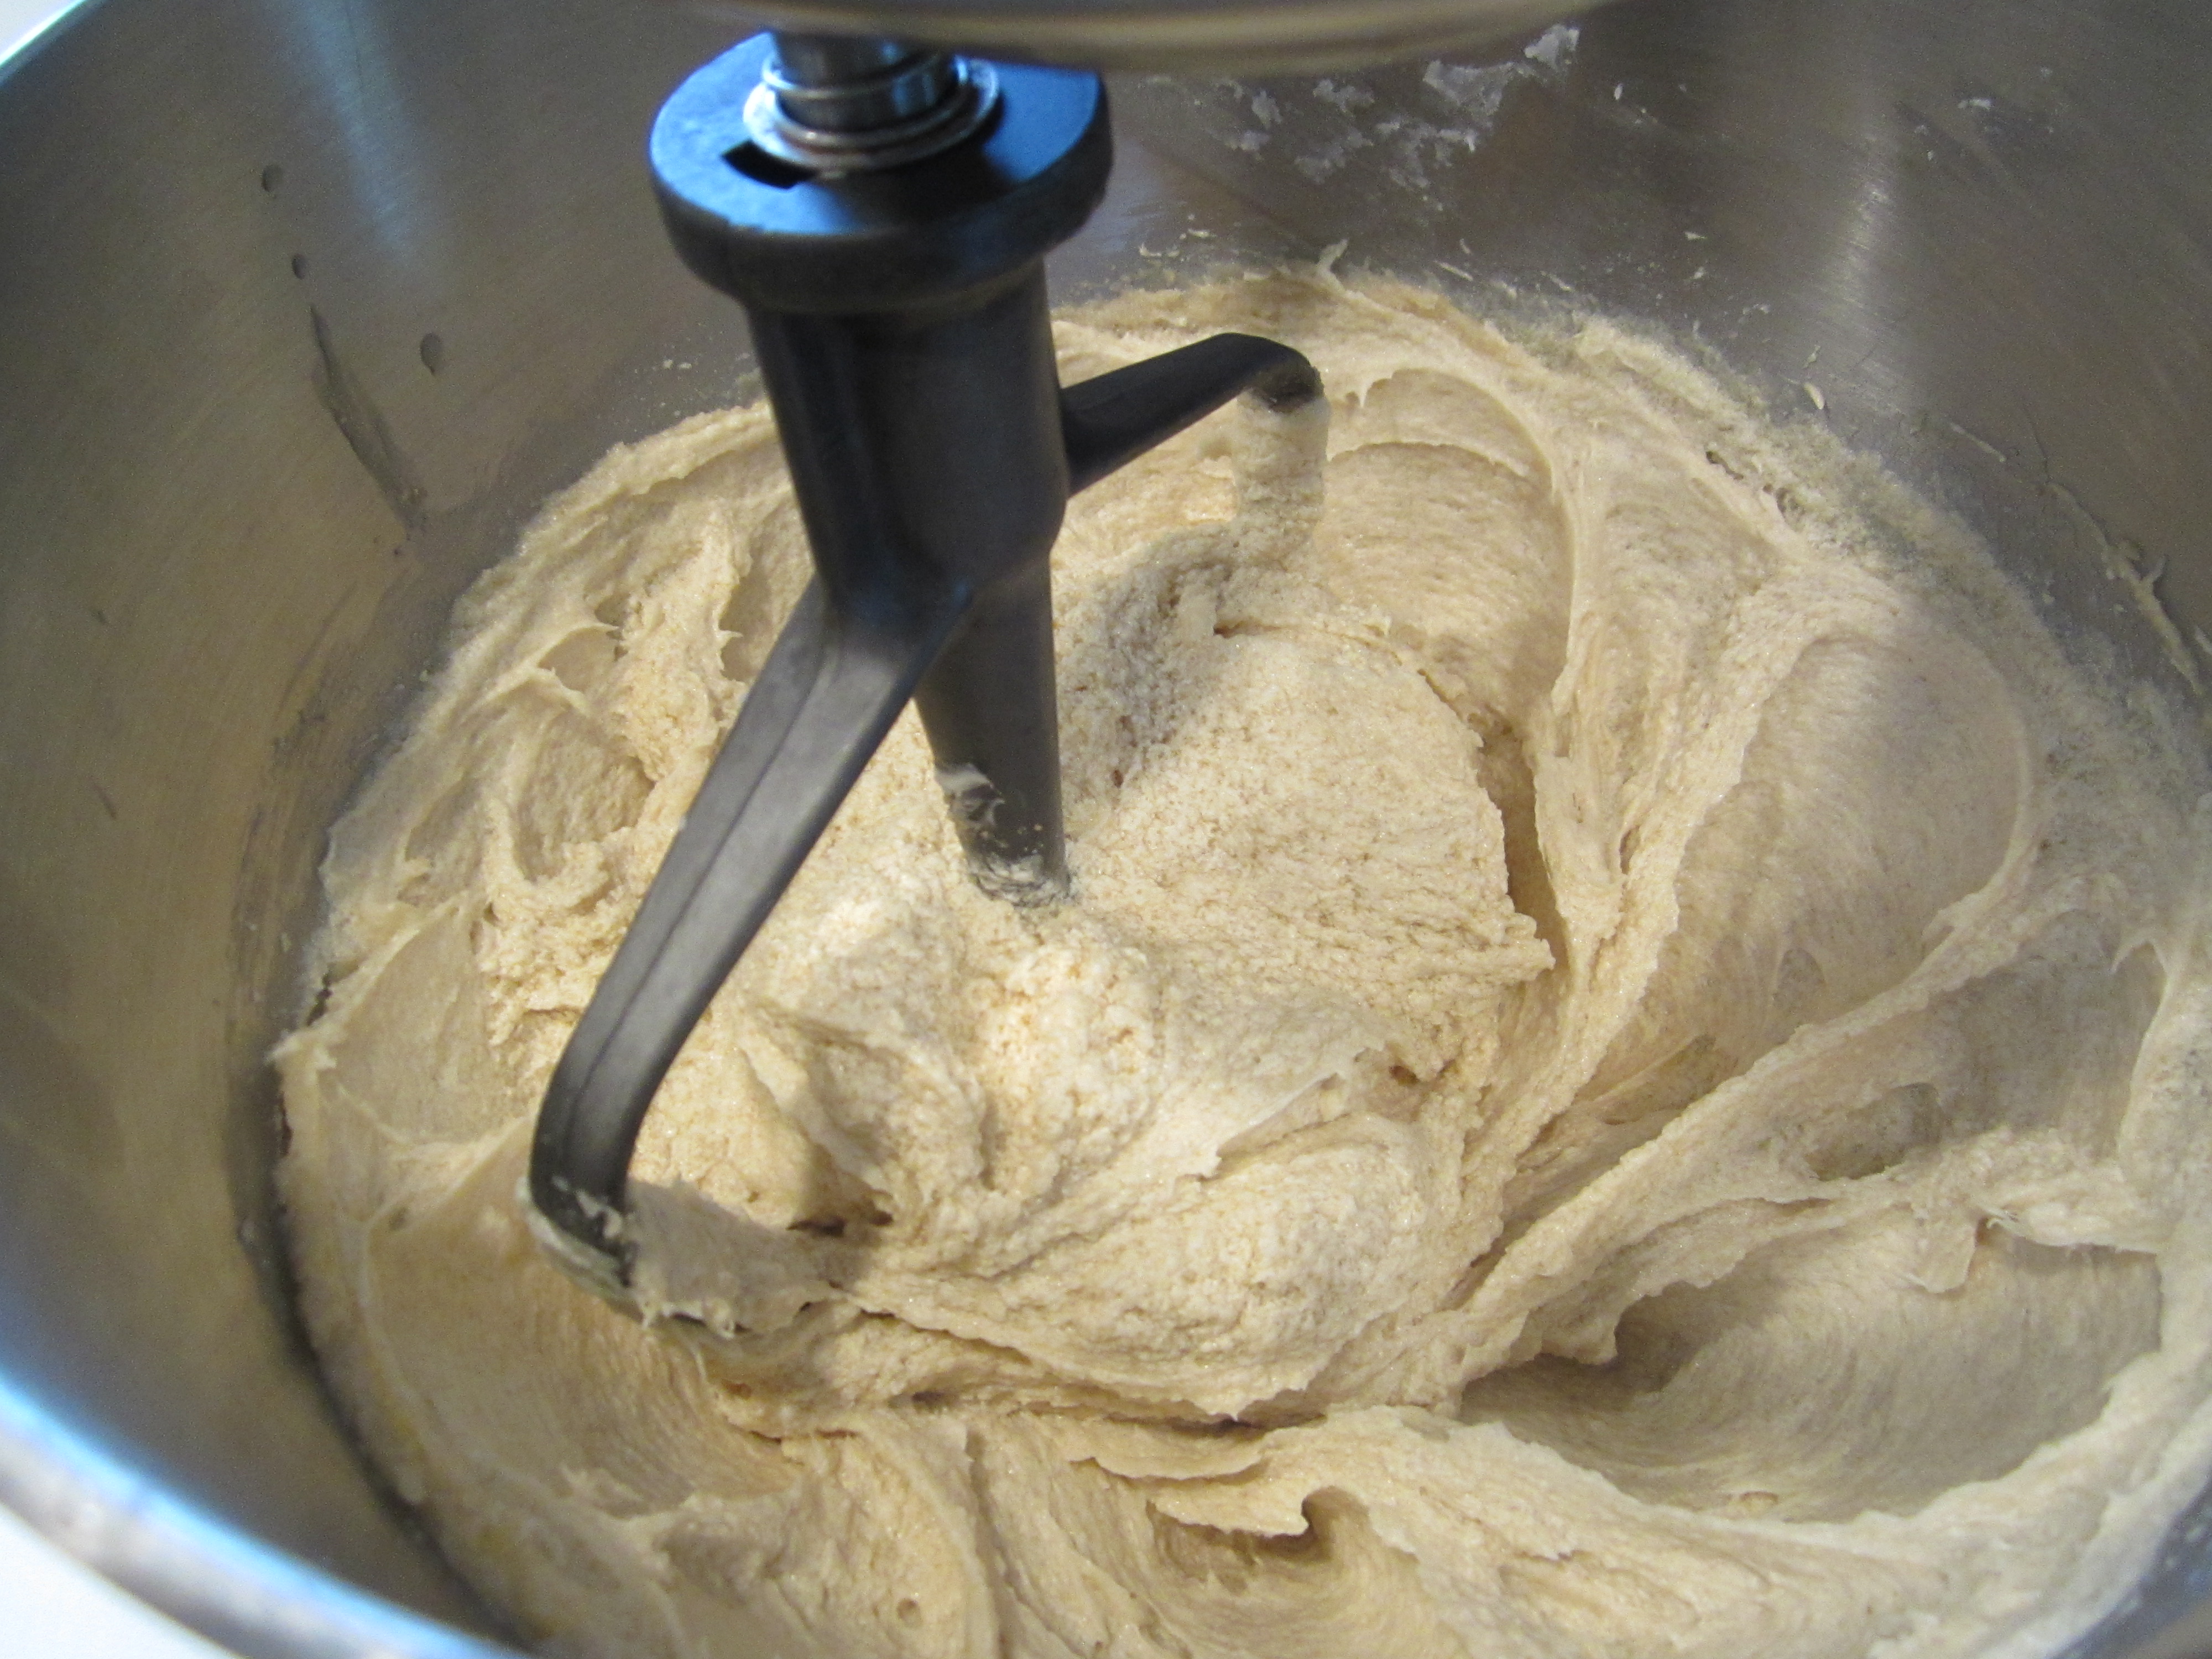
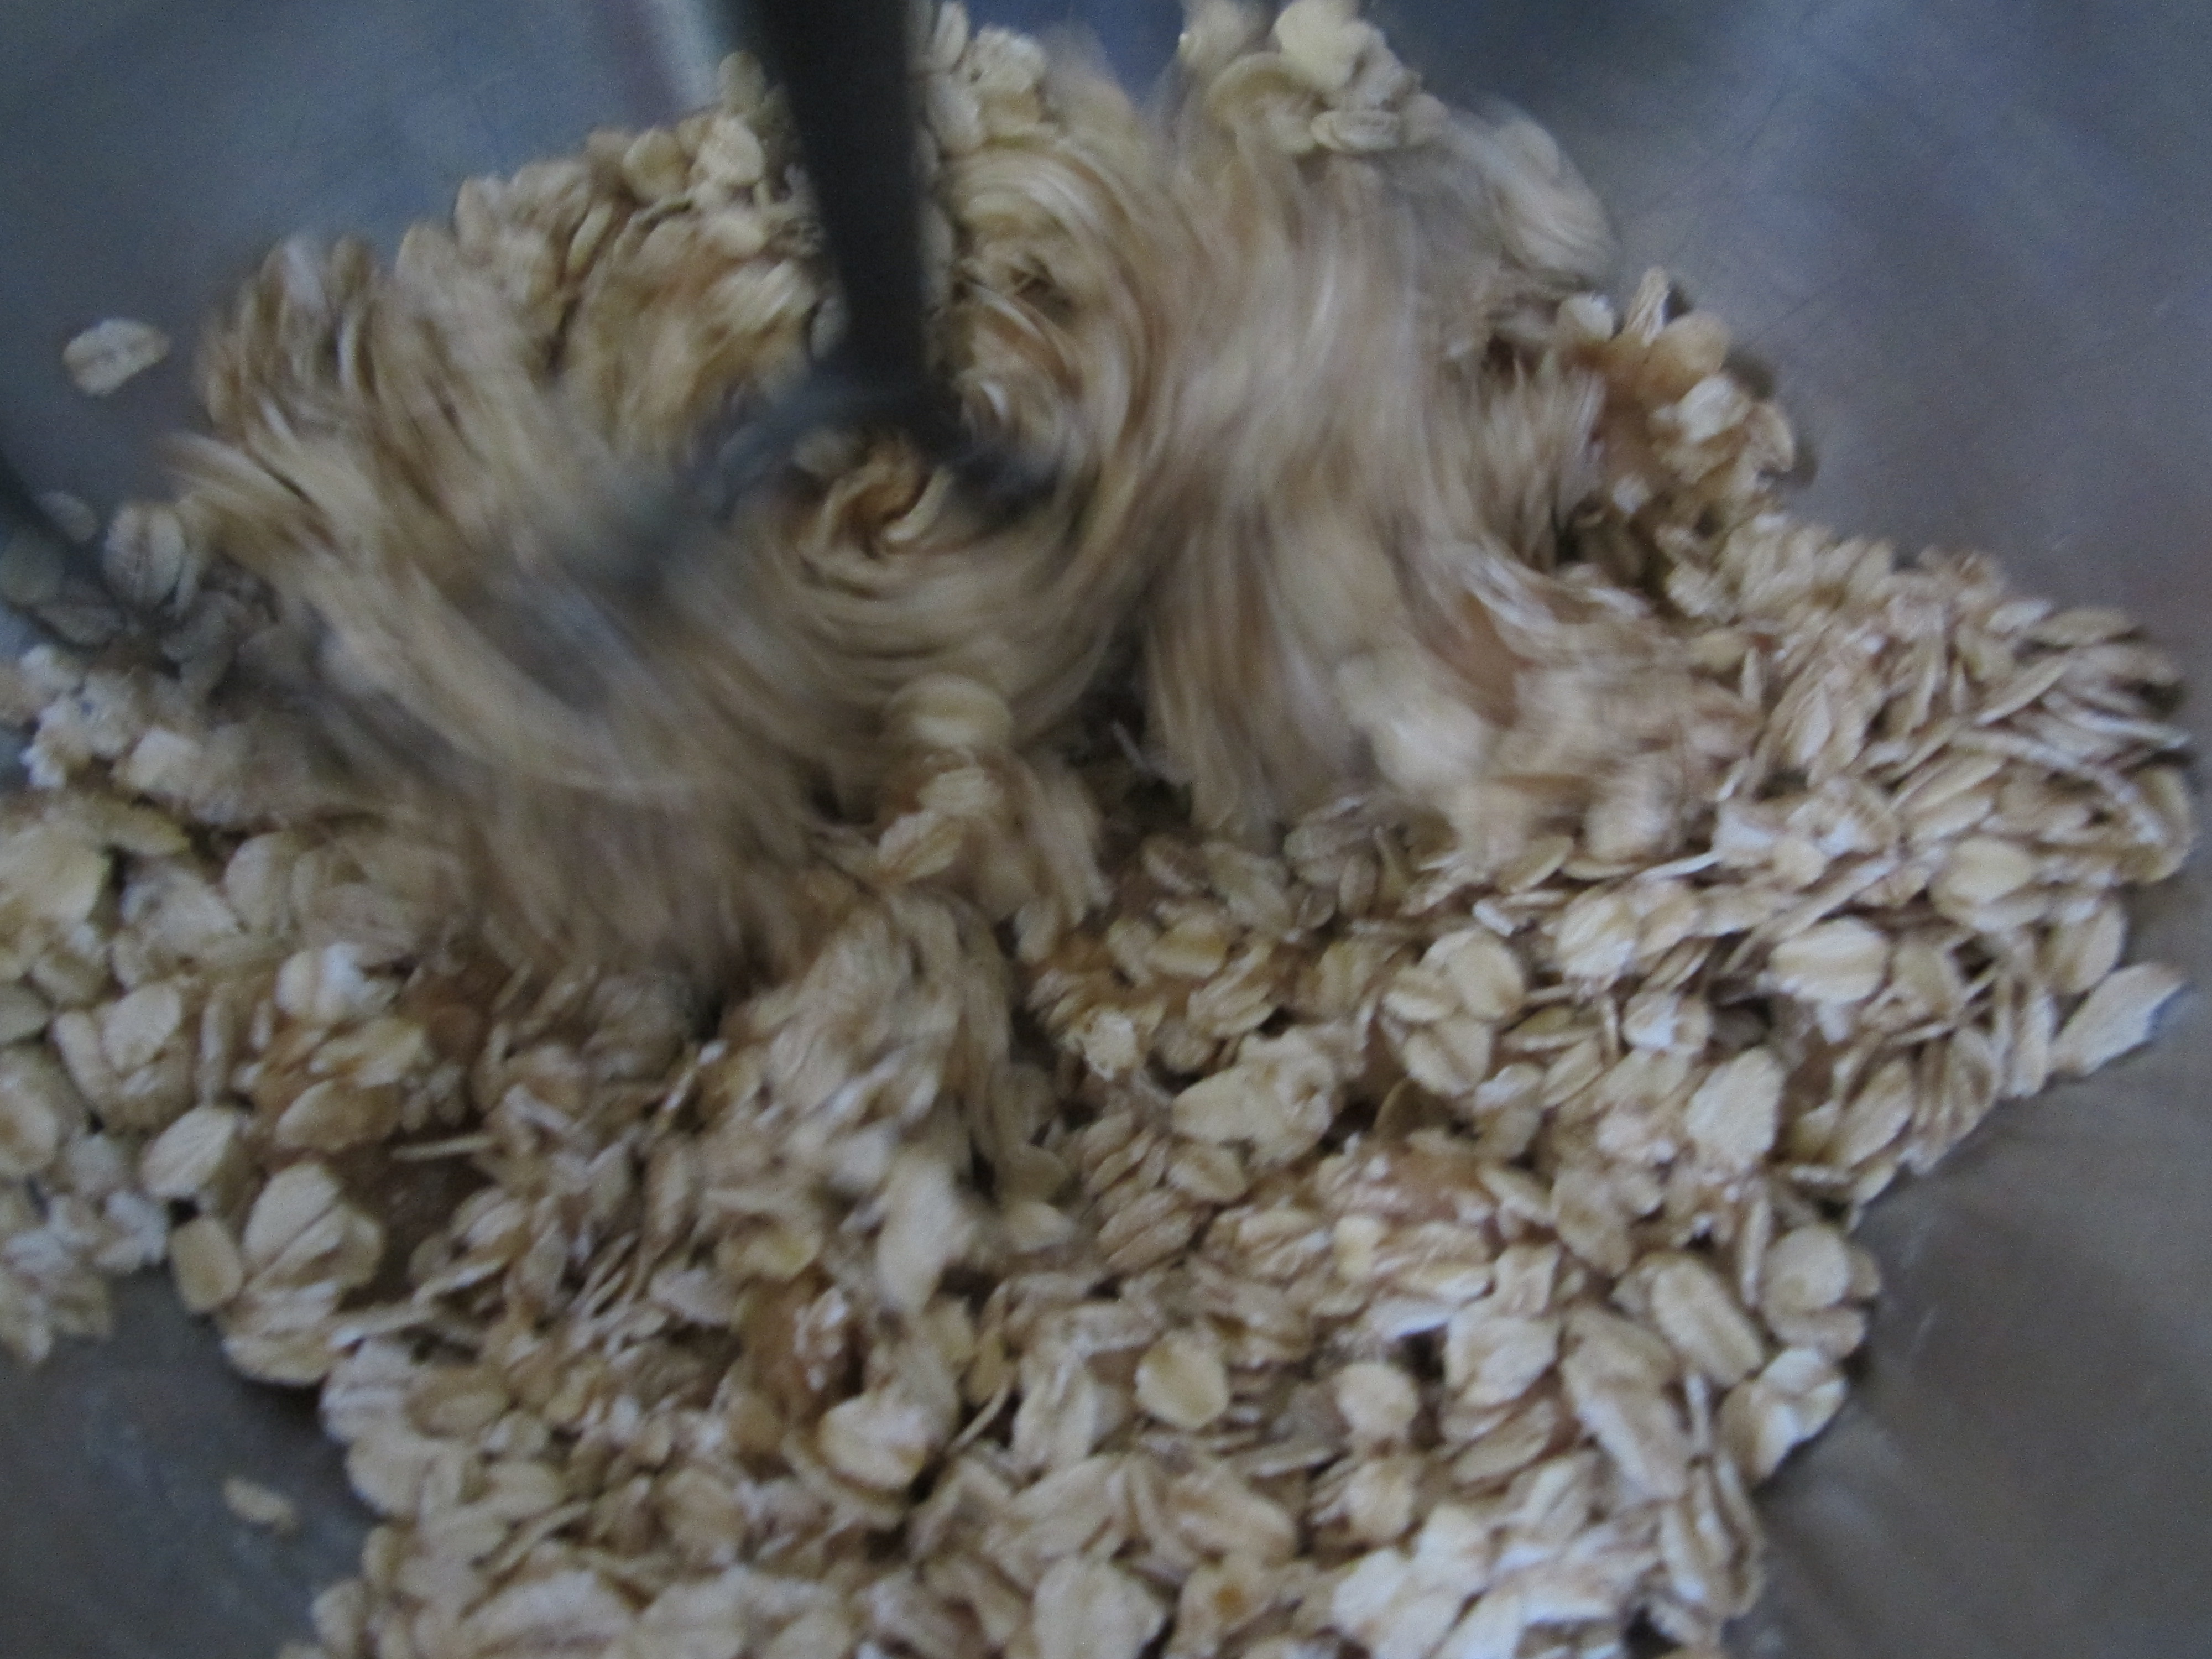
Preheat oven to 375 degrees. In a stand mixer cream butter alone for about a minute or until fully smooth. Add brown sugar and granulated sugar.

IMG_4296

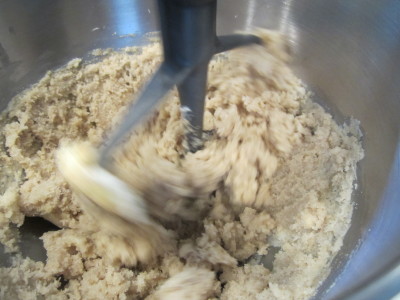
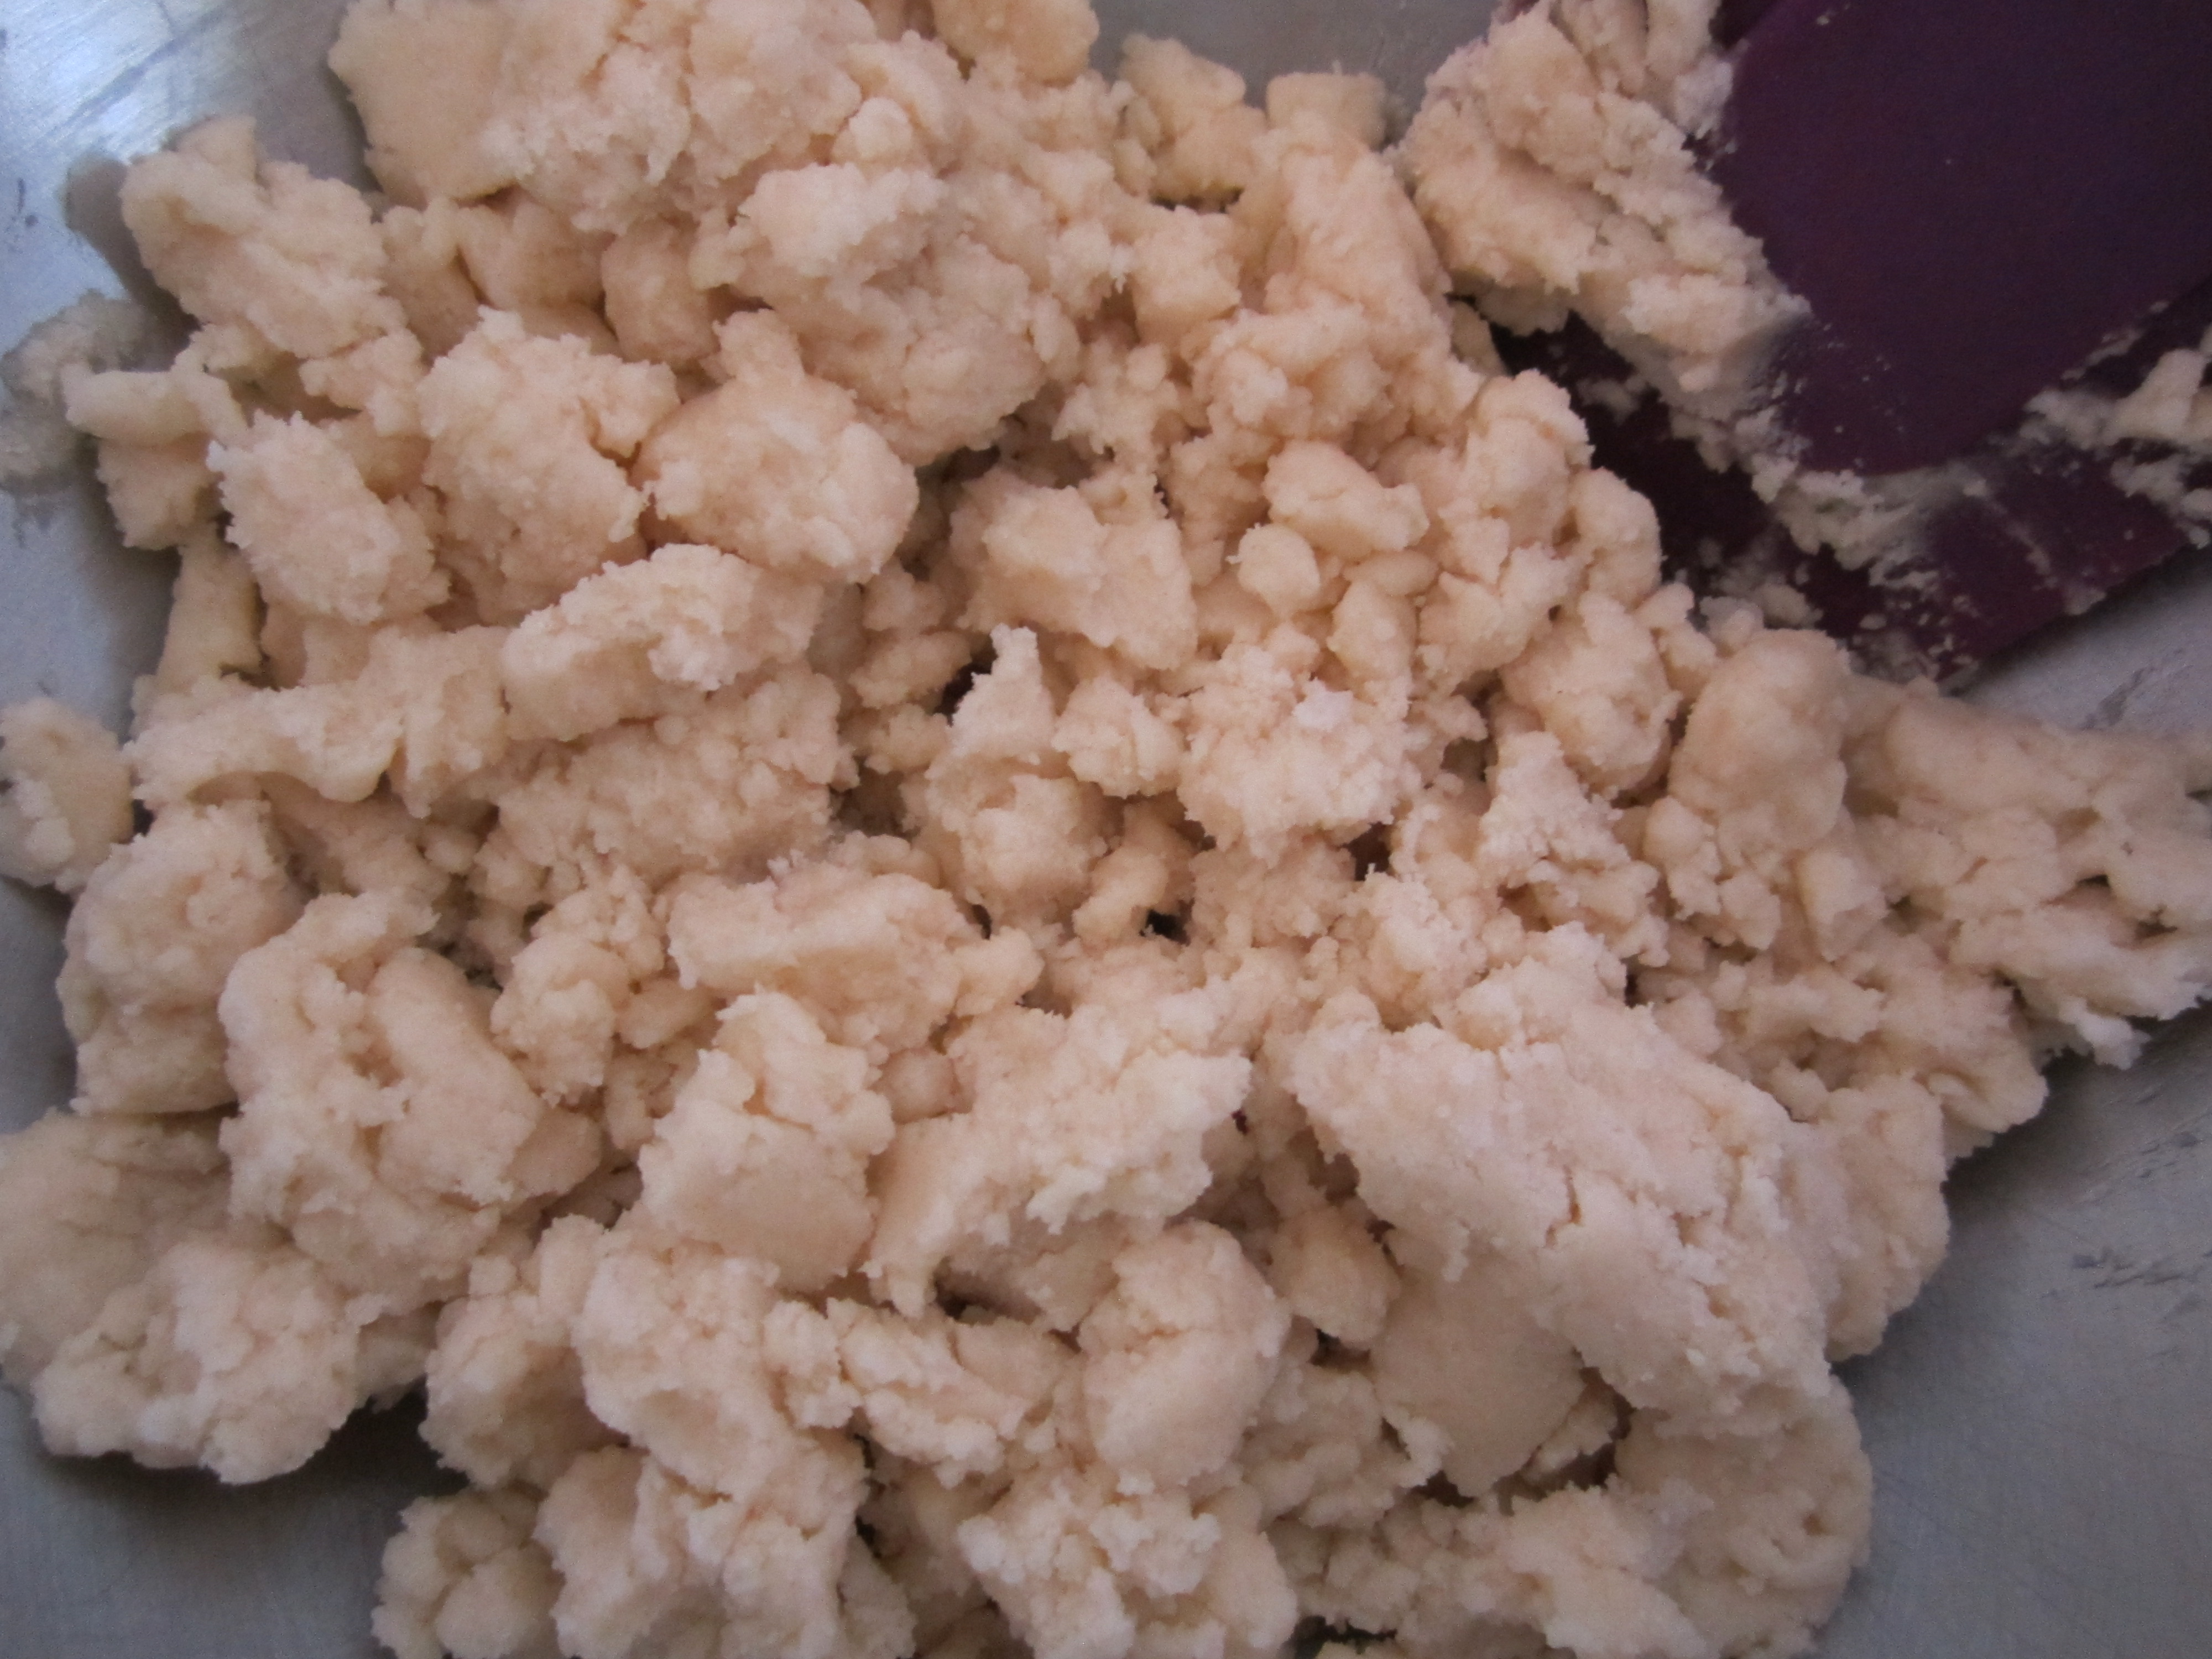
Beat until smooth making sure not to over beat the dough.

IMG_4301

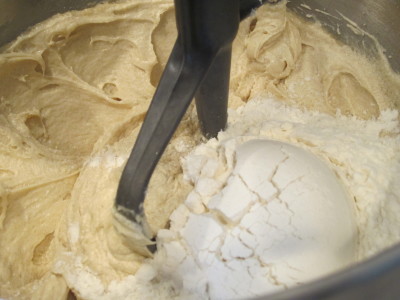
Add in eggs and vanilla.

IMG_4304

Add flour, salt and baking soda.

IMG_4305

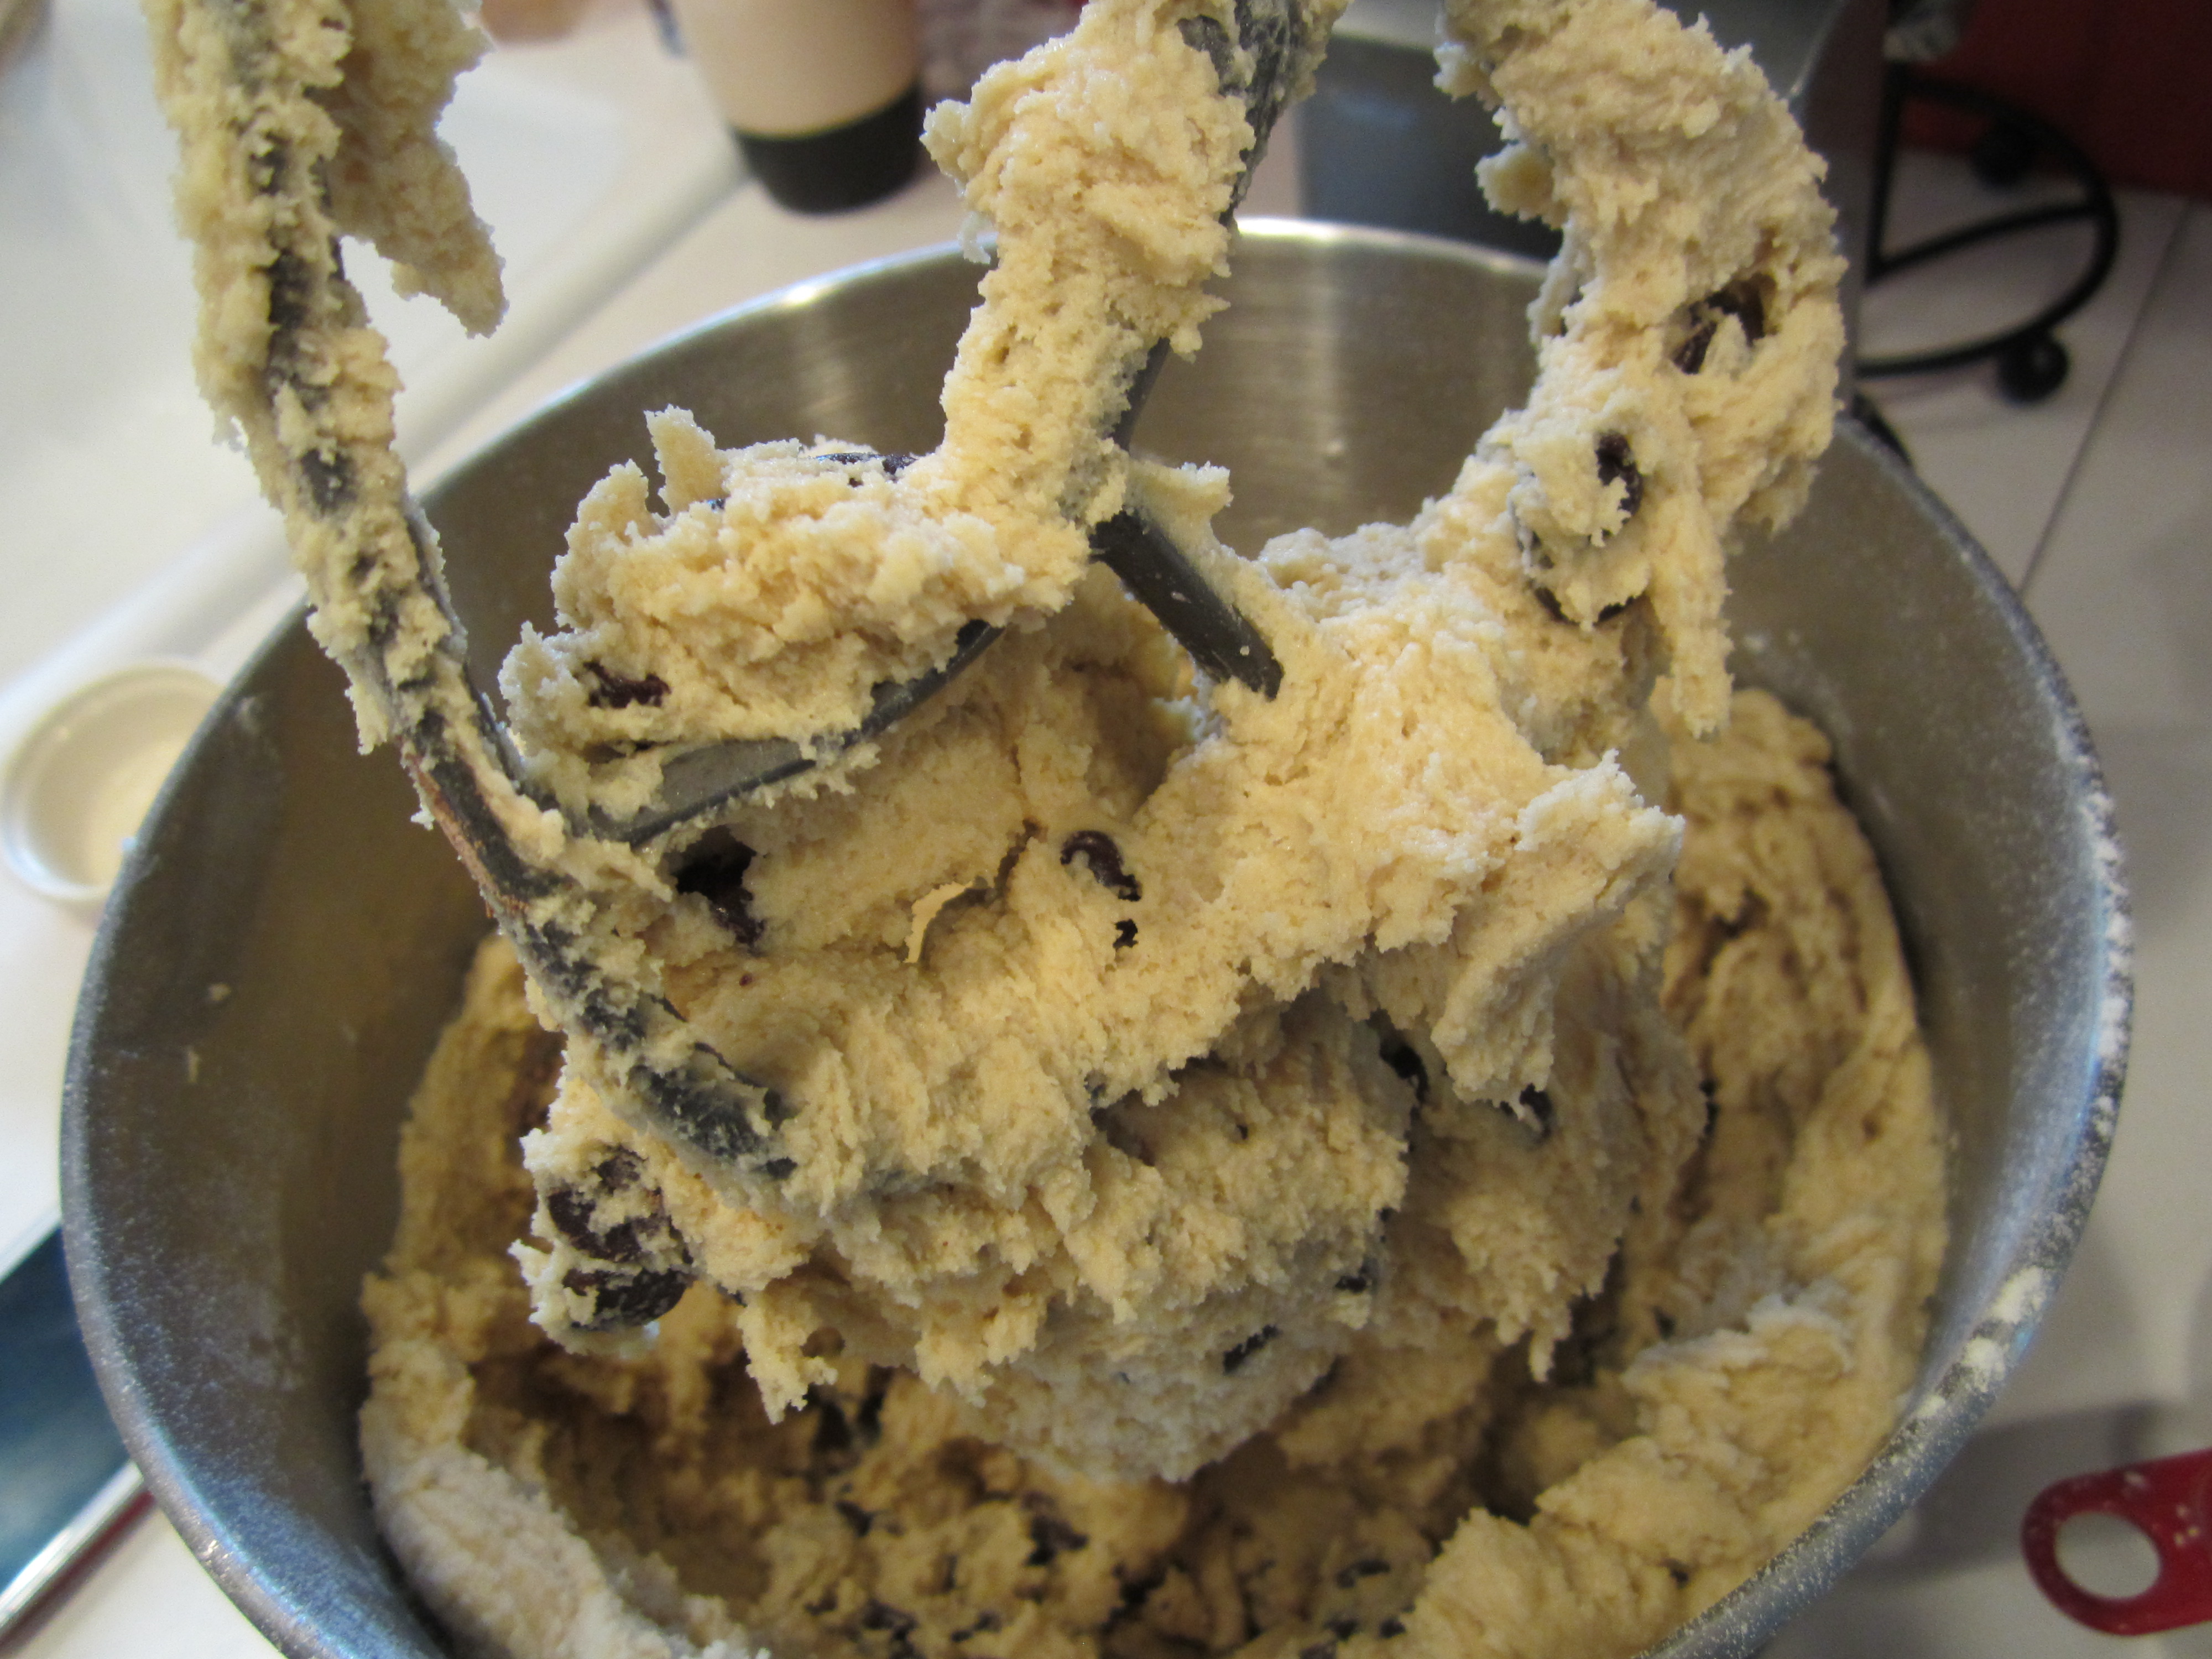
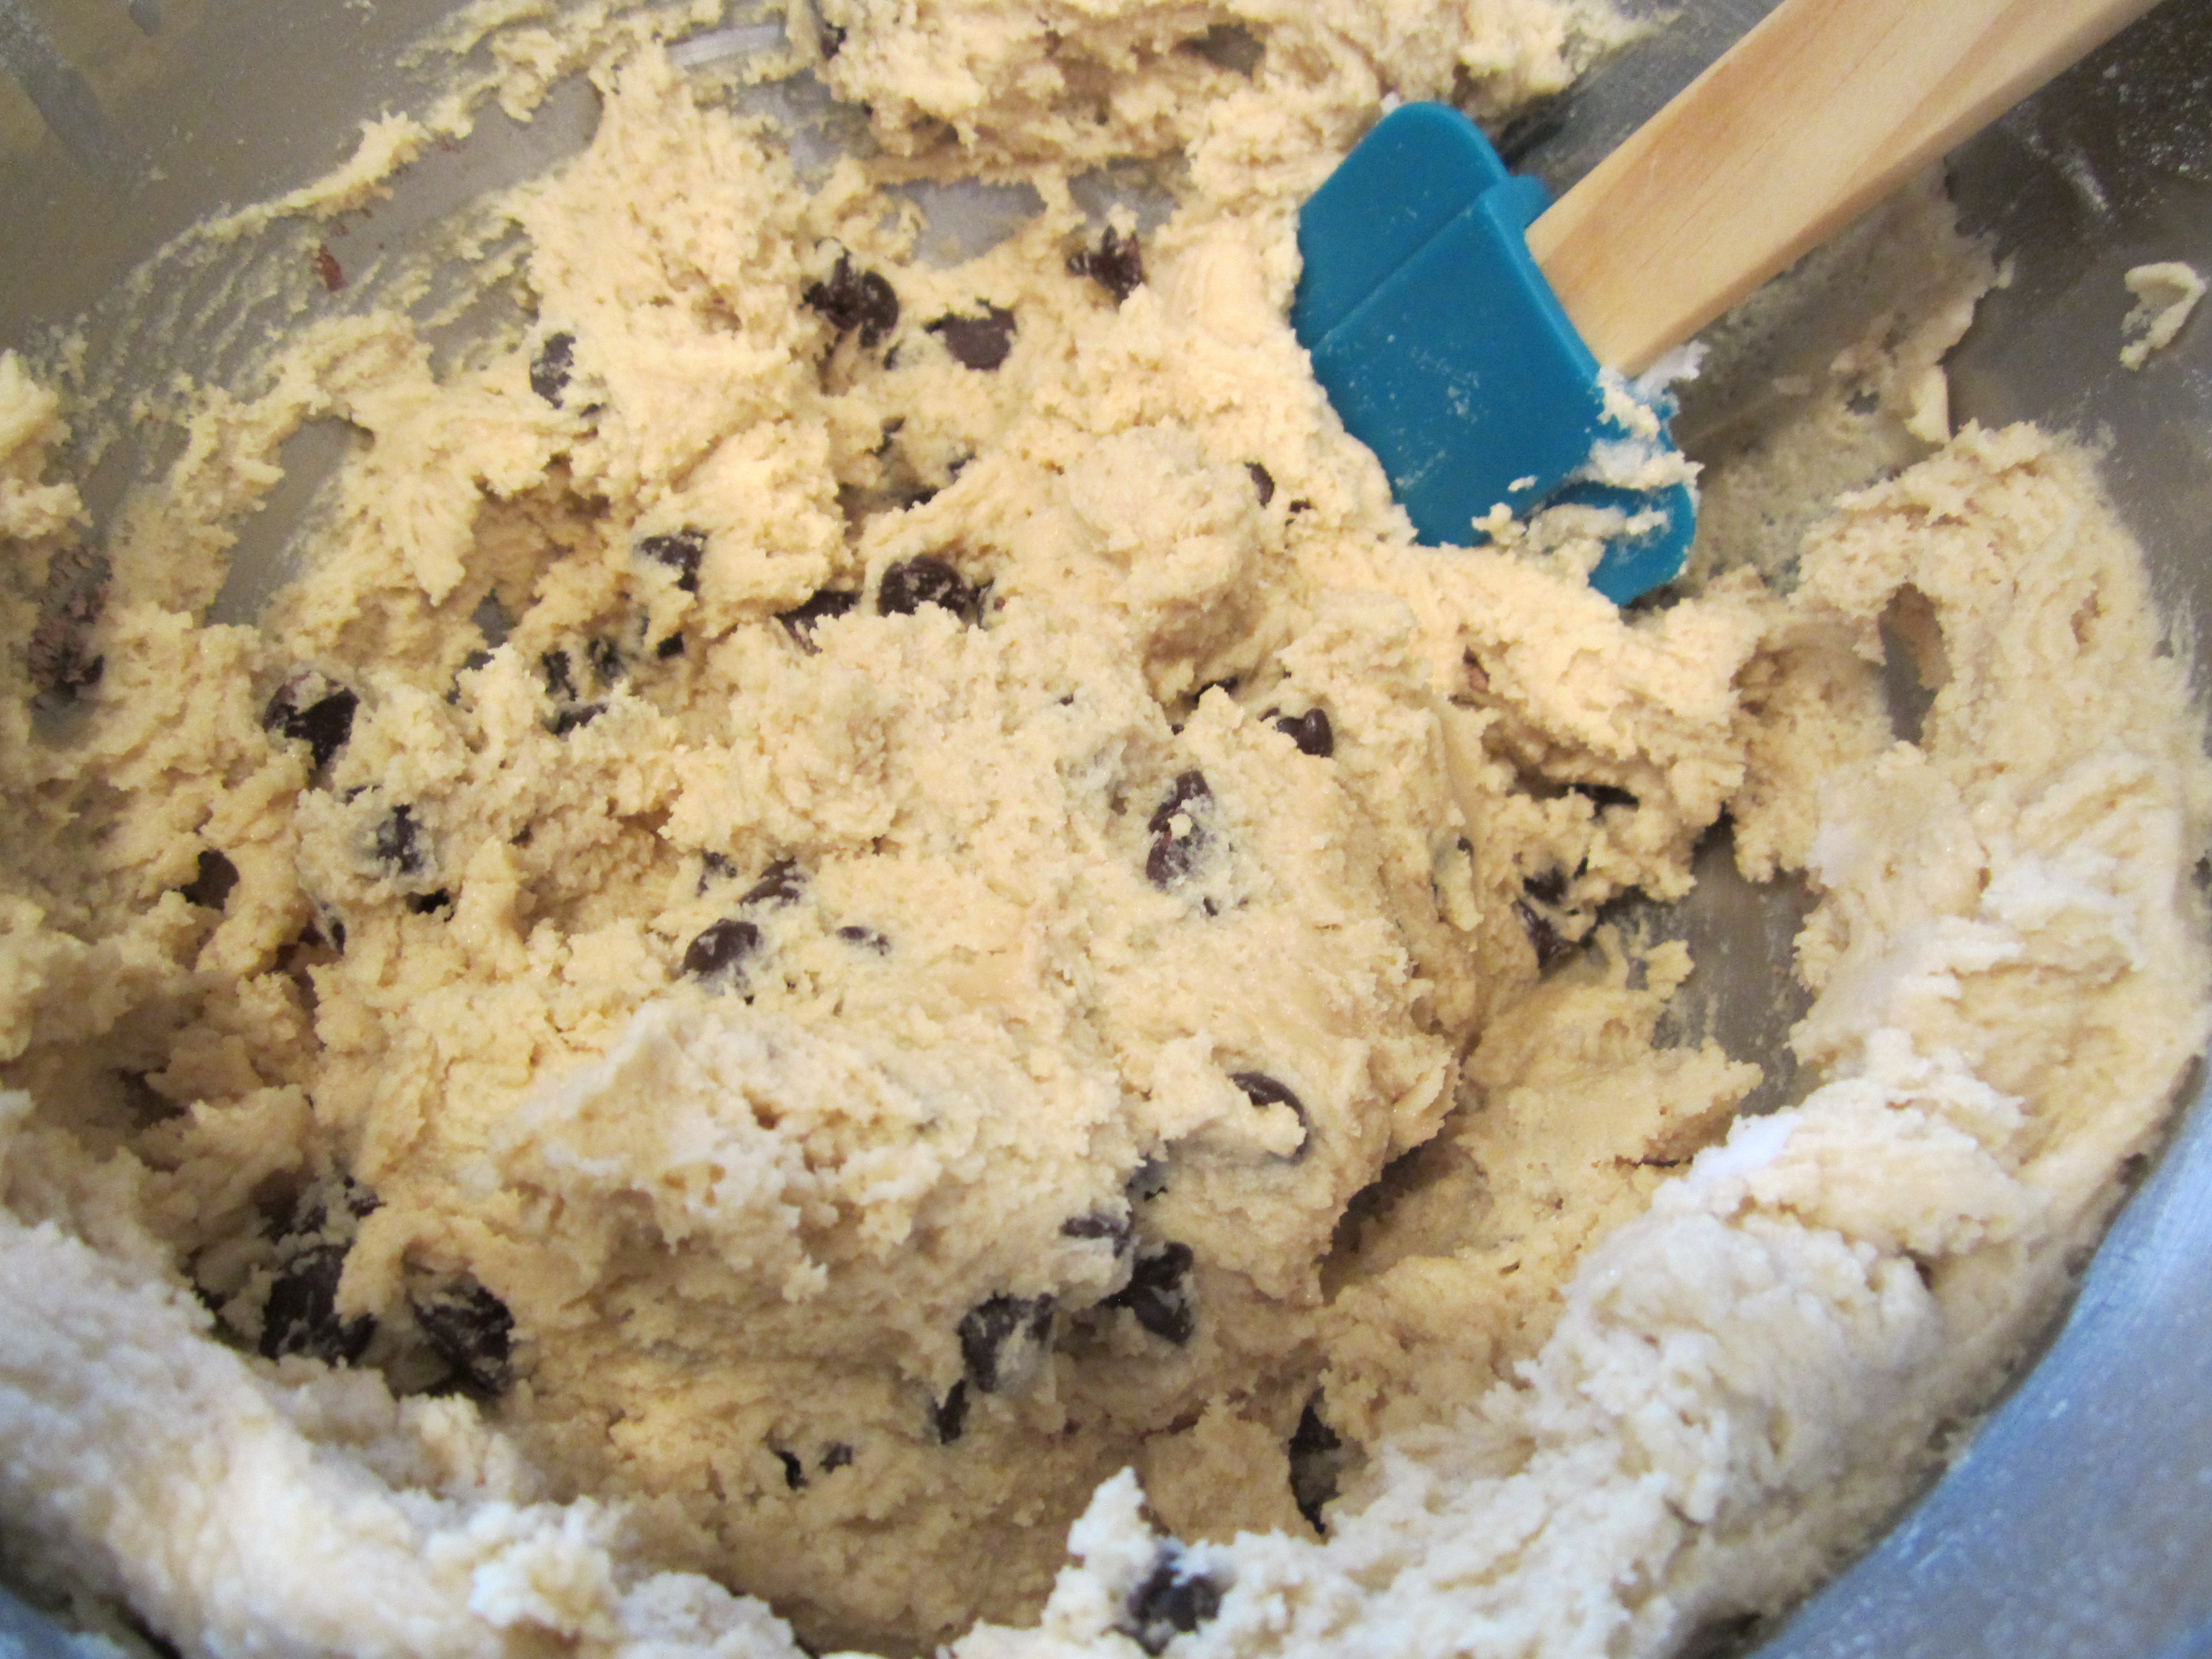
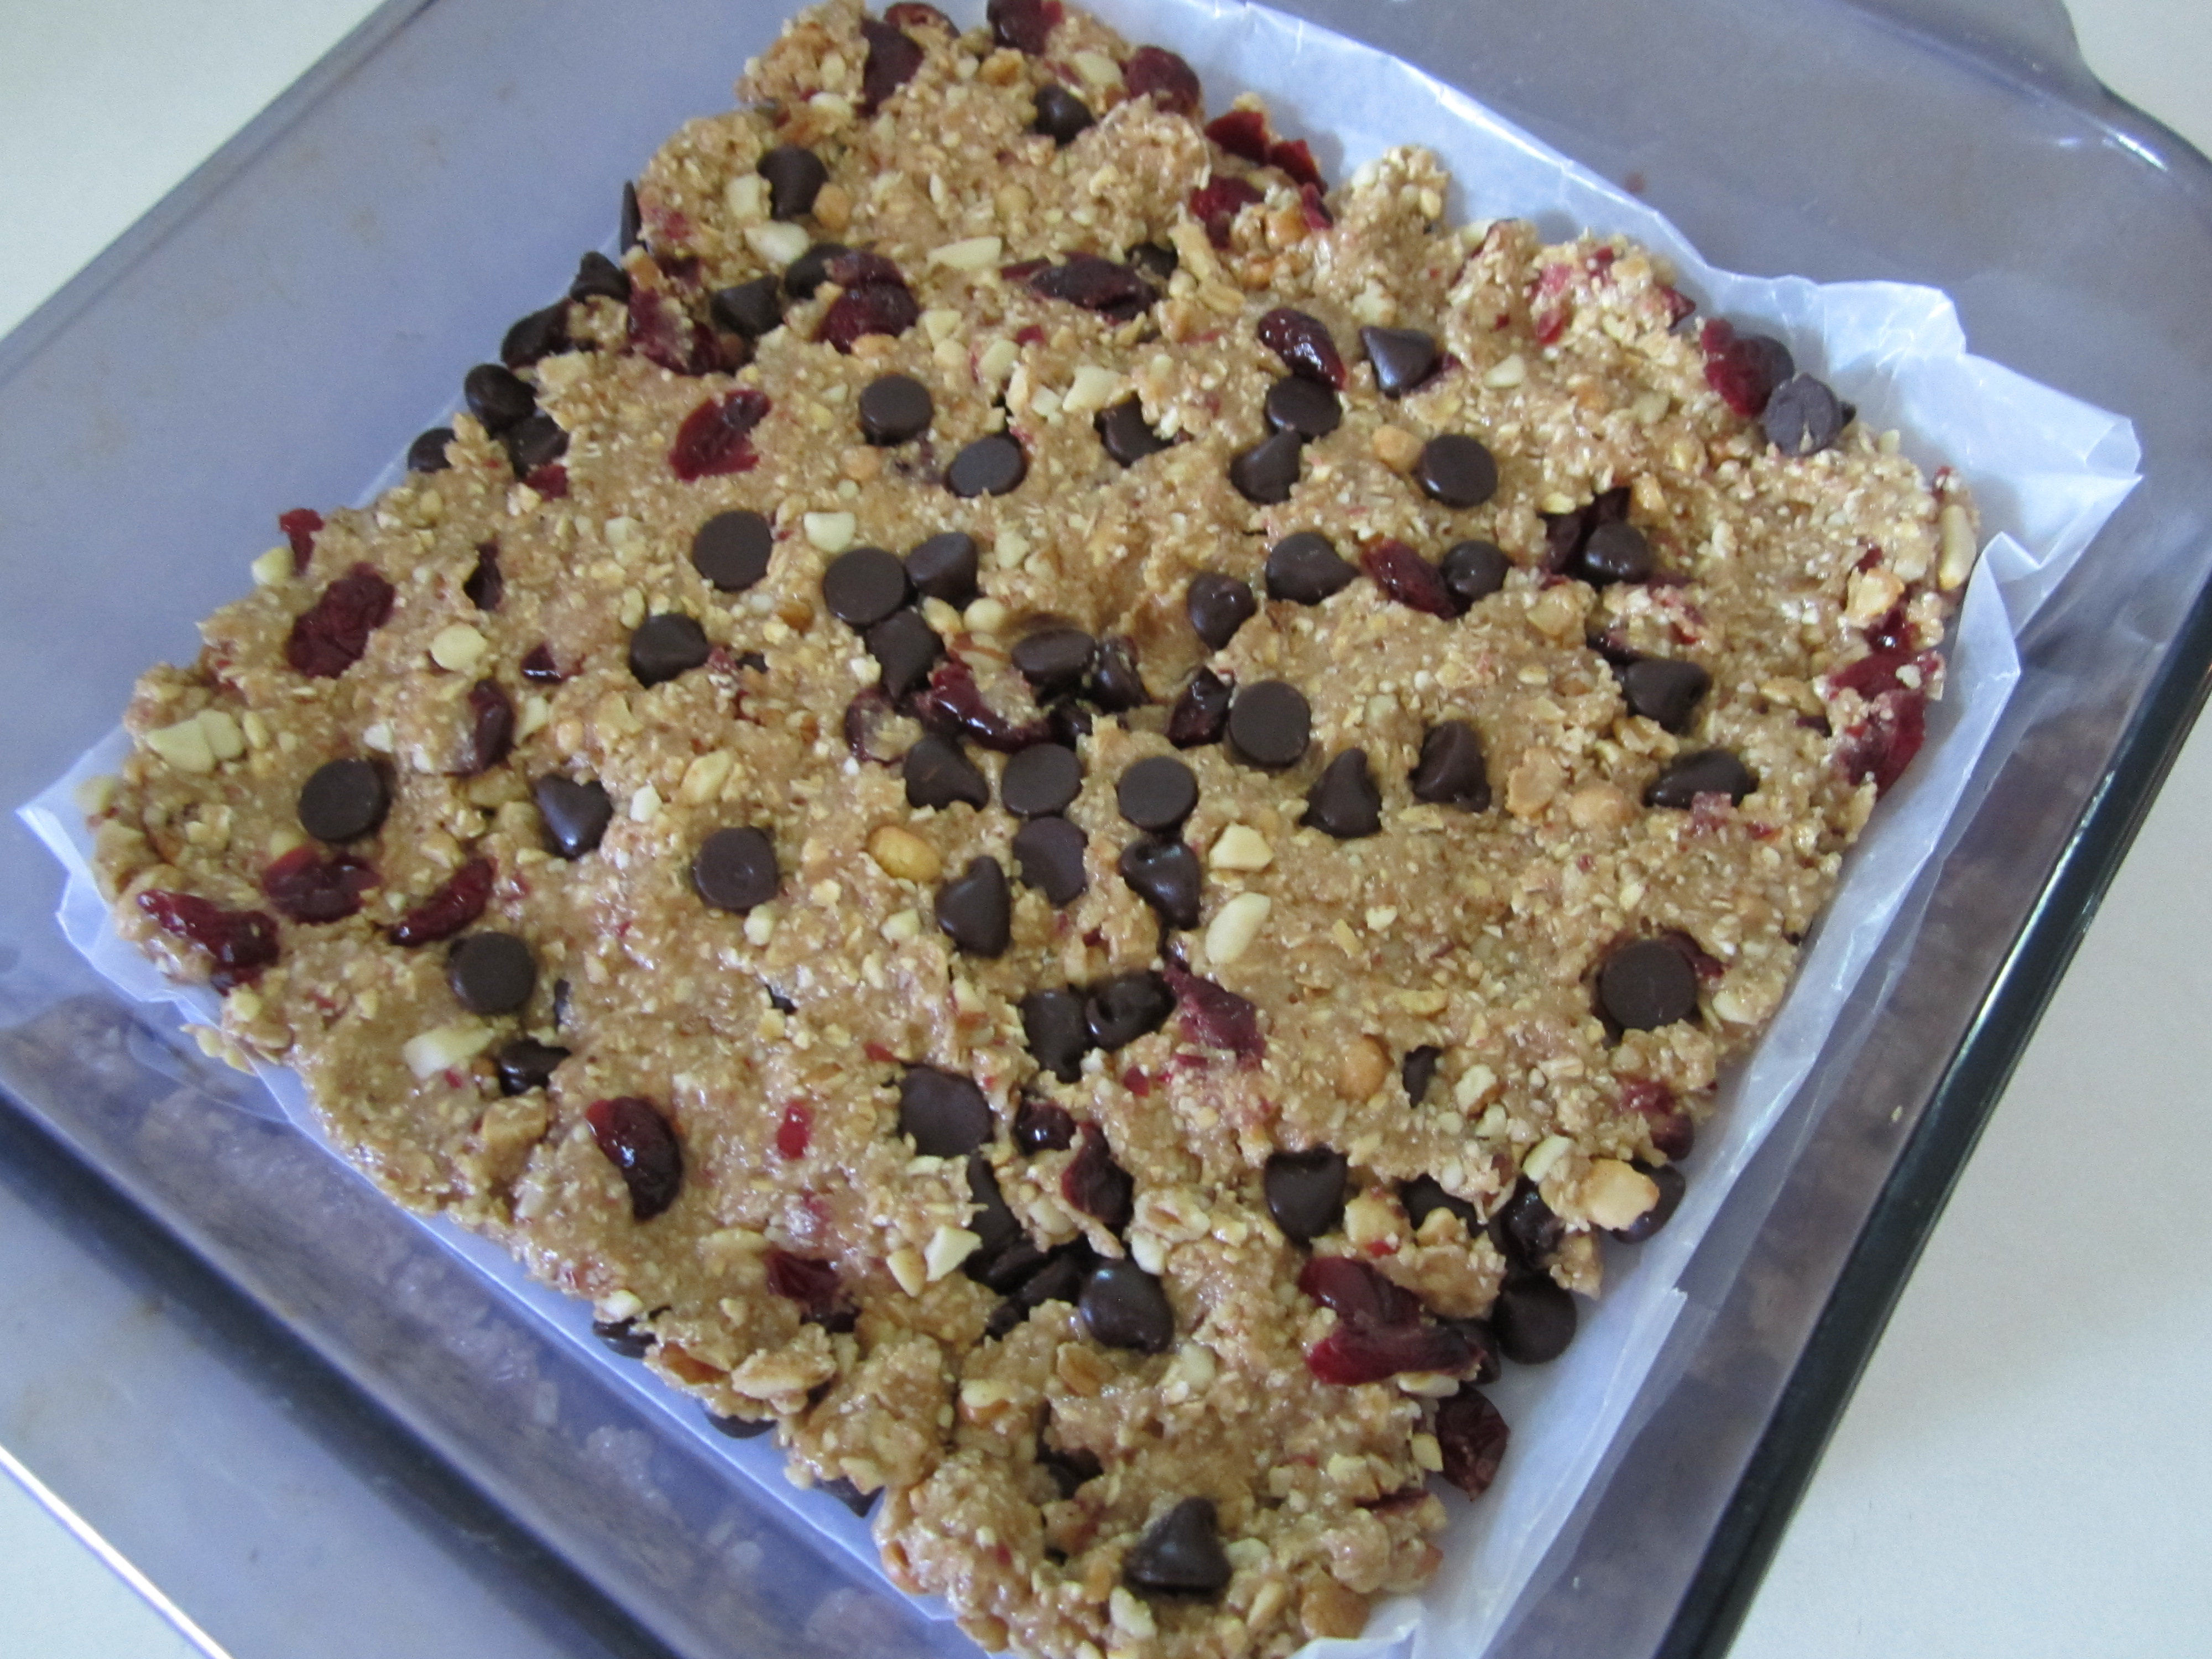
Once dry mixer is fully incorporated stir in chocolate chips. You are now ready to prep your cookies for utter perfection.

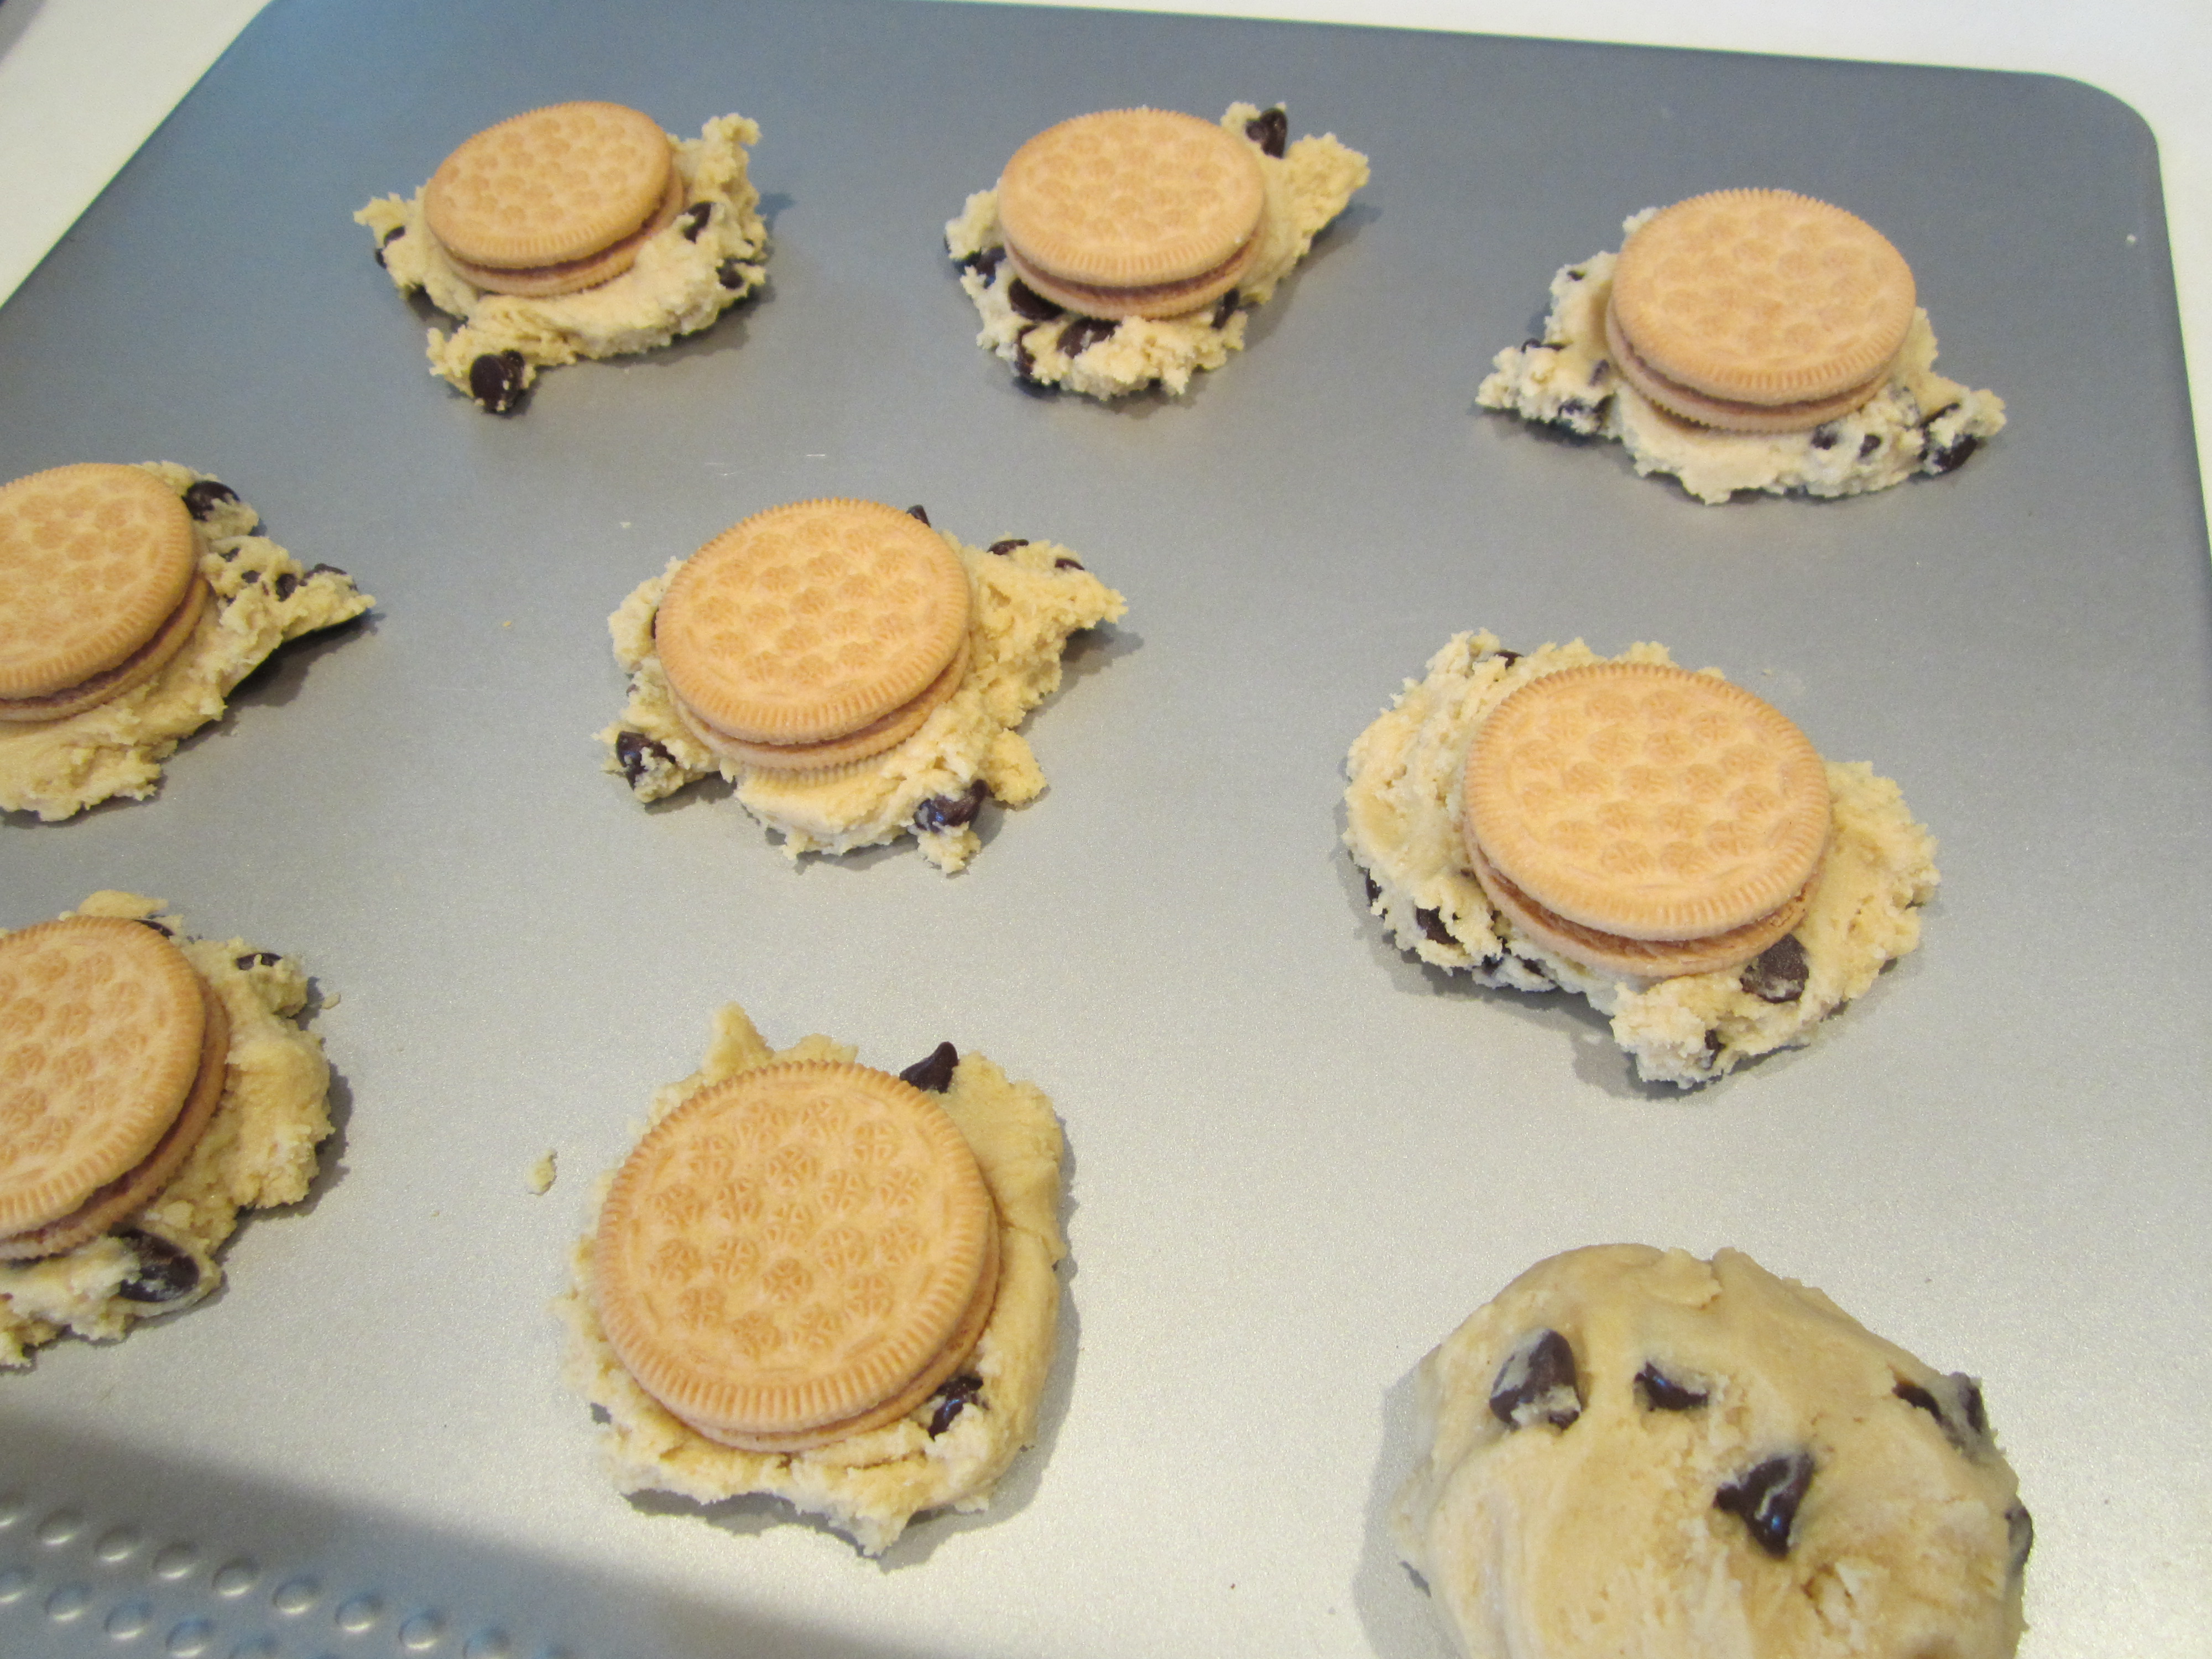
Dough meets its maker- The Oreo.

IMG_4307

This is the part you want to be sure you do not eat too much dough. If you love dough as I love dough, you may get a tummy ache afterwards. (This is the best dough ever)

IMG_4308

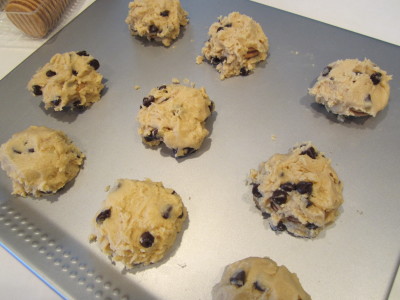
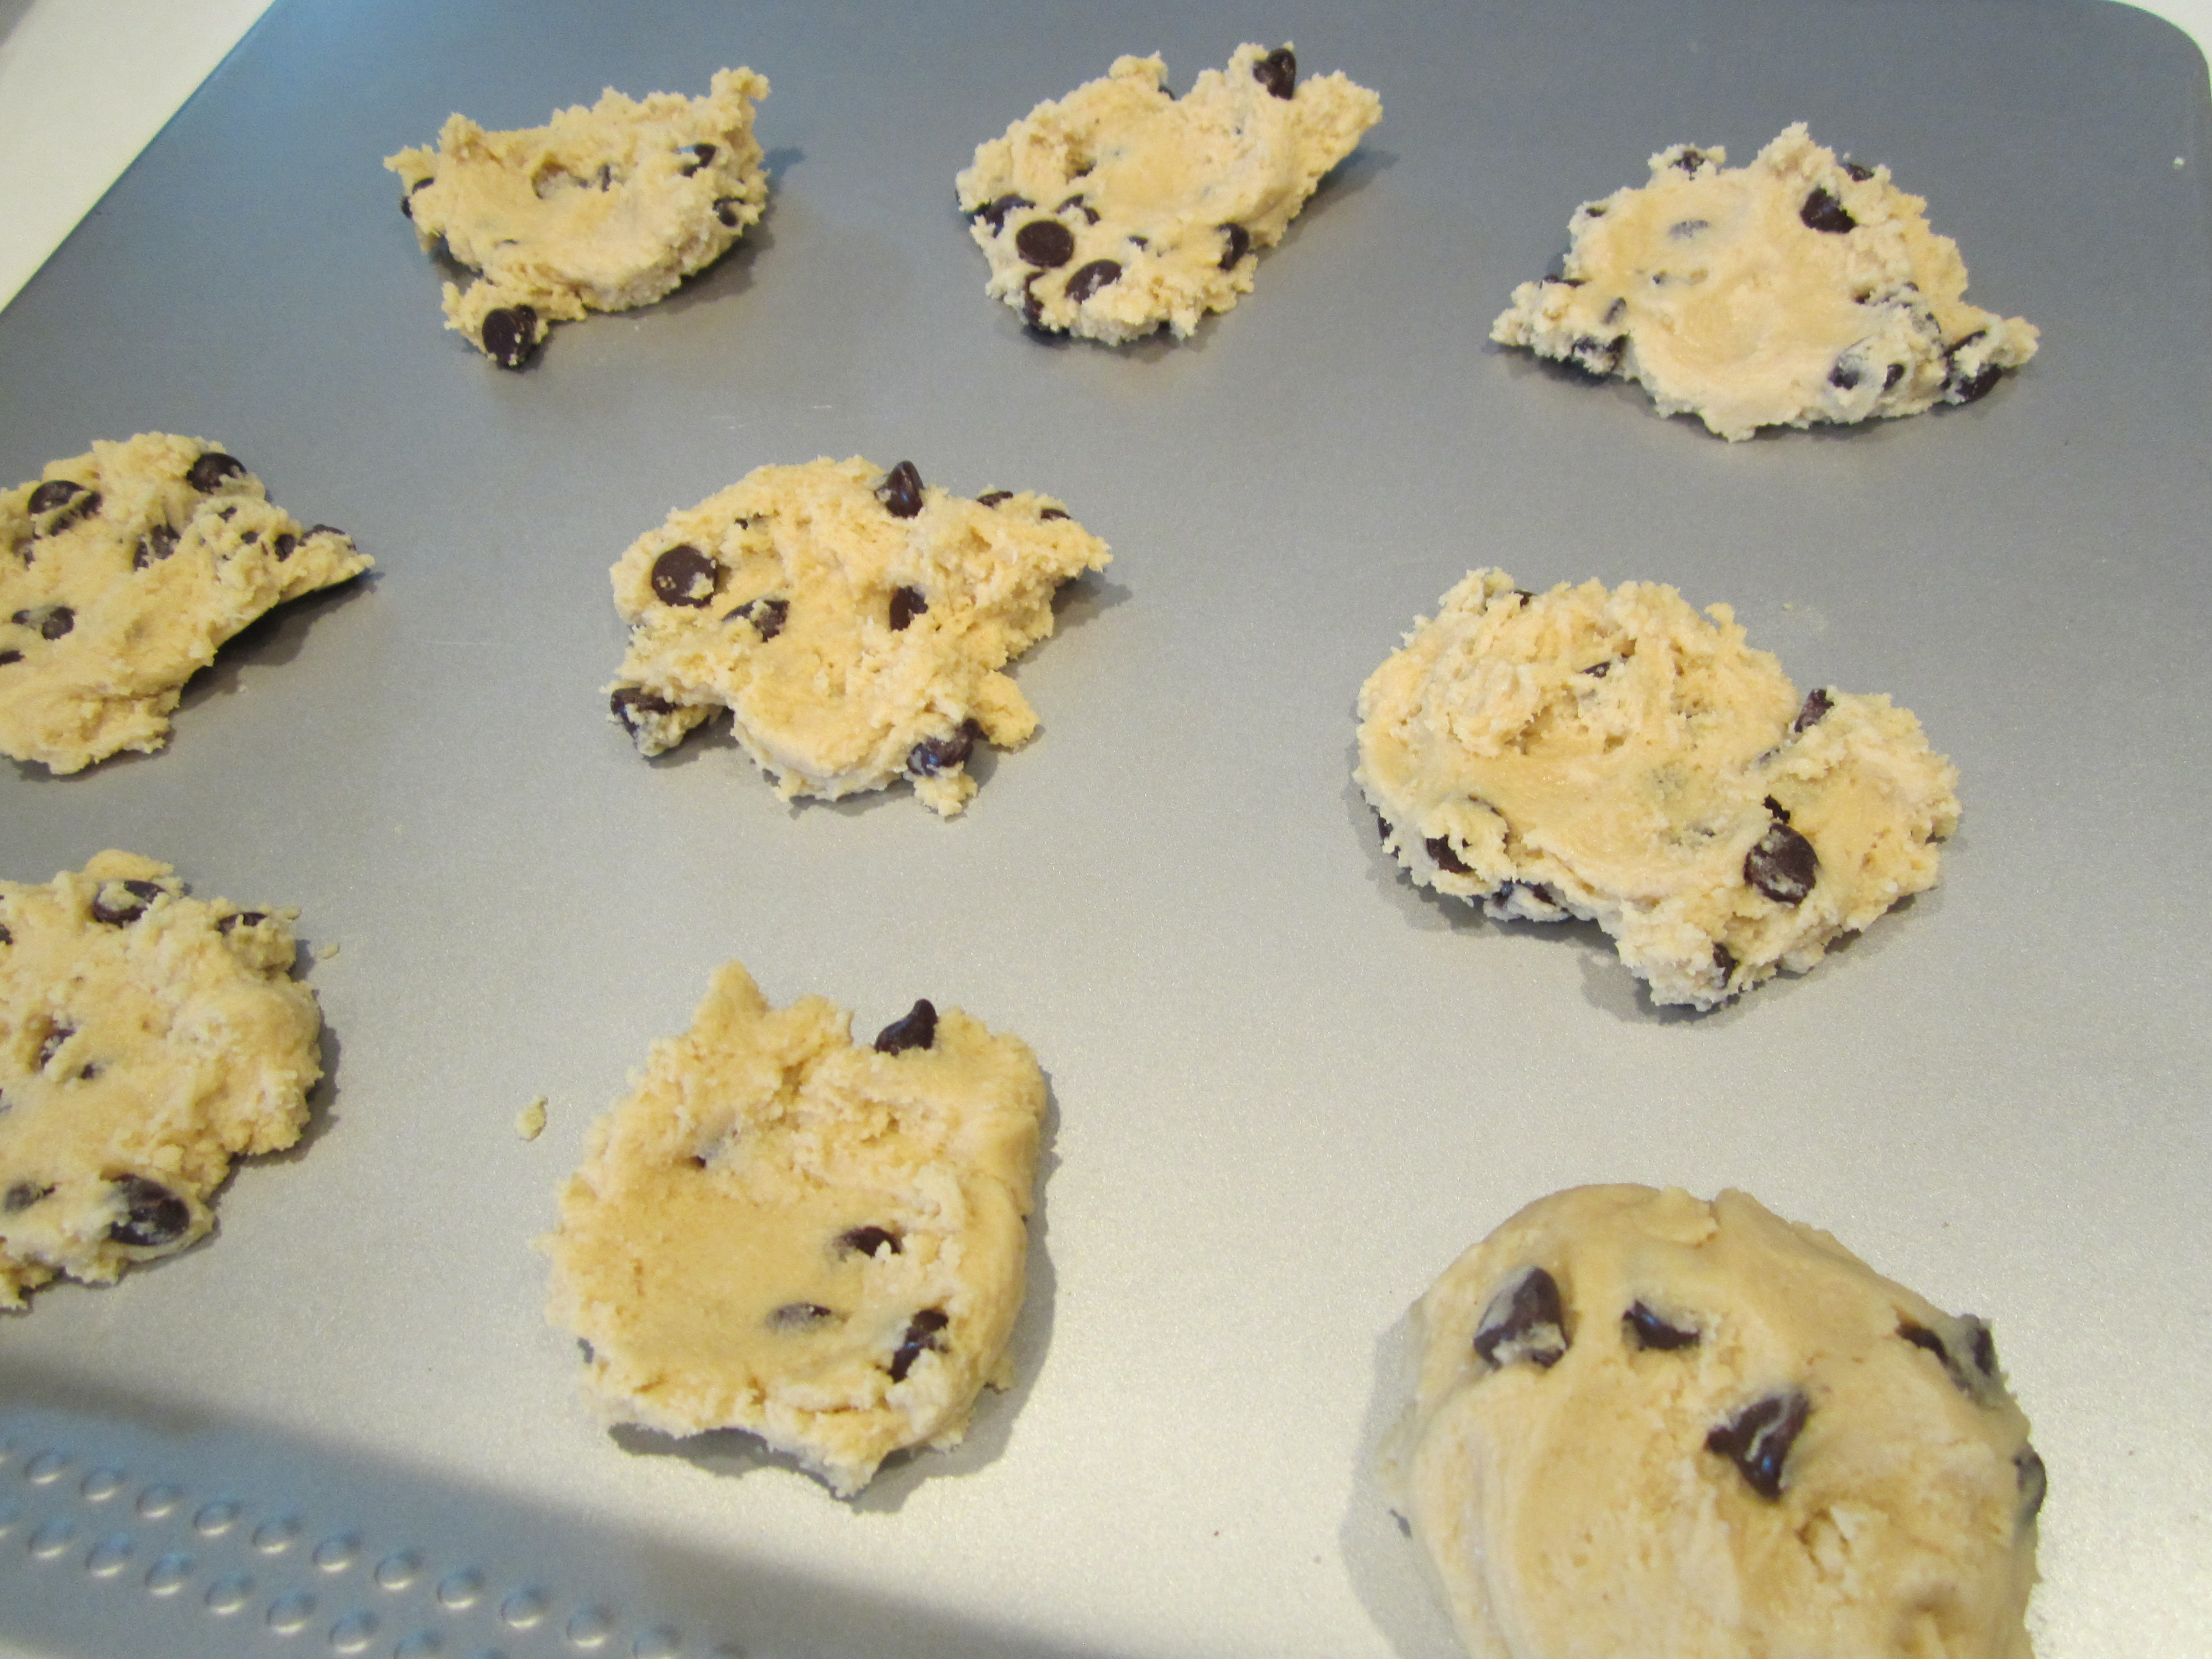
On a cookie sheet place a small spoonful of dough and slightly flatten.

IMG_4313

Place a cookie on top (I used vanilla cookies today but rotate between vanilla and Oreo).

IMG_4314

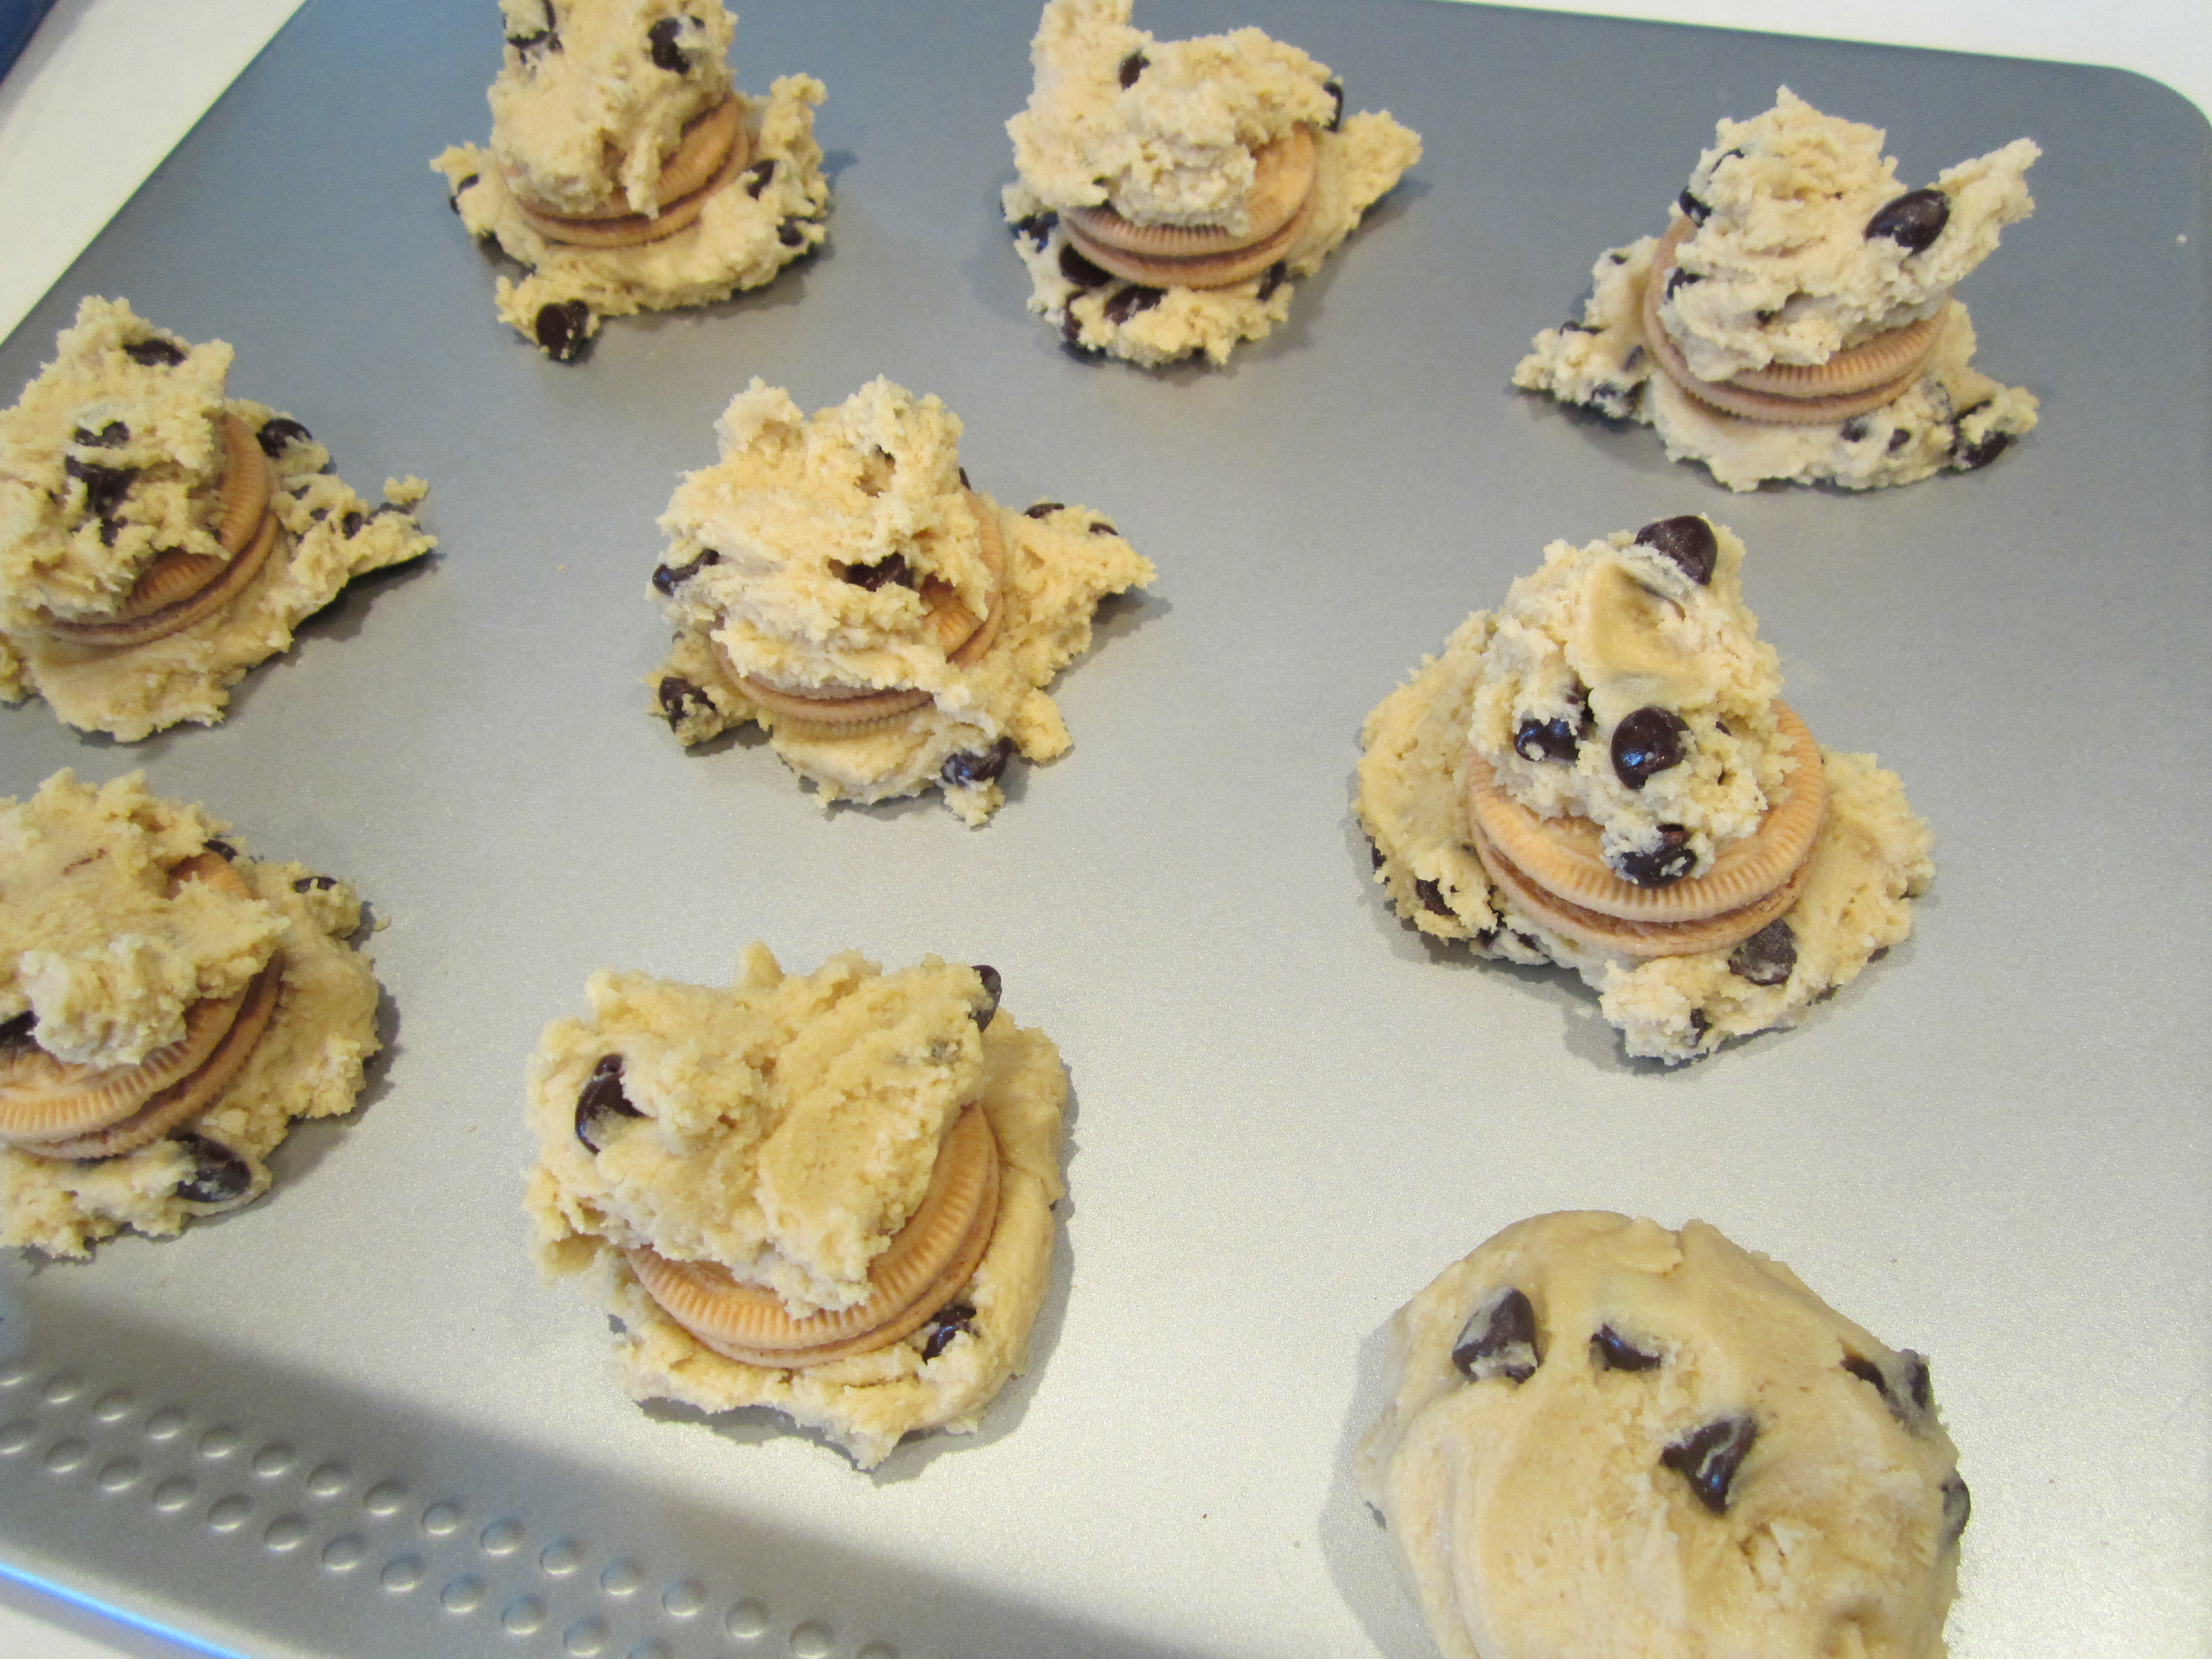
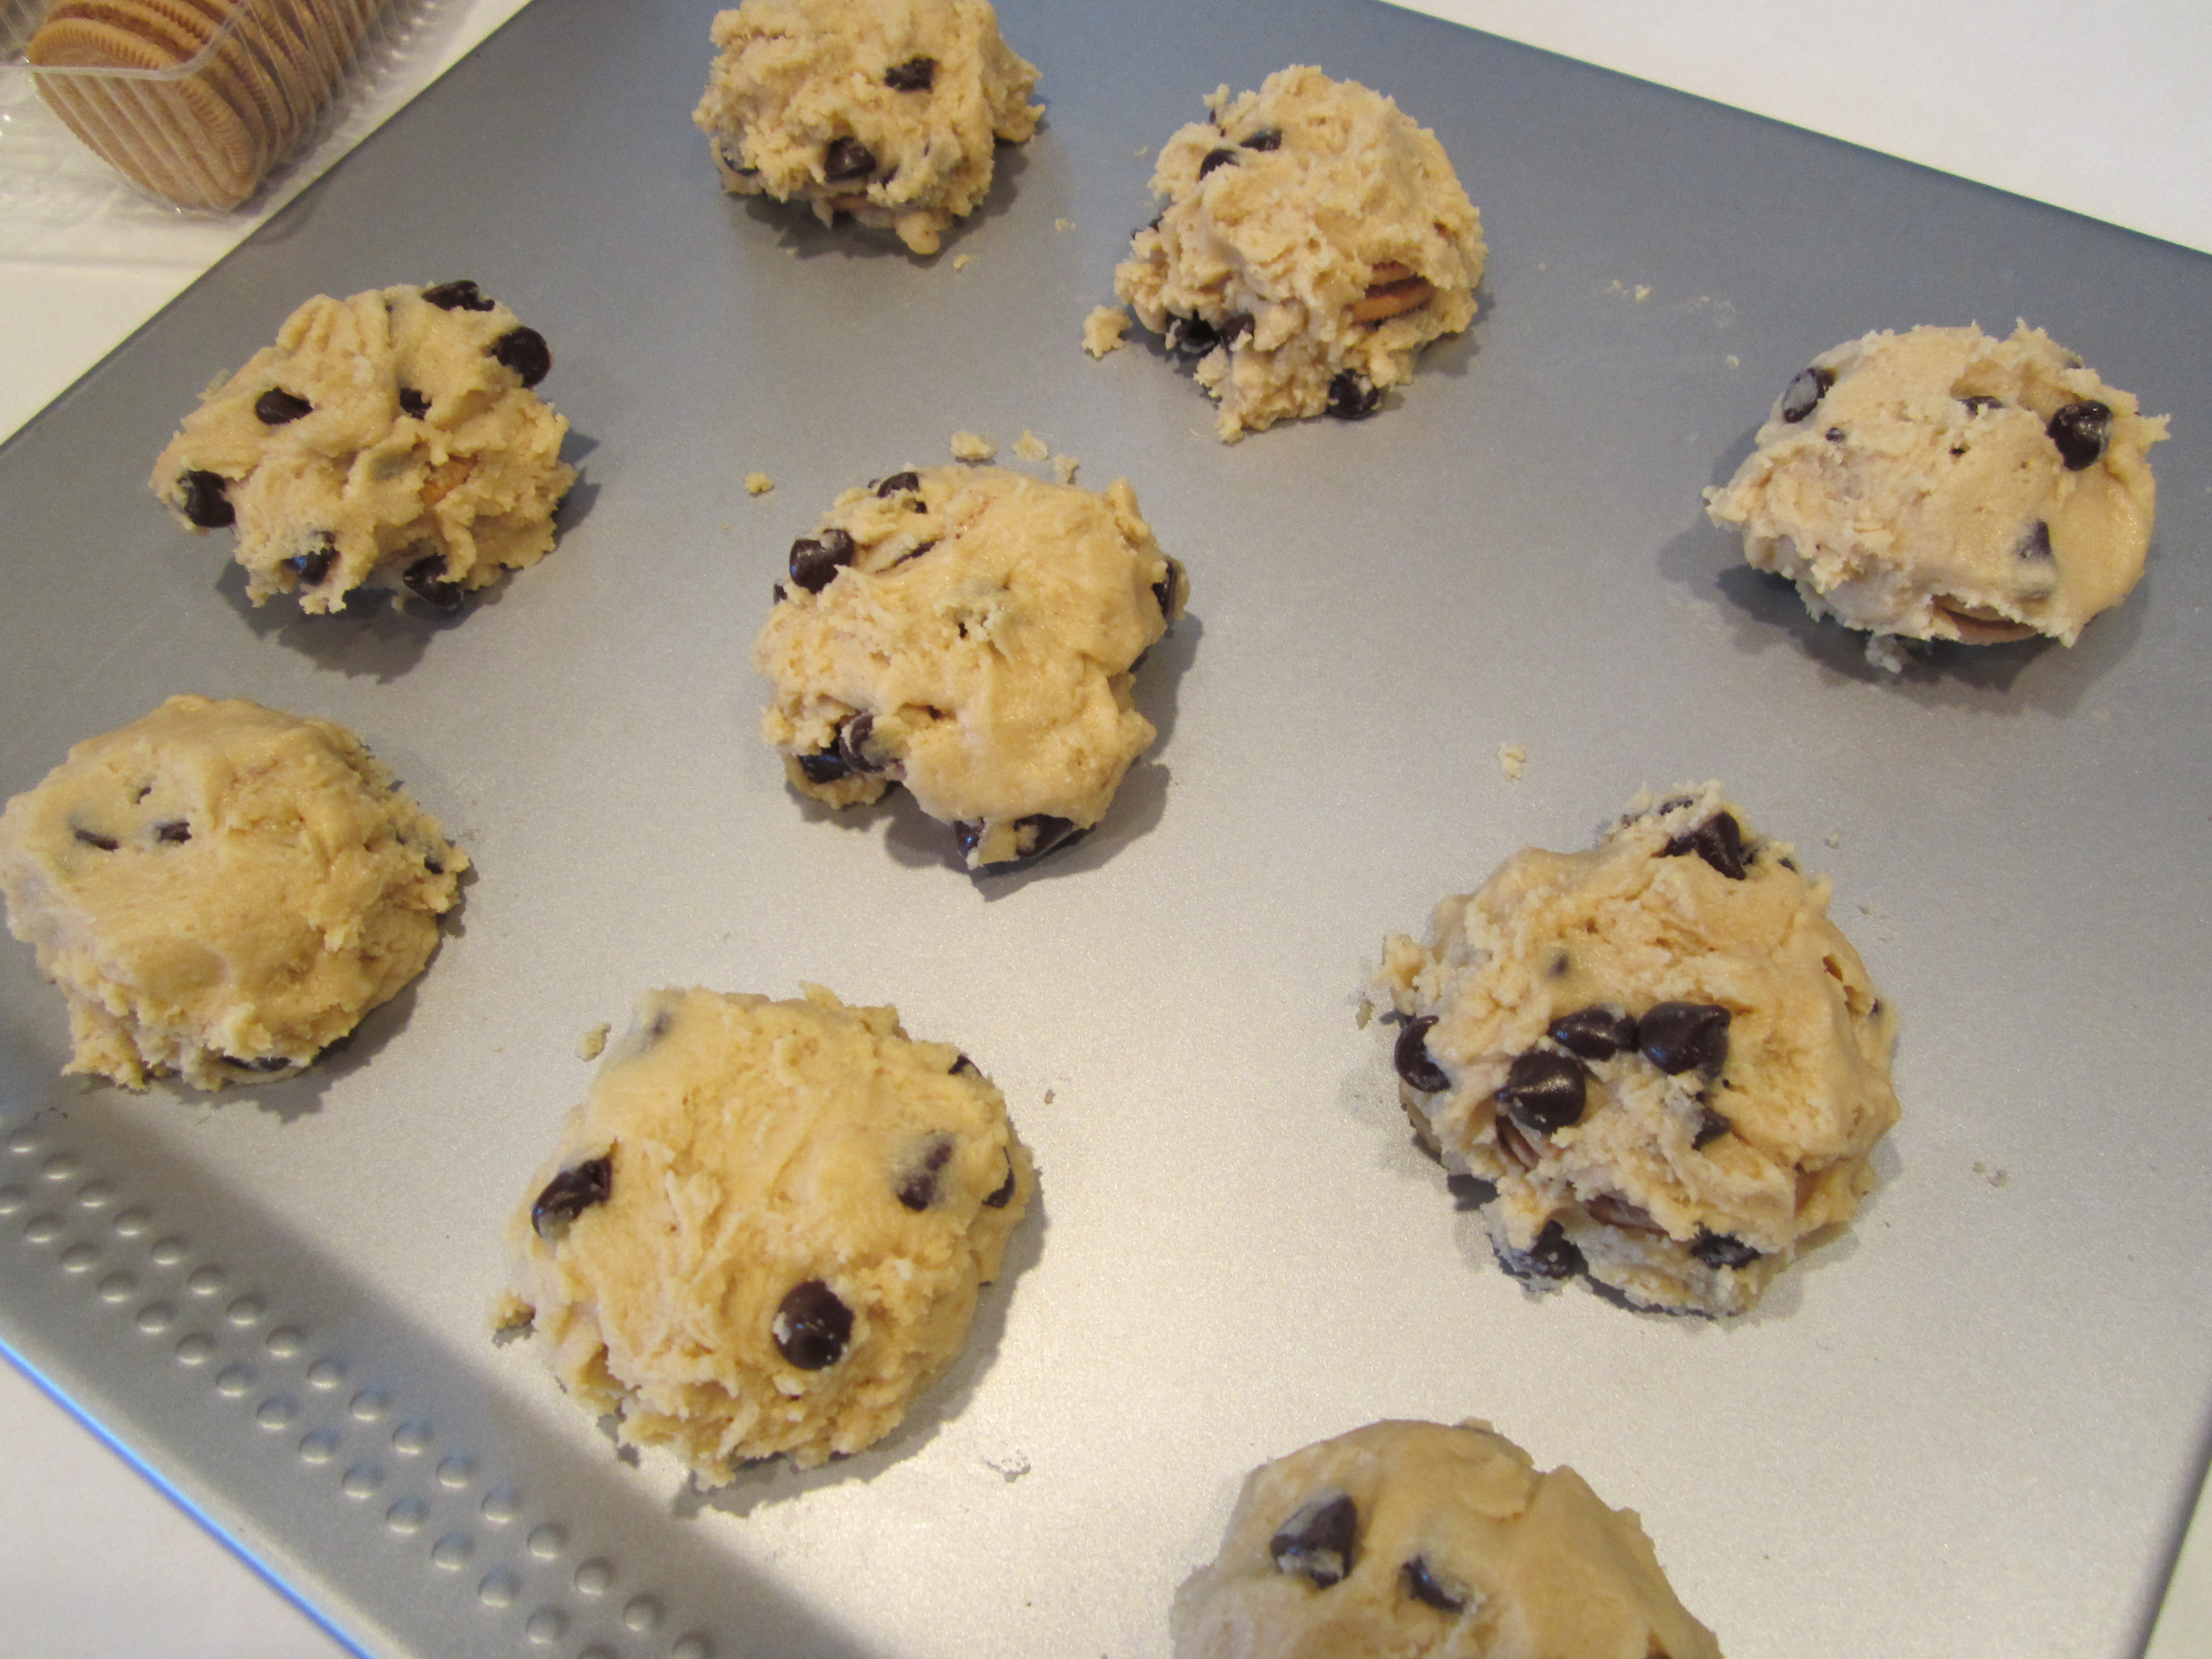
Spoon another spoonful on top of the cookie and fold edges over until combined with the bottom. You may have to pick it up to help mold it together.

IMG_4316

Once cookies are prepped, bake in preheated oven for 8 minutes.

IMG_4317

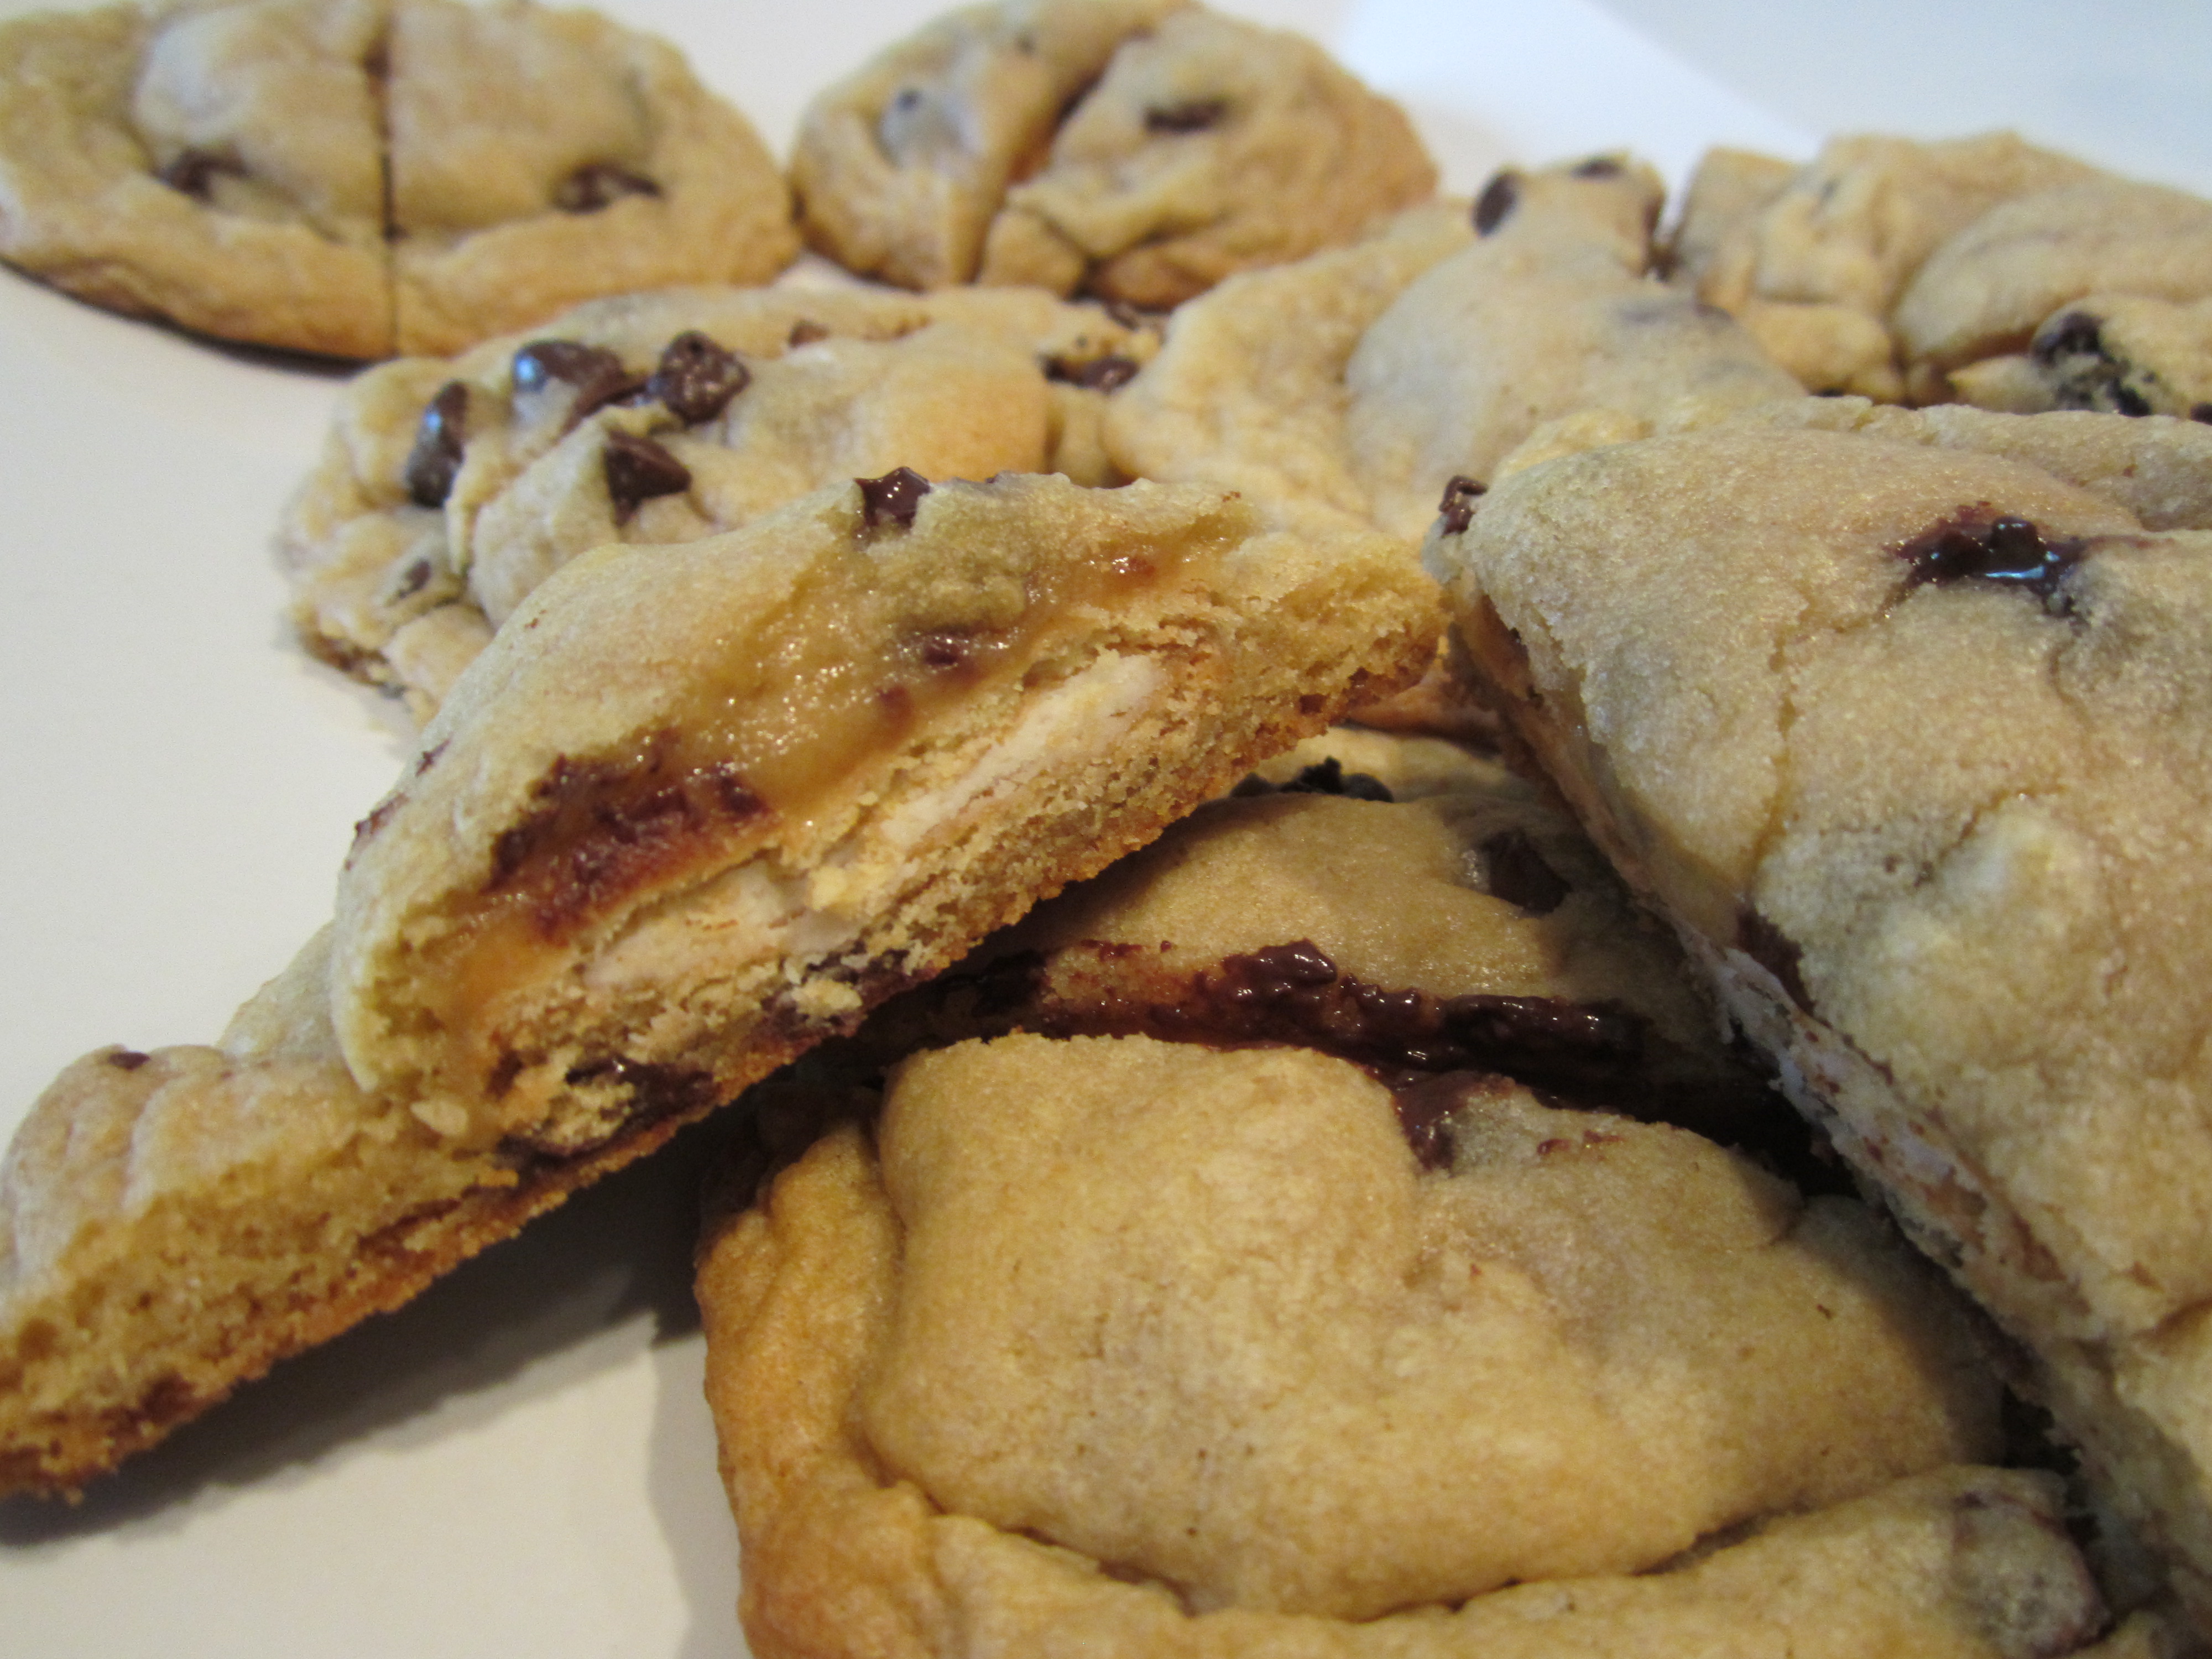
Once baked, cookies will be extra large. I cut them in half to see the beauty of the Oreo AND because they are so large you truly don’t need a full cookie every time you eat one. BUT if you are like me and eat two halves anyway, you will feel better about yourself as your portions seem smaller when eating “half” a cookie at a time. :)

IMG_4323

These puppies are dangerous. Beware!

IMG_4324

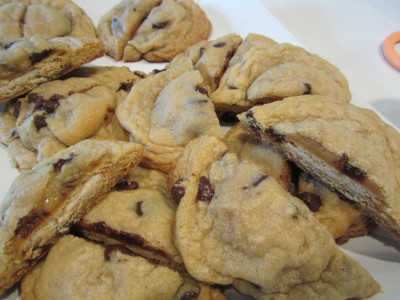
Make sure you have a cup of milk on hand and ENJOY!

“KIND” Bars

I found this recipe and thought it was a must make recipe. Who doesn’t enjoy KIND Bars, they are healthy, delicious and easy to pack n’ go. You can substitute this recipe in multiple ways for different flavors and nuts.

Ingredients:

  • 1/3 cup + 1 TBSP raw honey
  • 2 TBSP whole wheat flour or Almond Flour
  • 1 Tbsp Almond Butter
  • ¼ tsp sea salt
  • 1 cup rolled oats
  • 1 cup chopped cashews and/or soy nuts
  • ¼ cup chocolate chips
  • ¼ cup dried cran-strawberries

Preheat oven to 300 degrees. In a medium bowl combine honey, flour, almond butter and sea salt. Mix until honey is well incorporated. Add oats and mix well.

IMG_4160

Add nuts, cranberries and chocolate chips.

IMG_4161

IMG_4162

In a parchment lined 8×8 press mixture into pan.

IMG_4163

Bake at 300 degrees for 20 minutes.

IMG_4166

Let cool completely. Once cooled remove from pan and cut into little squares. Stores well in plastic bag  and freezes well for a later date.

*This recipe is adapted from The Nourishing Home.

Cherry Pie

This will be by far, the best recipe you will ever make for a cherry pie. As my husband asked the other night about the crust, I informed him that different pies call for different crusts. I have two crusts that I absolutely love and this is one of them.

Last summer we went camping with our son and some friends and had a wonderful time (except in the middle of the night when my son was wired from caffeine he snuck from daddy’s soda). Before heading home we went cherry picking as it’s such a fun experience to do when all the orchards are full and ripe.

Almost a year later, I still have cherries in the bottom of my freezer and decided since my husbands step dad was coming over for his birthday dinner, this was a good time to make a warm cherry pie.

Ingredients: 

Filling:

  • 5 cups frozen tart cherries
  • 1 ½ cups granulated sugar
  • 4 tablespoons cornstarch
  • 1 tsp vanilla extract (optional)
  • 1-2 tbsp butter (optional)

Crust*:

  • 3 cups flour
  • 1 cup cold butter
  • 2 Egg Yokes
  • 4 tbsp cold water
  • 2 tsp salt
  • ¼ cup granulated sugar (optional)

Begin making crust by adding flour and butter to food processor. Once the mixture is crumbly add in egg yoke, water, salt, and sugar. Mix until well incorporated. (Dough may be sticky)

Divide dough into two parts. On a floured surface, knead additional flour from the counter into dough until no longer sticky. Roll dough large enough to fit your pie plate.

IMG_4202

Place dough into bottom of dish leaving enough room over the sides to pinch together with the top of the pie dough. Set aside.

IMG_4394

Meanwhile, in a large sauce pan add cherries, sugar and vanilla. Begin to heat over medium heat until cherries begin to thaw.

IMG_4204

Once cherries are somewhat thawed, add cornstarch. This will thicken the sauce.

IMG_4206

Once thickened, set cherries aside to let cool a little bit. (If mixture is too thick add additional water 1 tbsp at a time and heat through. If mixture is too running, mix 1 tbsp cold water with 1 tsp cornstarch and mix in)

IMG_4207

Once cooled and not extremely hot, transfer cherries into pie plate. If you choose, add additional butter at this point.

IMG_4209

Add the top layer of the pie and pinch edges together. Slice an “x” in the middle of the pie to allow it to breathe while baking.

IMG_4213

Bake at 400 degrees for 40-50 minutes or until the middle of the pie is bubbly and the edges or golden brown.

IMG_4223Serve with Vanilla Bean ice cream and devour! 

*I use this crust on a couple breakfast dishes as well: Egg Tart, Chicken Pot

Kale and Basil Pesto

This pesto is great for anything. It would make the best chicken or shrimp pasta, to a great appetizer or Pesto polenta shrimp bites (recipe here).

Ingredients:

  • 2 cups chopped kale or spinach
  • ½ cup fresh basil
  • ½ cup fresh parsley
  • ¼ cup pecans
  • 1 tbsp minced garlic
  • ¼ cup parmesan cheese
  • ¼ cup EVOO
  • ½ tsp salt
  • ½ tsp pepper
  • ¼ tsp garlic salt

Add all ingredients for the pesto into a food processor.

IMG_4141

IMG_4139Puree until well blended (add more oil if needed).

IMG_4145

Serve as an appetizer or with pasta.

Great flavors call for repeated meals. :)


Bacon Stuffed Chicken

Bacon Stuffed Chicken. Similar to Cordon Blue but way better, I took the initiative to grill this up as I have found a new enjoyment in barbecuing lately. Although there are only so many things you can grill without making chicken more than 3 times in a week the same way, I wanted to take the opportunity to spice it up a bit. I choose to stuff chicken breasts like you would Cordon Blue, but because I had no ham, I turned to bacon, our true friend! :)

The weather was impeccable! While the chicken grilled, Cooper and I would take time to step away and water the garden we’ve been working so hard on.

Still not gathering the concept that once we dug the hole, buried our seeds and recovered the hole, doesn’t mean to uncover the seeds again. Sweet baby makes me laugh. I’ve thoroughly enjoyed the attempt to grow our garden together.

After the chicken and garlic covered beans were done, Cooper and I sat on the back porch together enjoying the weather and eating our delicious meal. Michael got home late from work and was so happy to see such an amazing meal in front of him that looked as if I slaved over it for hours. Though it looks complicated, its is extremely easy to prepare and the grill does most the work.

Ingredients:

  • 4 chicken breasts, sliced open
  • 8 pieces of bacon
  • 4 slices of Pepper Jack Cheese
  • Garlic Salt (optional)
  • Paprika (optional)
  • 1 lb Fresh Green Beans
  • EVOO
  • Garlic Salt

Prepare chicken by slicing open leaving one end still connected. Stuff with raw bacon and cheese. To hold shut pin together with three toothpicks. IMG_4168

Season the top of the chicken with garlic salt and paprika.

IMG_4172

Grill until no juices flow clear. Be careful not to over cook.


IMG_4178


Eating dinner with mama on the back porch on a beautiful evening.

IMG_4176

Cooper still hating the fact I take pictures all the time

Serve with fresh grilled green beans!

IMG_4174

Enjoy!

Bagel Supreme

I used to frequent a coffee shop while in college. We would drop in multiple times a week if not sometimes daily. While studying and writing papers I would get a fatty bagel with the choice of unlimited toppings. They made their own bagels which makes everything taste better.

This brings back such memories every time I make it at home realizing I used to be a naive college gal just drinking coffee and gaining the freshman 15. Although, it wasn’t just my freshman year to gain weight, it did get less as the years progressed. :) I realized through staying up late your metabolism kicks in overtime asking for more food and with little sleep your body simply can’t process all the calories without gaining weight. Double edge sword. You think you are invincible in college and come to find out, the only invincible part to college was your classes; no way around them.

So, with those college days in mind, here is a great recipe for breakfast, lunch or dinner.

Ingredients:

Serves 2

  • 2 Bagels
  • Cream Cheese
  • 2 Avocados
  • 2 Tomatoes, sliced

Optional Toppings:

  • Sprouts
  • Cucumbers
  • Bacon

Toast your bagel and in a small bowl mix cream cheese and avocado together. Spread on top of bagel.

IMG_4116

May leave sandwich open faced or closed. I prefer open faced as this is how they served them at the coffee shop.

IMG_4117

Top with tomatoes and basil or any remaining toppings you prefer.

Polenta with Shrimp and Kale Pesto

Oh- my mouth is watering just thinking about these incredible polenta shrimp bites with pesto. I made these last night and couldn’t get over how incredible they were. This is the PERFECT appetizer or pair this with a delicious smoothie for a great healthy dinner.

My husband prefers this with no avocado but I loved it with the avocado stuffed on top with the shrimp. I thought it was a perfect blend of flavors.

Ingredients:

  • 12 large shrimp, peeled and deveined
  • 1 tube polenta (any flavor) cut into 12 rounds
  • 1 avocado, sliced

Pesto:

  • 2 cups chopped kale or spinach
  • ½ cup fresh basil
  • ½ cup fresh parsley
  • ¼ cup pecans
  • 1 tbsp minced garlic
  • ¼ cup parmesan cheese
  • ¼ cup EVOO
  • ½ tsp salt
  • ½ tsp pepper
  • ¼ tsp garlic salt

Preheat oven to 400 degrees. Line a broiler pan with foil and lay cut polenta evenly throughout pan. Drizzle with EVOO, salt, pepper and garlic salt.

IMG_4142

Bake for 15 minutes. After 15 minutes turn the oven to broil and broil until lightly crispy (3-5 minutes) keep an eye on it to make sure it doesn’t burn.

IMG_4148

For the Shrimp- Once the polenta is cooked, transfer to a plate and keep the broiler pan lined with the same foil. Lay shrimp evenly on foil and drizzle with EVOO, salt, and garlic salt.

IMG_4149

Bake at 400 for 5-10 minutes or until fully pink.

IMG_4156

Meanwhile, to make the pesto add all ingredients for the pesto into a food processor.

IMG_4141

IMG_4139

Puree until well blended (add more oil if needed).

IMG_4145

To assemble- spoon pesto atop polenta.

IMG_4153

Lay shrimp with avocado stuffed in the middle of the shrimp. If you want to add a little extra touch sprinkle with sea salt and add chopped chives.

IMG_4157

If you serve this for a gathering, you will be a big hit!

Prepare to be WOWWED!

Cheeseburger Orzo

This is amazing comfort food the whole family will devour. Trying to think of something that would be a good meal while watching three kids has not been an easy task for me. I am beyond worn out by the time later afternoon comes that dinner is the last thing I want to think about.

We have been barbequing a lot lately as it causes for easy clean up, good food and easy makings. :) But when you BBQ, you tend to run through your meat a lot quicker and run out of ideas. So, while starting up the grill has become my friend, not only because it’s easy but also because I’ve just learned to grill and have thoroughly enjoyed it, I decided to steer clear of the grill tonight! :)

Adding a great twist to Mac N’ Cheese and Hamburger Helper, I came up with this…

Ingredients:

  • 1 lb ground turkey
  • 1/2 cup onions, chopped
  • 1 tsp Salt
  • 3 Tbsp Taco seasoning (or 1 packet if not homemade)
  • ¼ tsp red pepper flakes
  • 2 cups Orzo pasta, cooked
  • 4 Tbsp butter
  • 3 Tbsp flour
  • 3 cups milk
  • 1/2 cup parmesan cheese
  • 1 tbsp. Sriracha (optional)
  • 2 cups cheese, shredded (any kind works)

Preheat oven to 350 degrees. Cook turkey with chopped onions, salt and red pepper flakes until fully cooked.

IMG_3991 - Copy

IMG_3992 - CopyOnce cooked add taco seasoning.

IMG_3995 - Copy

Once the meat is cooked and seasoned, set aside. In a medium sauce pan melt the butter over medium heat and add in flour. Gradually stir in milk. Cook until it thickens.

IMG_4012

Once thickened, stir in parmesan cheese.

IMG_4014

Stir in shredded cheese.

IMG_4013

Pour cheese mixture over turkey and Orzo and mix.

IMG_4015

Mix well.

IMG_4016

Place lid on and bake for 30-40 minutes or until bubbly.

IMG_4006
image

Adapted from confessionsofacookingdiva.com